Adobe house renovation – Rear wall masonry
While waiting for the base to bind, approx. It was sprinkled for 3 weeks, then the plane started and waterproofed.
By the time it was over, the concrete had plenty of 28 days to bind ...
Unfortunately, the side of the bathtub was sacrificed to the machine, as did the gutter in several places. It had to be masonry again.
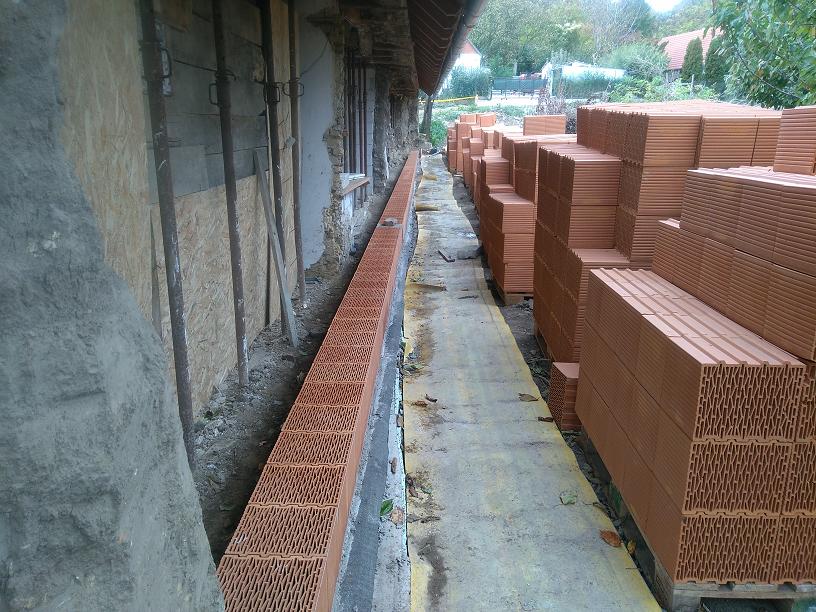
The base here was a 10 cm slope, so I had to lay 40x40 paving blocks for the correction.
The end is far...

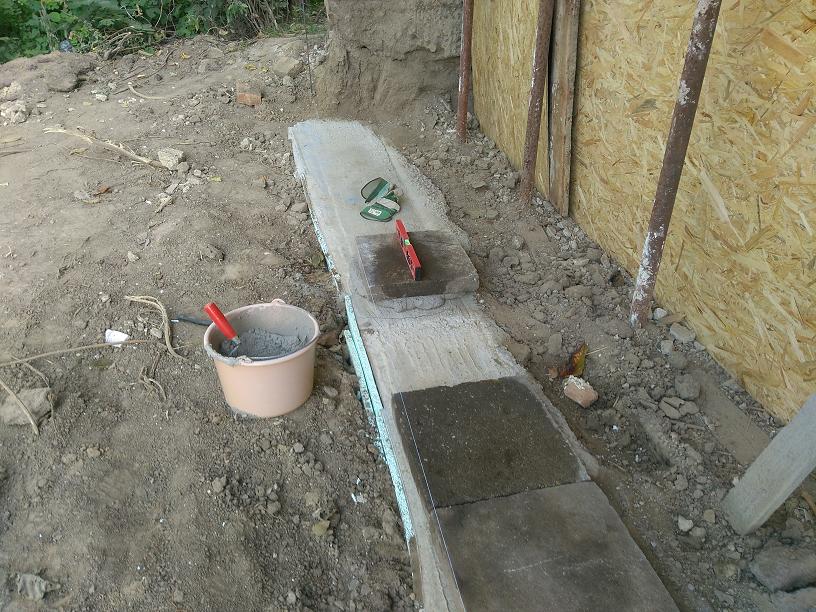
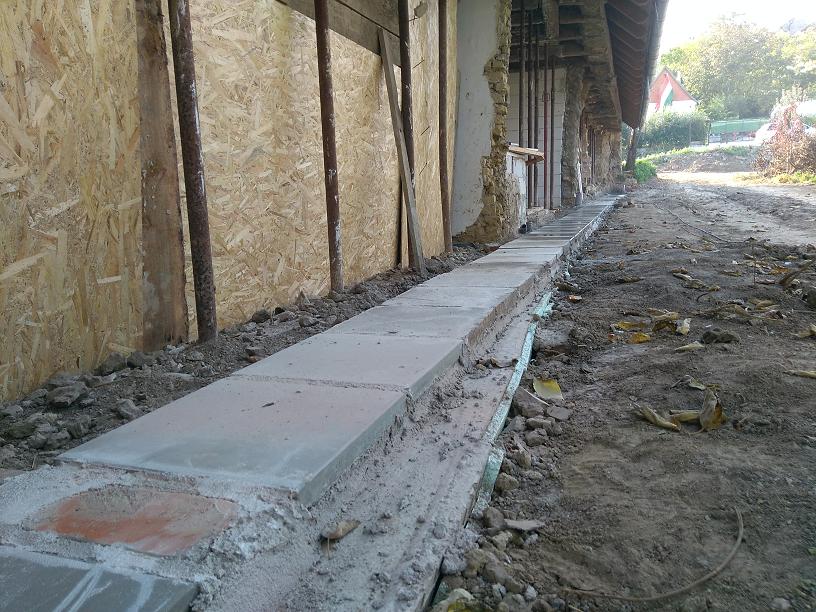
The sidewalks are 6cm thick, so they are strong and easy to set up as if they were bricks.

There was a small staircase that was poured into concrete.
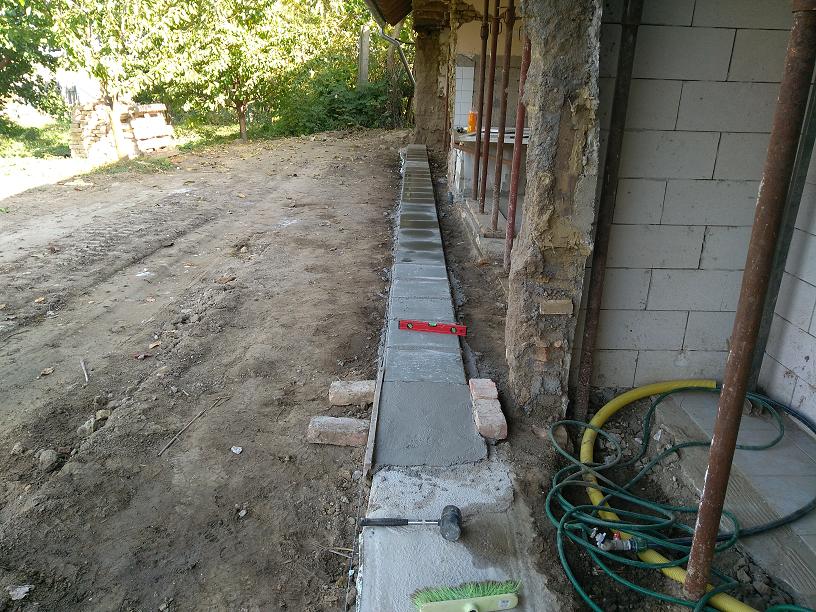
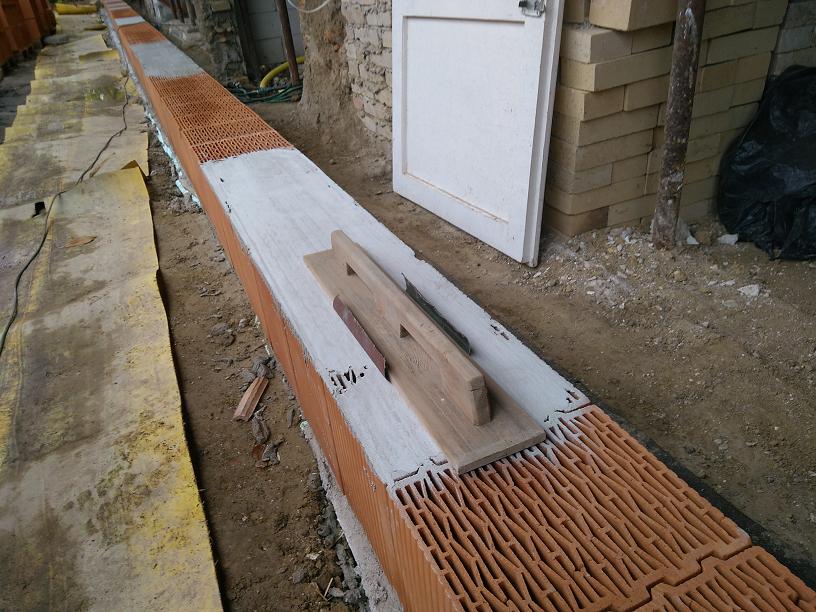
The plane is already developing. Now it's only 1.5cm on the 28 meter length.

But the upper part was too high, so it was easier to sand 1cm than to put the mortar in the first brick.
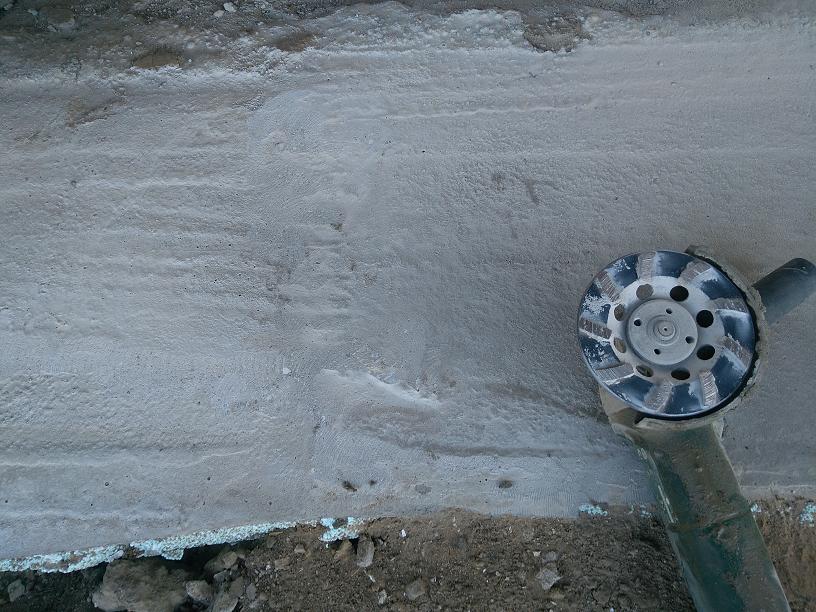
The polished concrete looks like this. -1 cutting disc, but -5 bags of mortar use ...
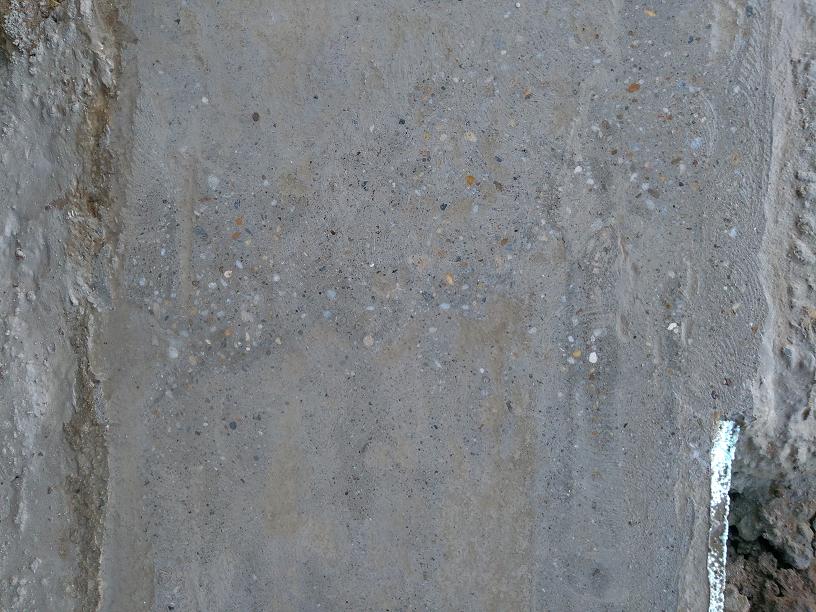
During sanding. (all small bumps had to be sanded for insulation).
Of course, cats are the biggest trolls ... They leave their hands (feet) in every concrete.

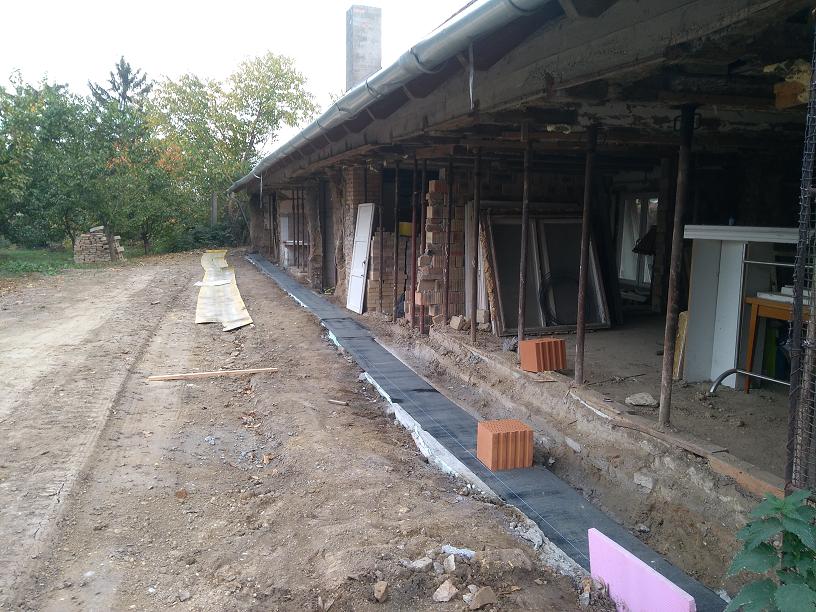
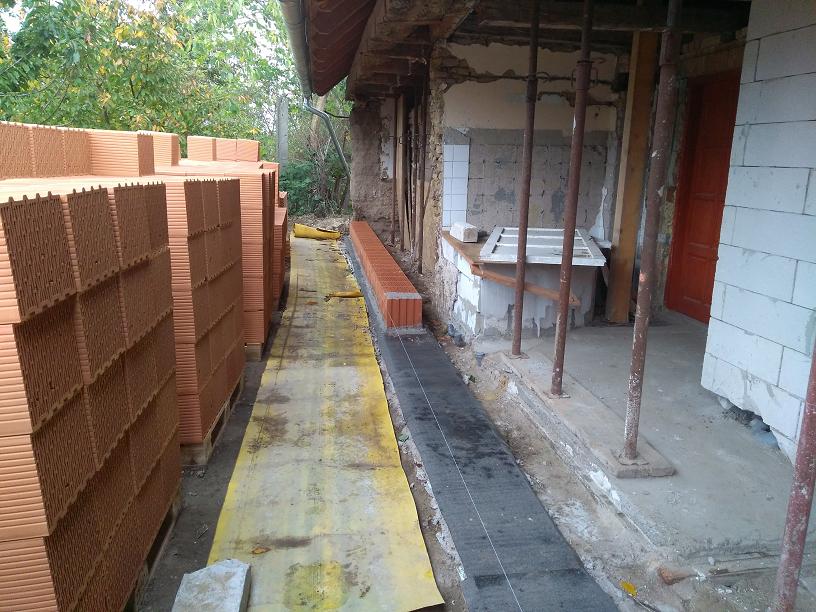
The next was the melting of the bitumen on the base.

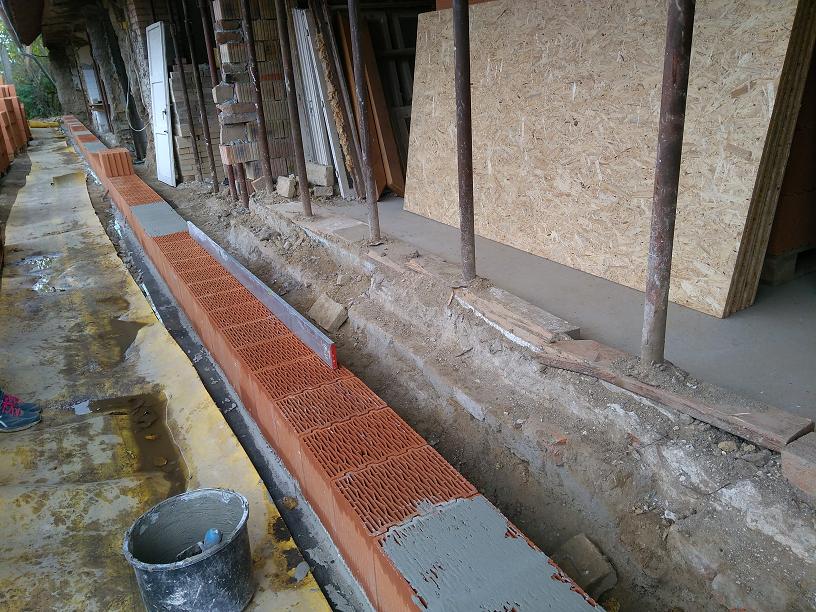
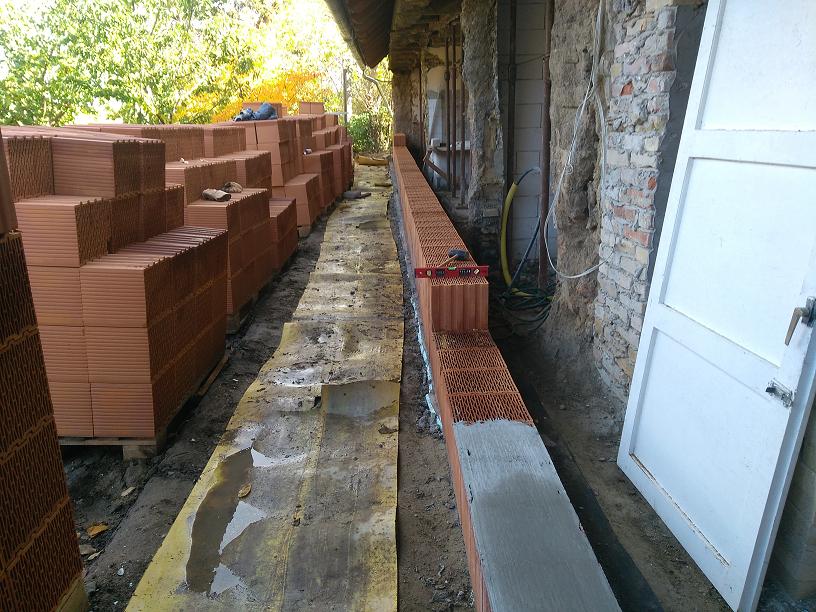
The line here already marks the exact location of the wall on the finished insulation. The gutter of the machine tool is visible on the gutter.
Here, the concrete is on the side of such a big jump out, because the machine chain has sunk here.
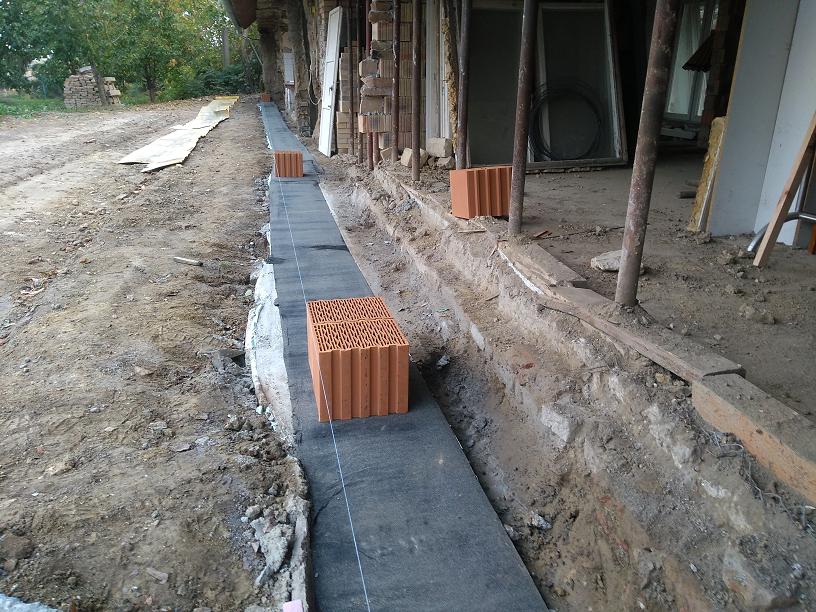
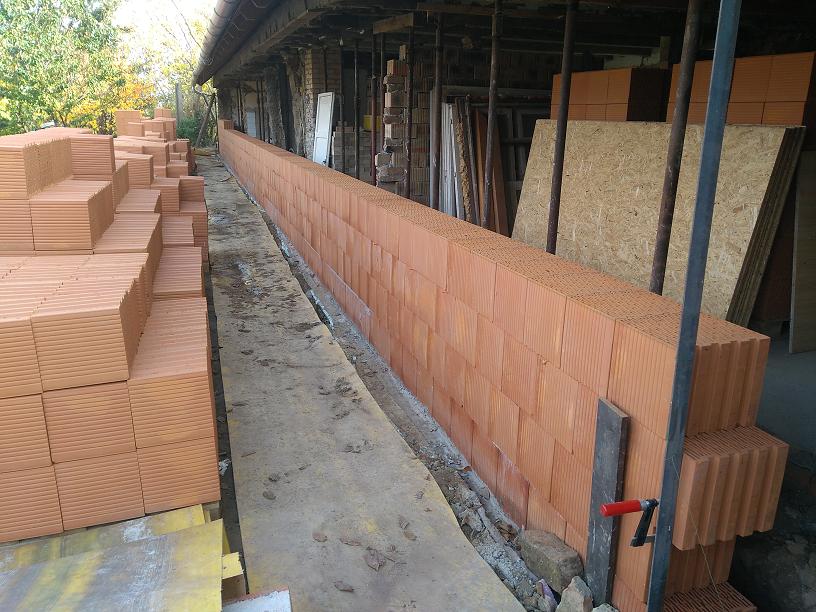
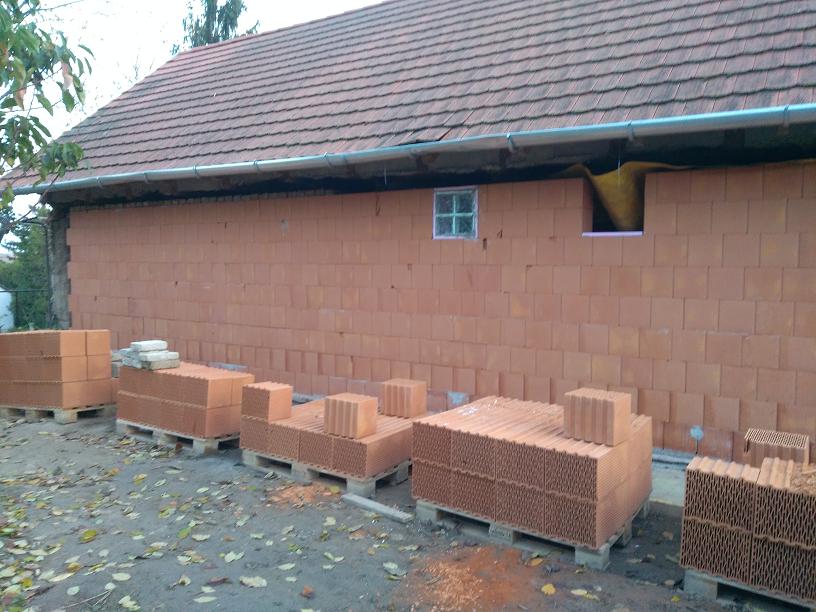
The ordered brick could not be brought by the "left-handed" operator, so he had to move everything by hand.
(the 5m3 concrete mixer was able to come in, but it was longer)
Fortunately, the family helped me because I would still have it.

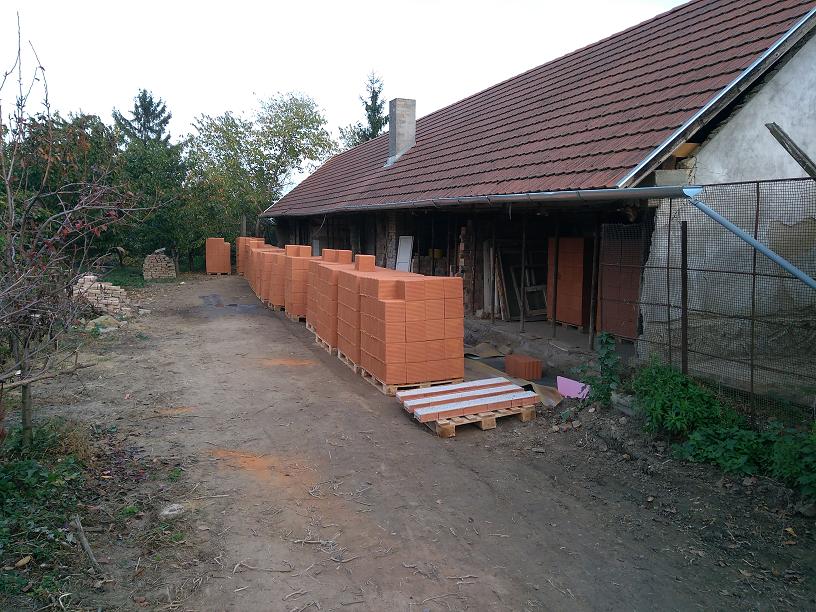
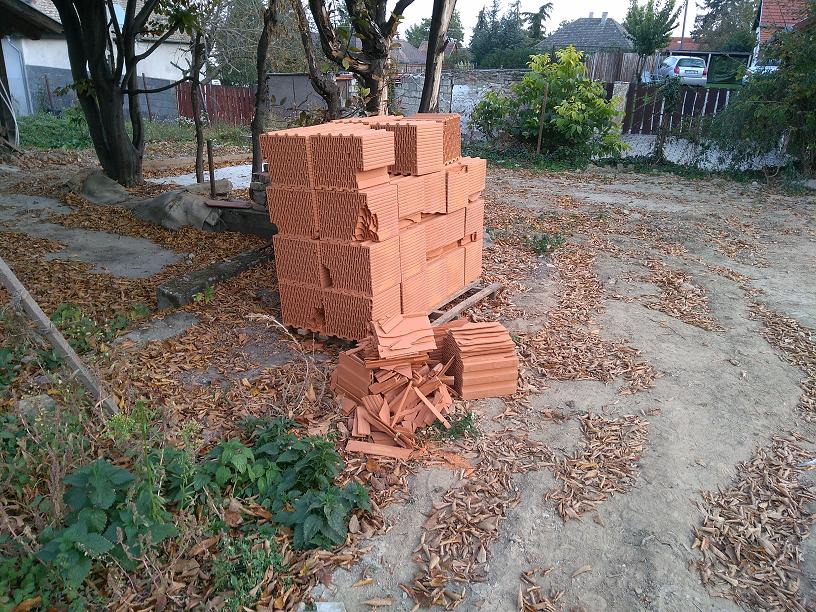
Did I tell you that the truck was a "left-handed"? This was in principle taken from the factory. 2 transhipments = -1 pallets intact brick ...
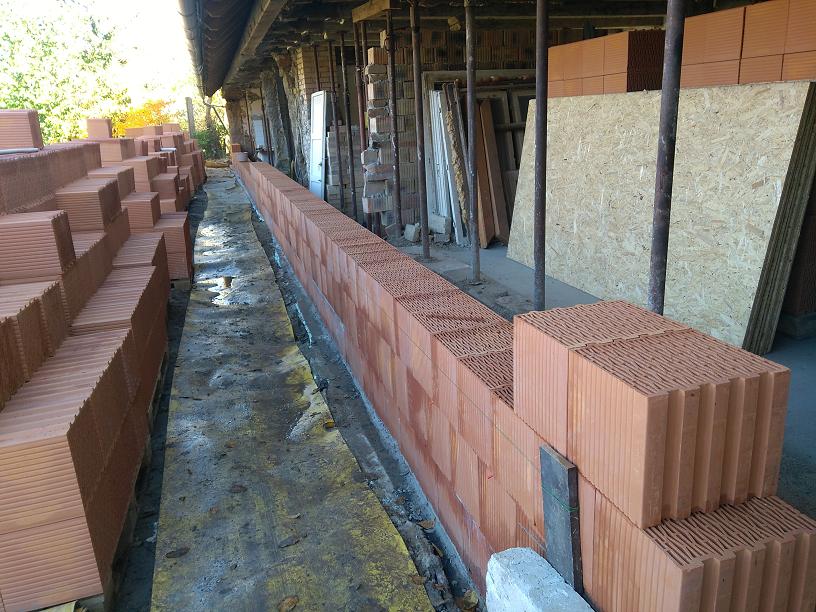
The first line had to be laid out very precisely because the brick was 1mm tolerant.
The last brick sank here the next day, so I had to get rid of the top with mortar.
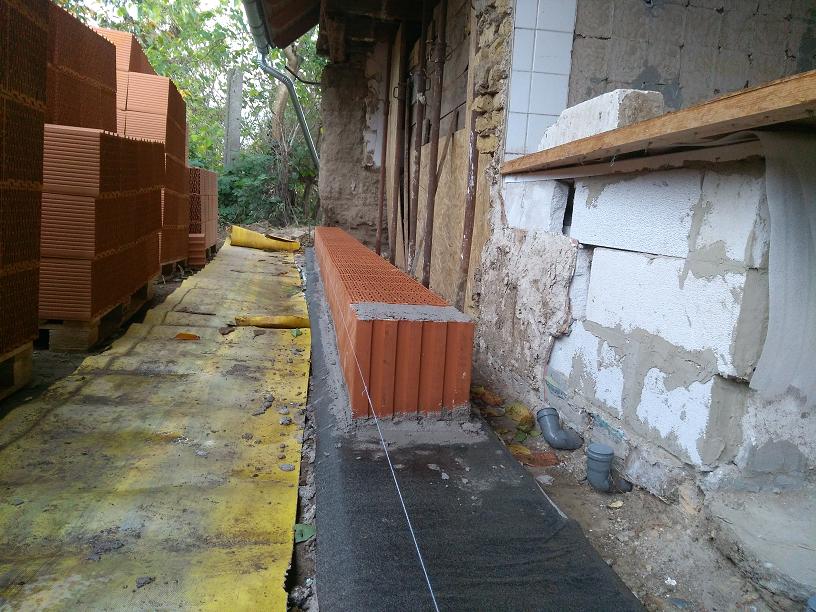
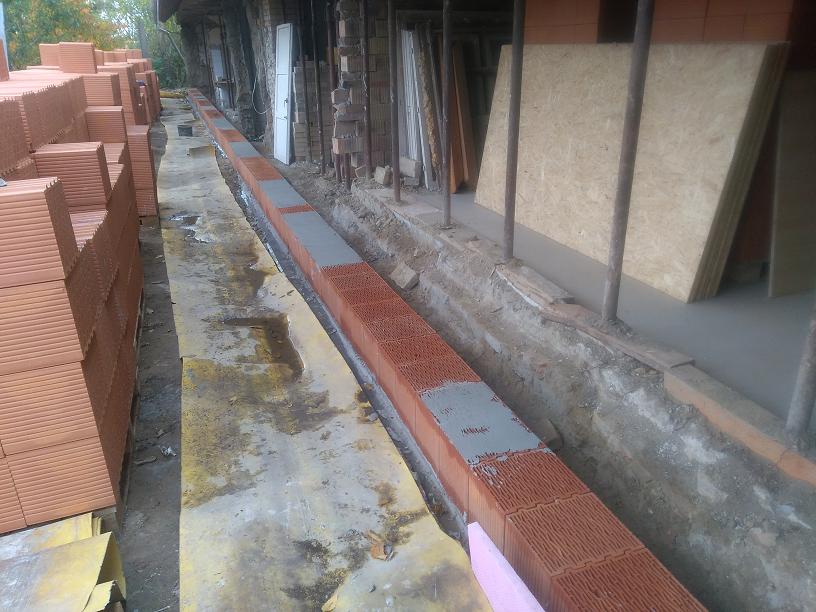
The first line is ready.
Minimum flotation was smoothed down to a precision of 1mm with a water level of 2.5m.
Practically I had to scrub every row at the beginning, because there were simply no bricks in line. (in principle, size brick, hahaha)
The sanding:
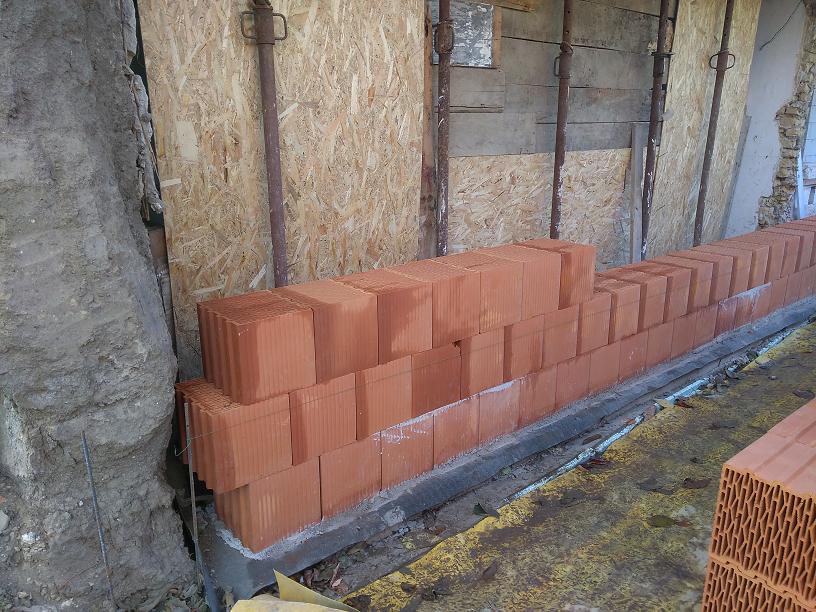
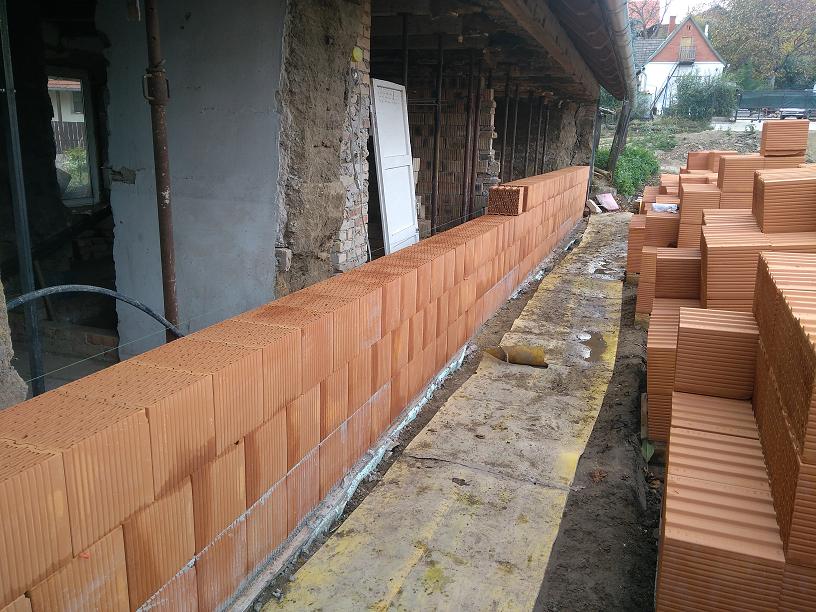
The second brick line.
Because it has to be glued with foam, this masonry method can be built quite quickly compared to conventional mortar, but requires high precision.
This is the adhesive foam. After each bottle, wash out the gun with such an acetone cleaning spray
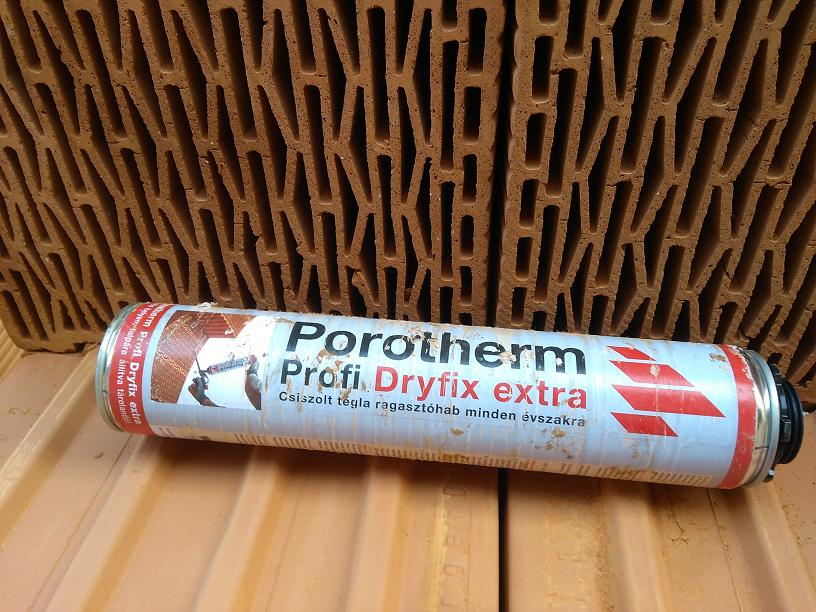
It works...
It is important that each brick is watered before gluing. For this I used a wide paint roller and a bucket of water.
You have to drink too, because it is tiring enough to lift 12-13kg bricks. Then I won't drink water :).
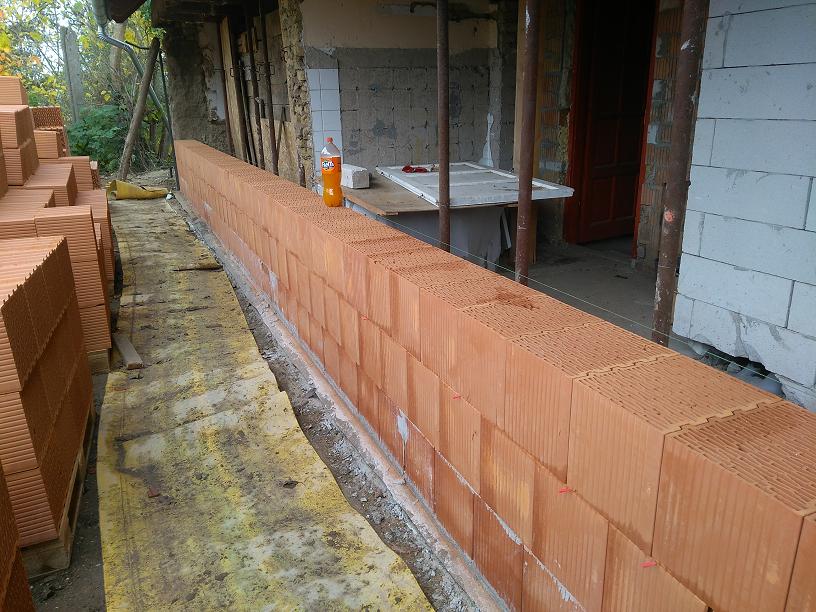
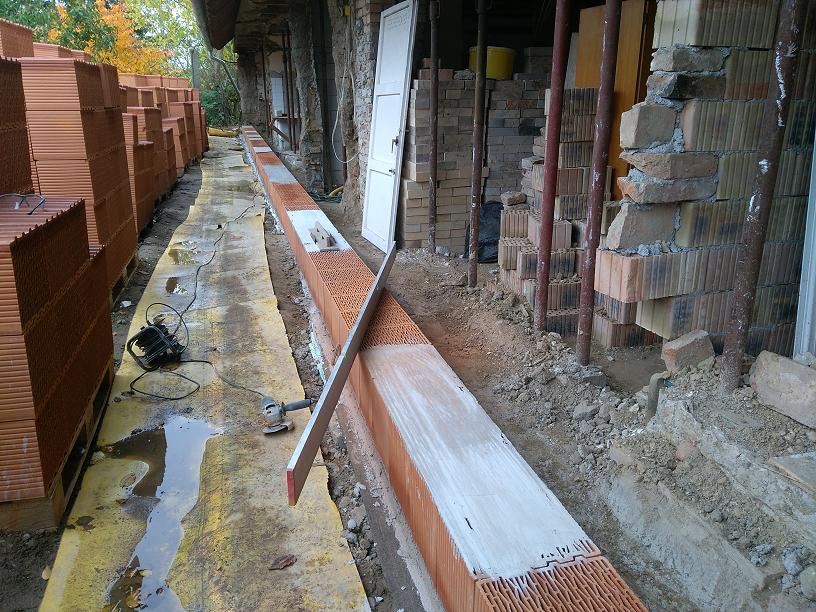
On the two sides I marked the vertical and the wall plane with steel.
The previous lines have already been concluded, so the iron could be tightened.
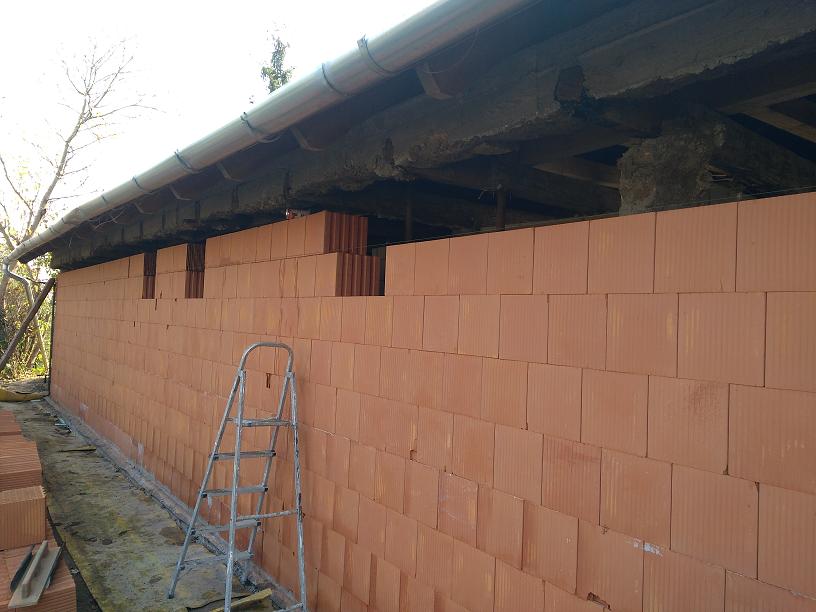
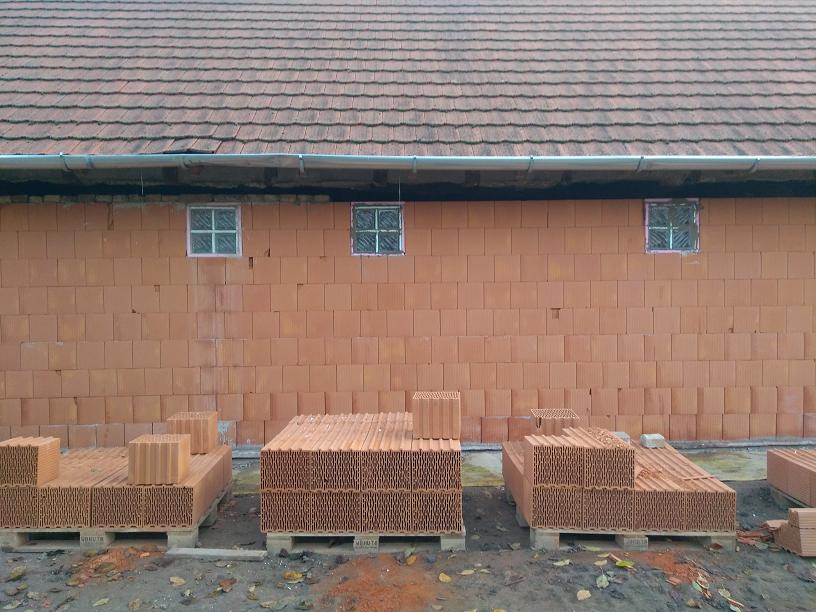
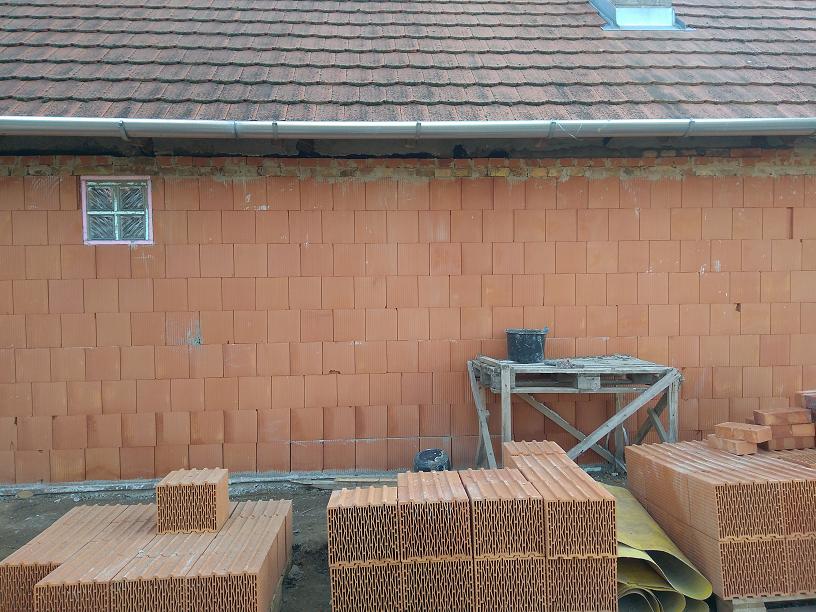
The location of the windows in the bathroom. I can't open it there because I want to build a ventilation system.
Losing the brick ...
There is no space for more lines
Room 2 looks like the new wall.
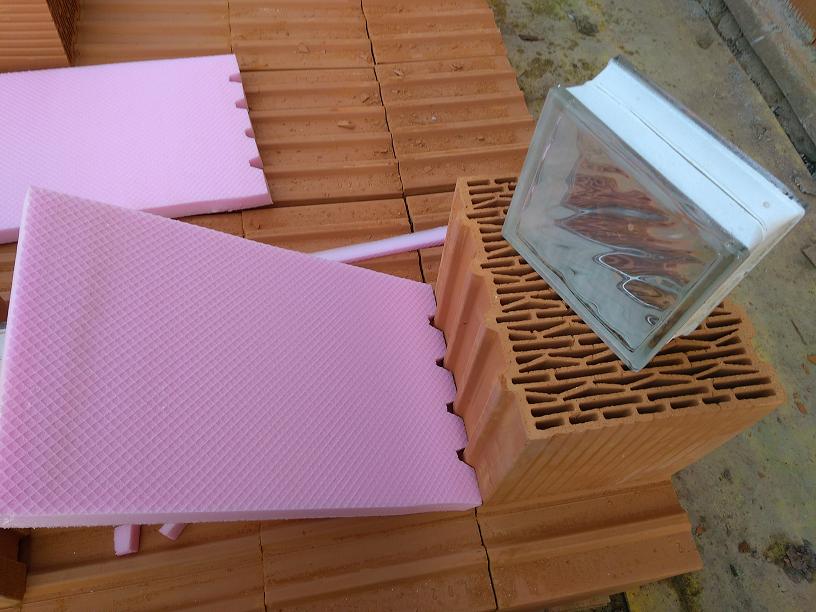
The location of the glass blocks is precisely cut out. Polystyrene sheets have been built to reduce the thermal bridge.
This is also quite unique to me :).
It looks like this ... In the meantime, on the top of the wall I started to load the large bricks that will distribute the load of the reinforced concrete slab.
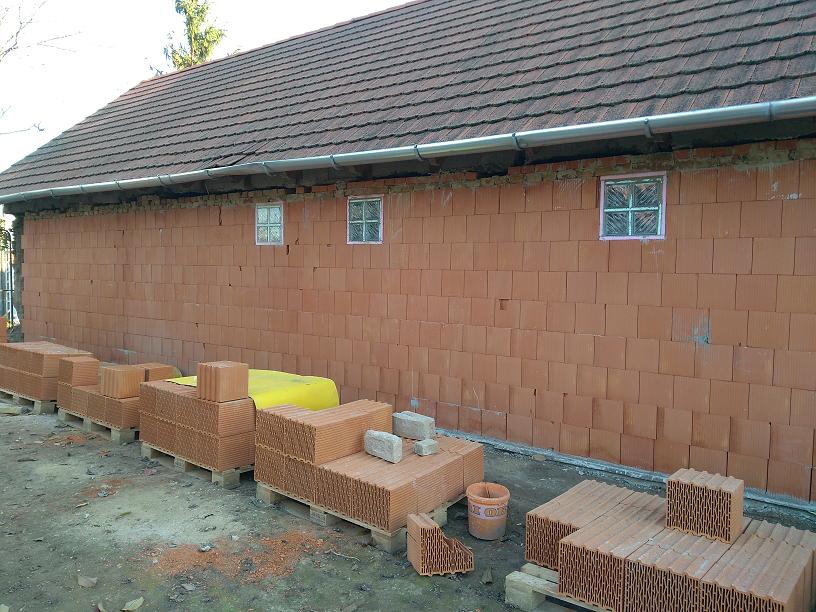
Windows in place +1 row of bricks on the top of the wall.
The glass blocks are glued with tile adhesive because it is flexible, so if it moves slightly it will not crack.
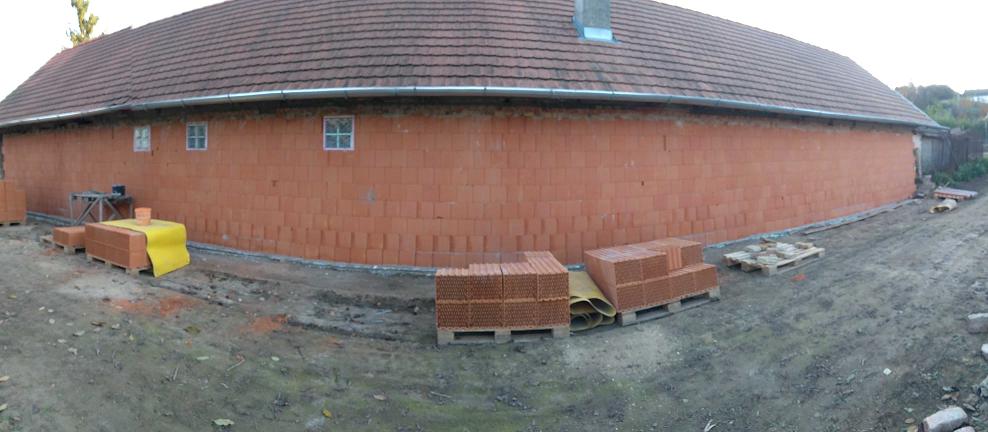
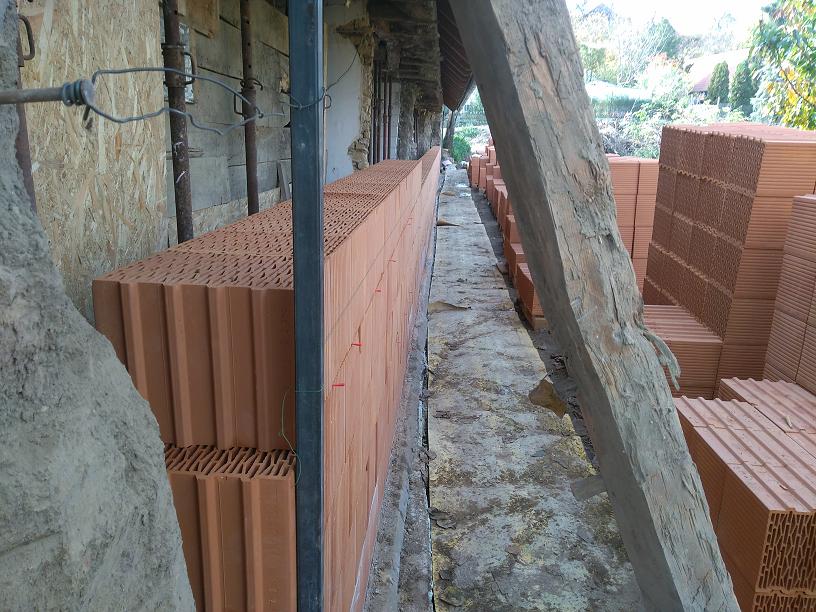
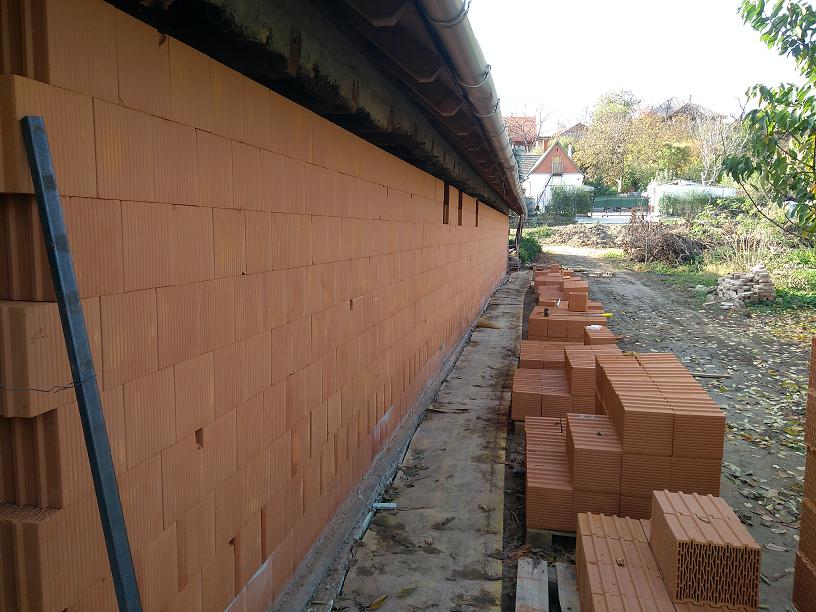
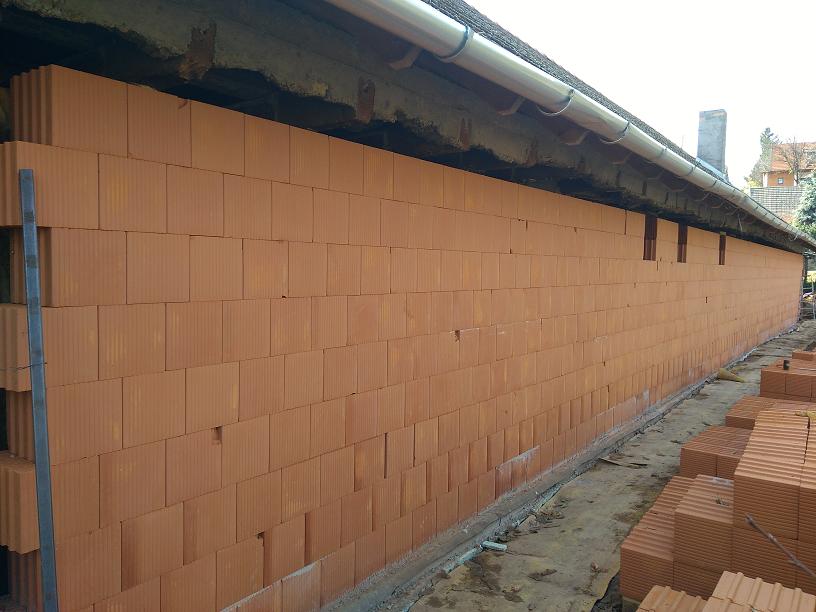
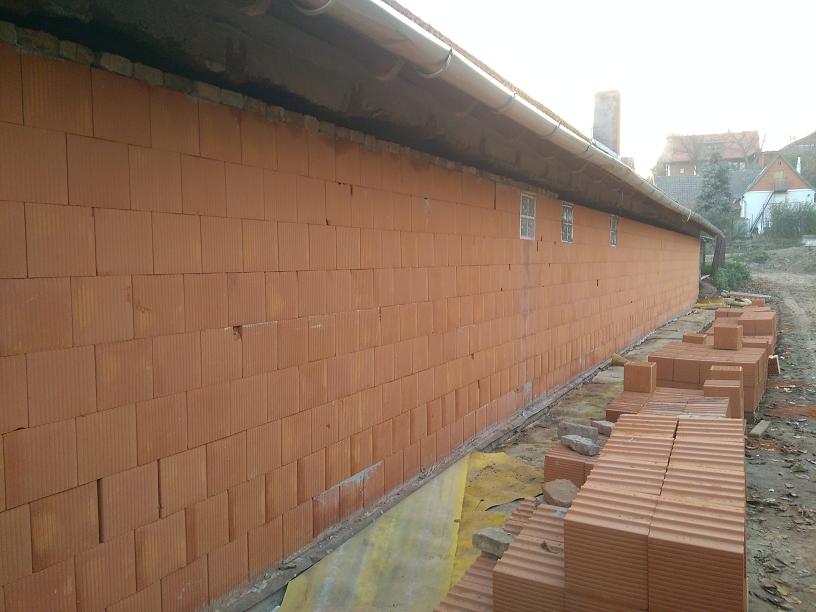
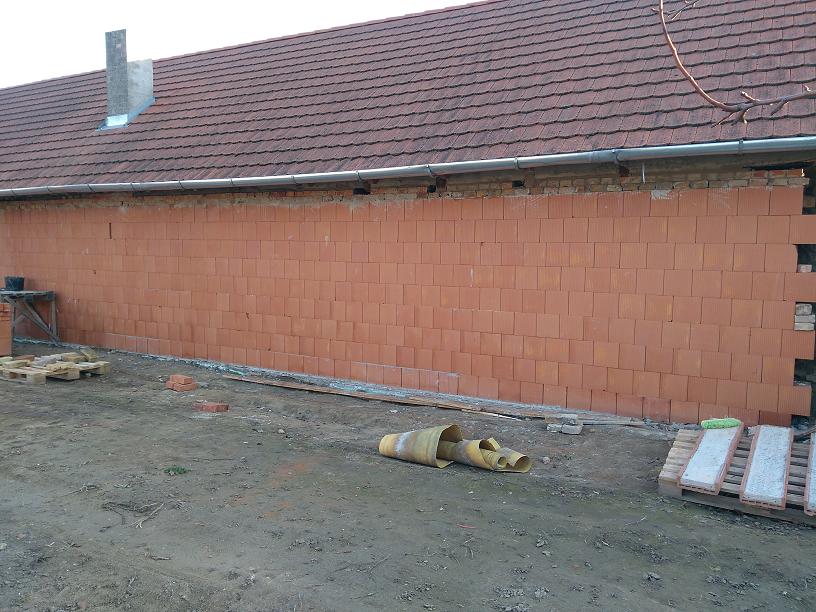
A panoramic wall view:
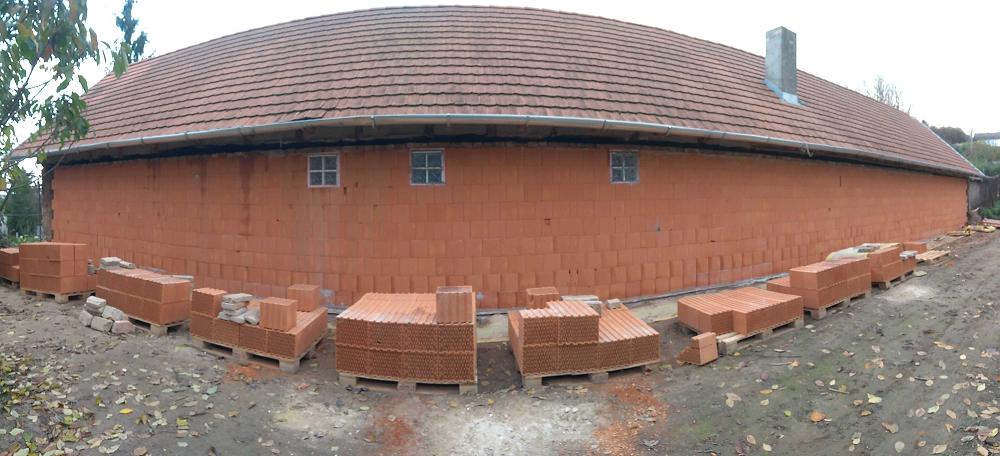
Another one

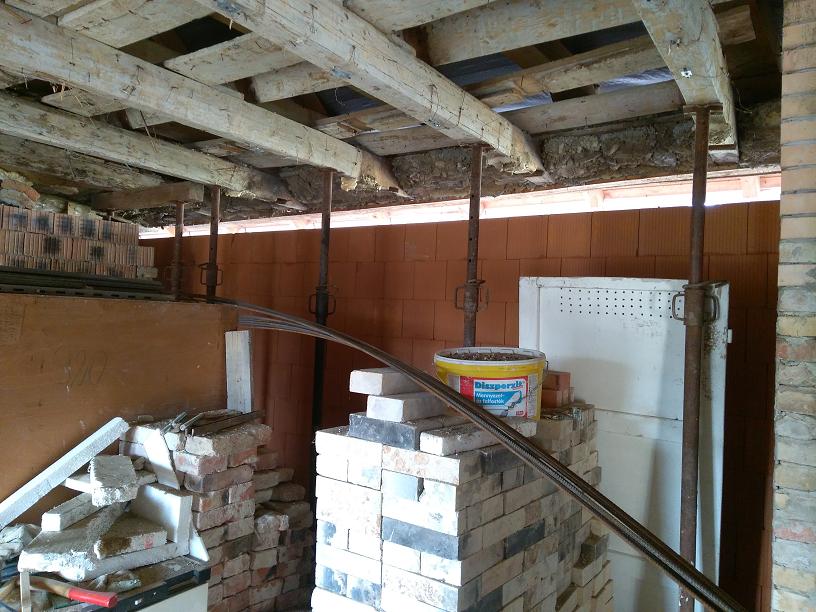
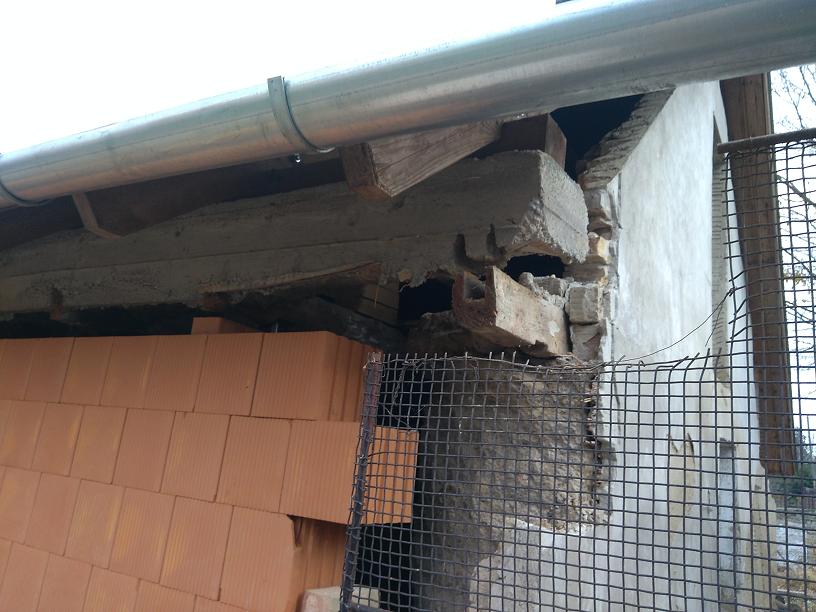
Here you can see how much the workshop is sinking because of the old wall and the former cellar.

In this way, I was able to help me buy a 5-ton hydraulic lift and take the beams alternately.
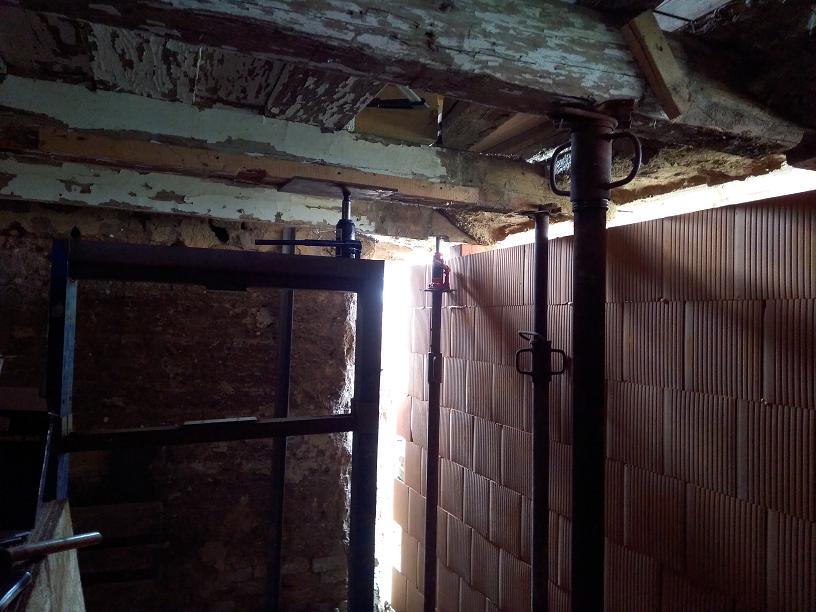
The gap opens (on the shield).
The beam was stretched out of the concrete to raise it. The beam location shows the lift (about 15cm).
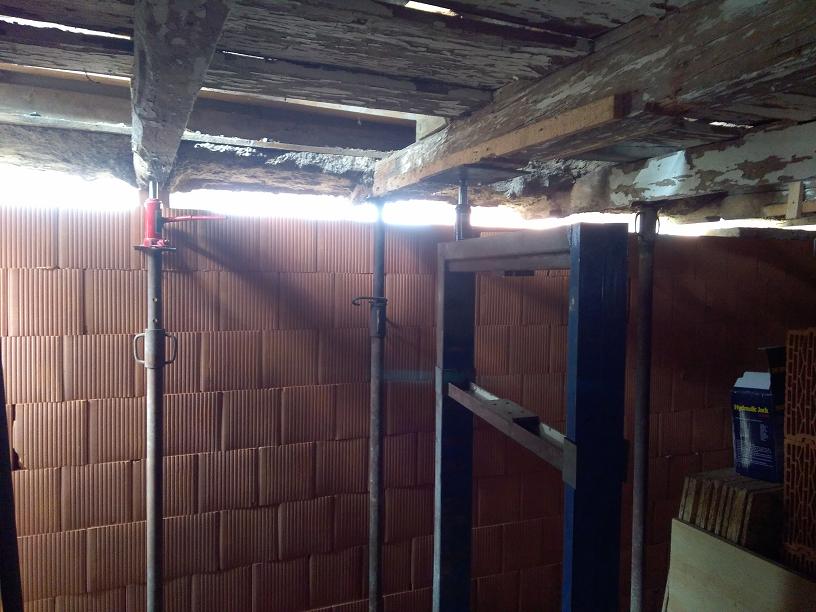
There is room for large bricks :).
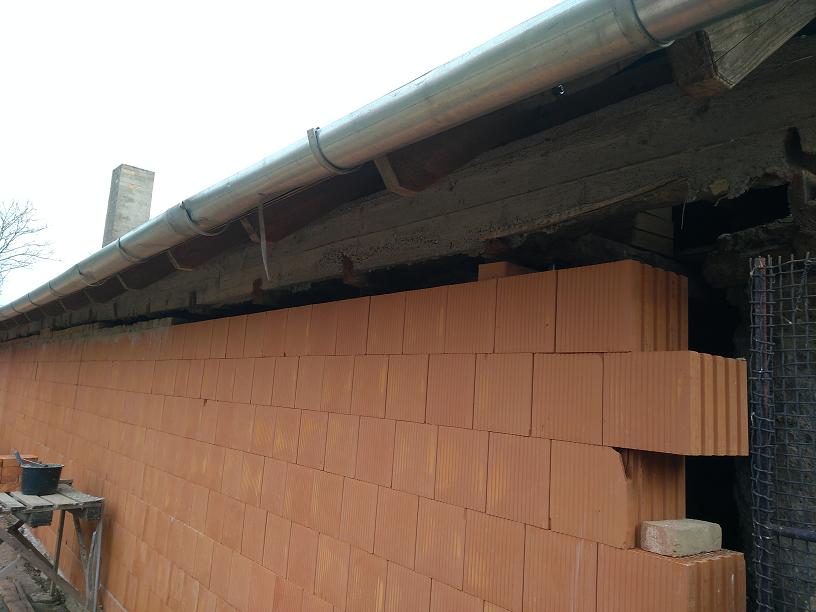
Even a small raise and the original level (I checked it with laser level inside).
It's good to look. The part above the bricks was covered with mortar, and then the roof was released a bit.
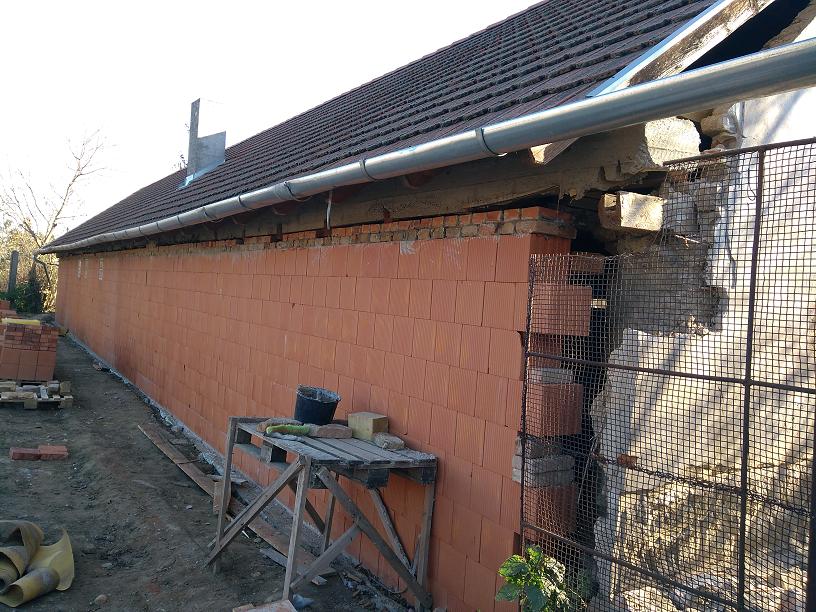
So it has been planted firmly at the workshop. You have to let it go, because a stormy wind could drop the wall!
After the bonding, the inner supports were removed.
This was a pallet racked up from my pallet to help me reach the top of the wall. It wouldn't be too safe from a ladder.
Then the top of the wall continued to be plastered. Unfortunately, due to the cold, no time was left for the big room (last 5 meters).
So, on the last day, I had to work in a stormy wind, and it was +8 degrees.
Continue unfortunately next year. The weather was so gracious that it had allowed foundation and masonry so far.
However, I do not start to work wet in the day under 8 degrees, because simply the binder does not bind.
This was a good choice because it had been freezing for 2 weeks ...
Last Image of the Year: