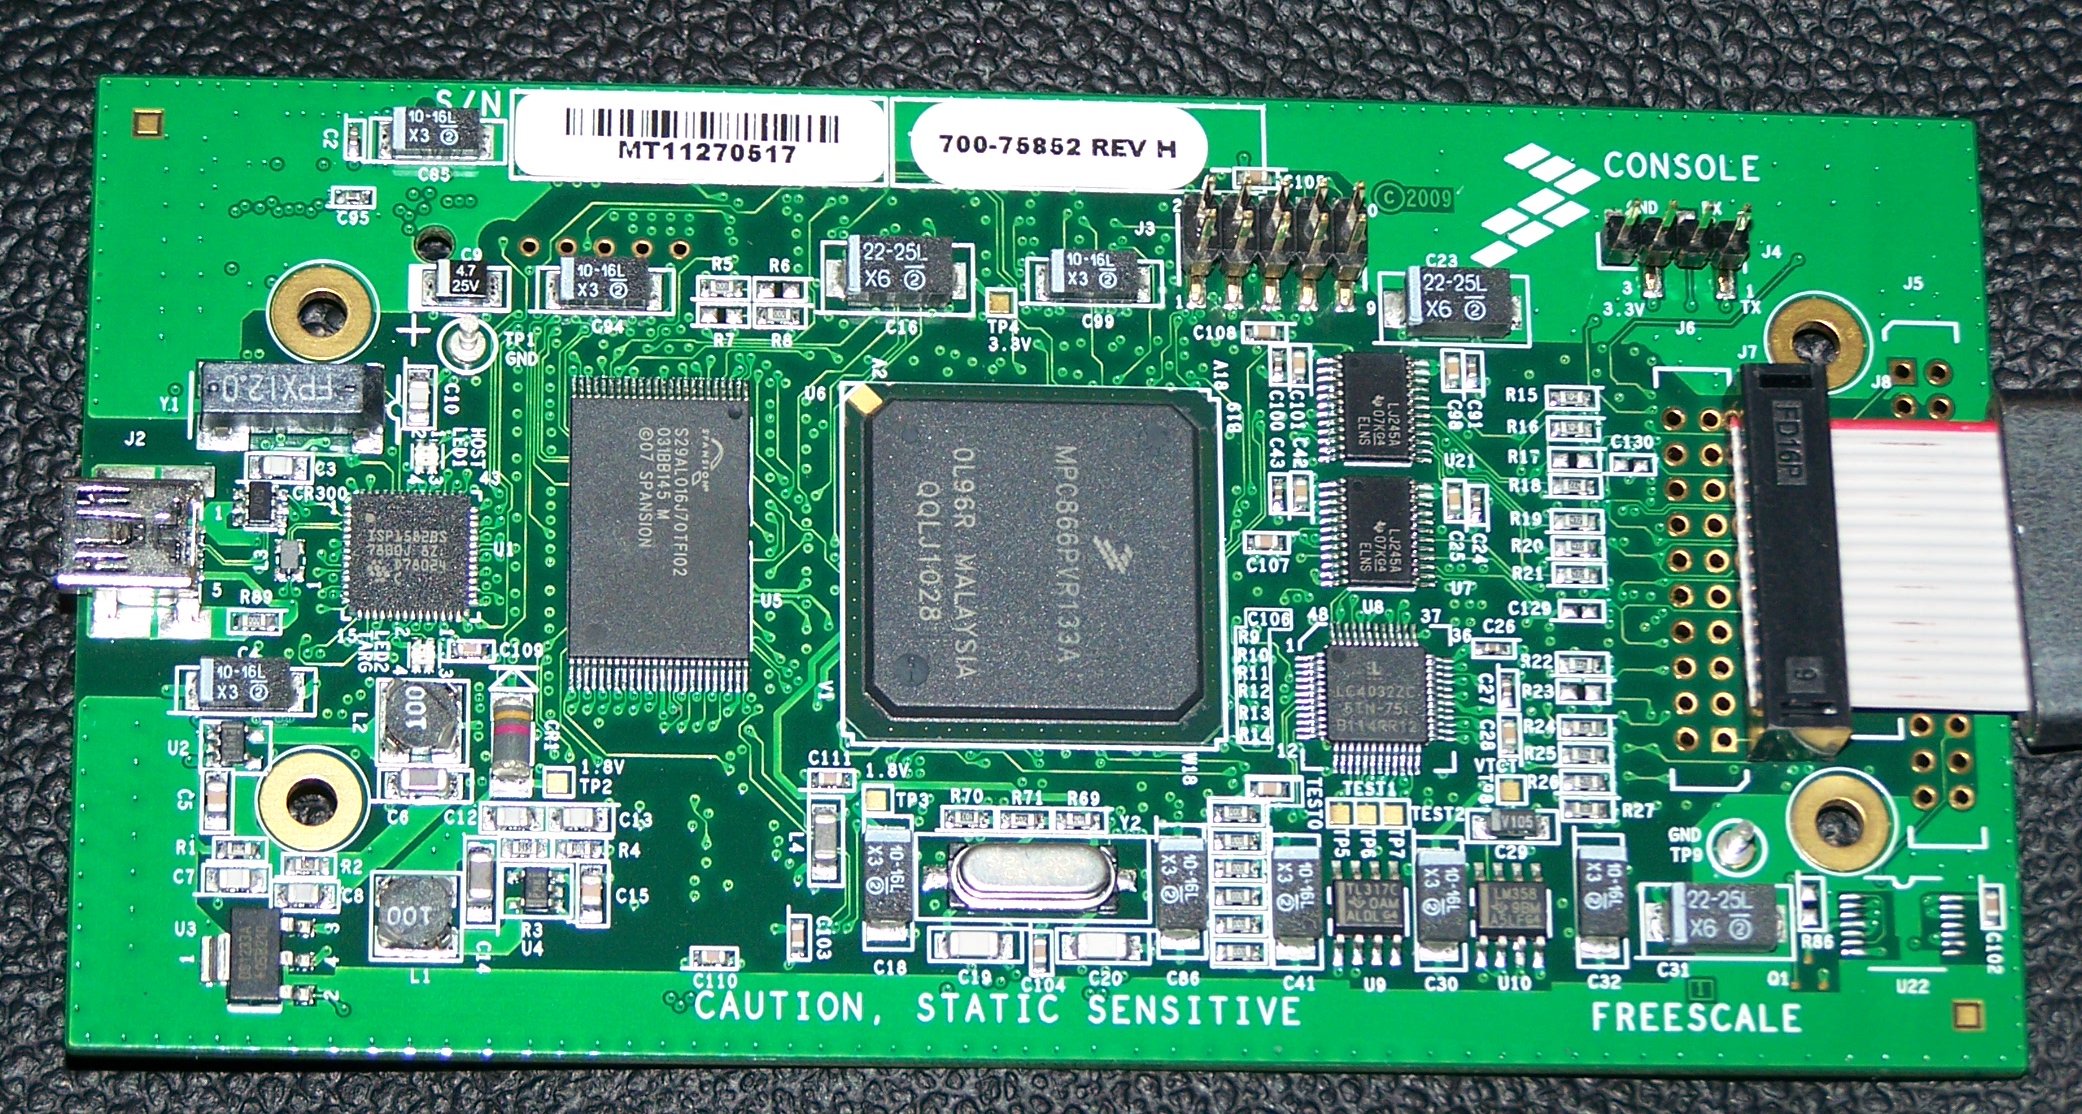
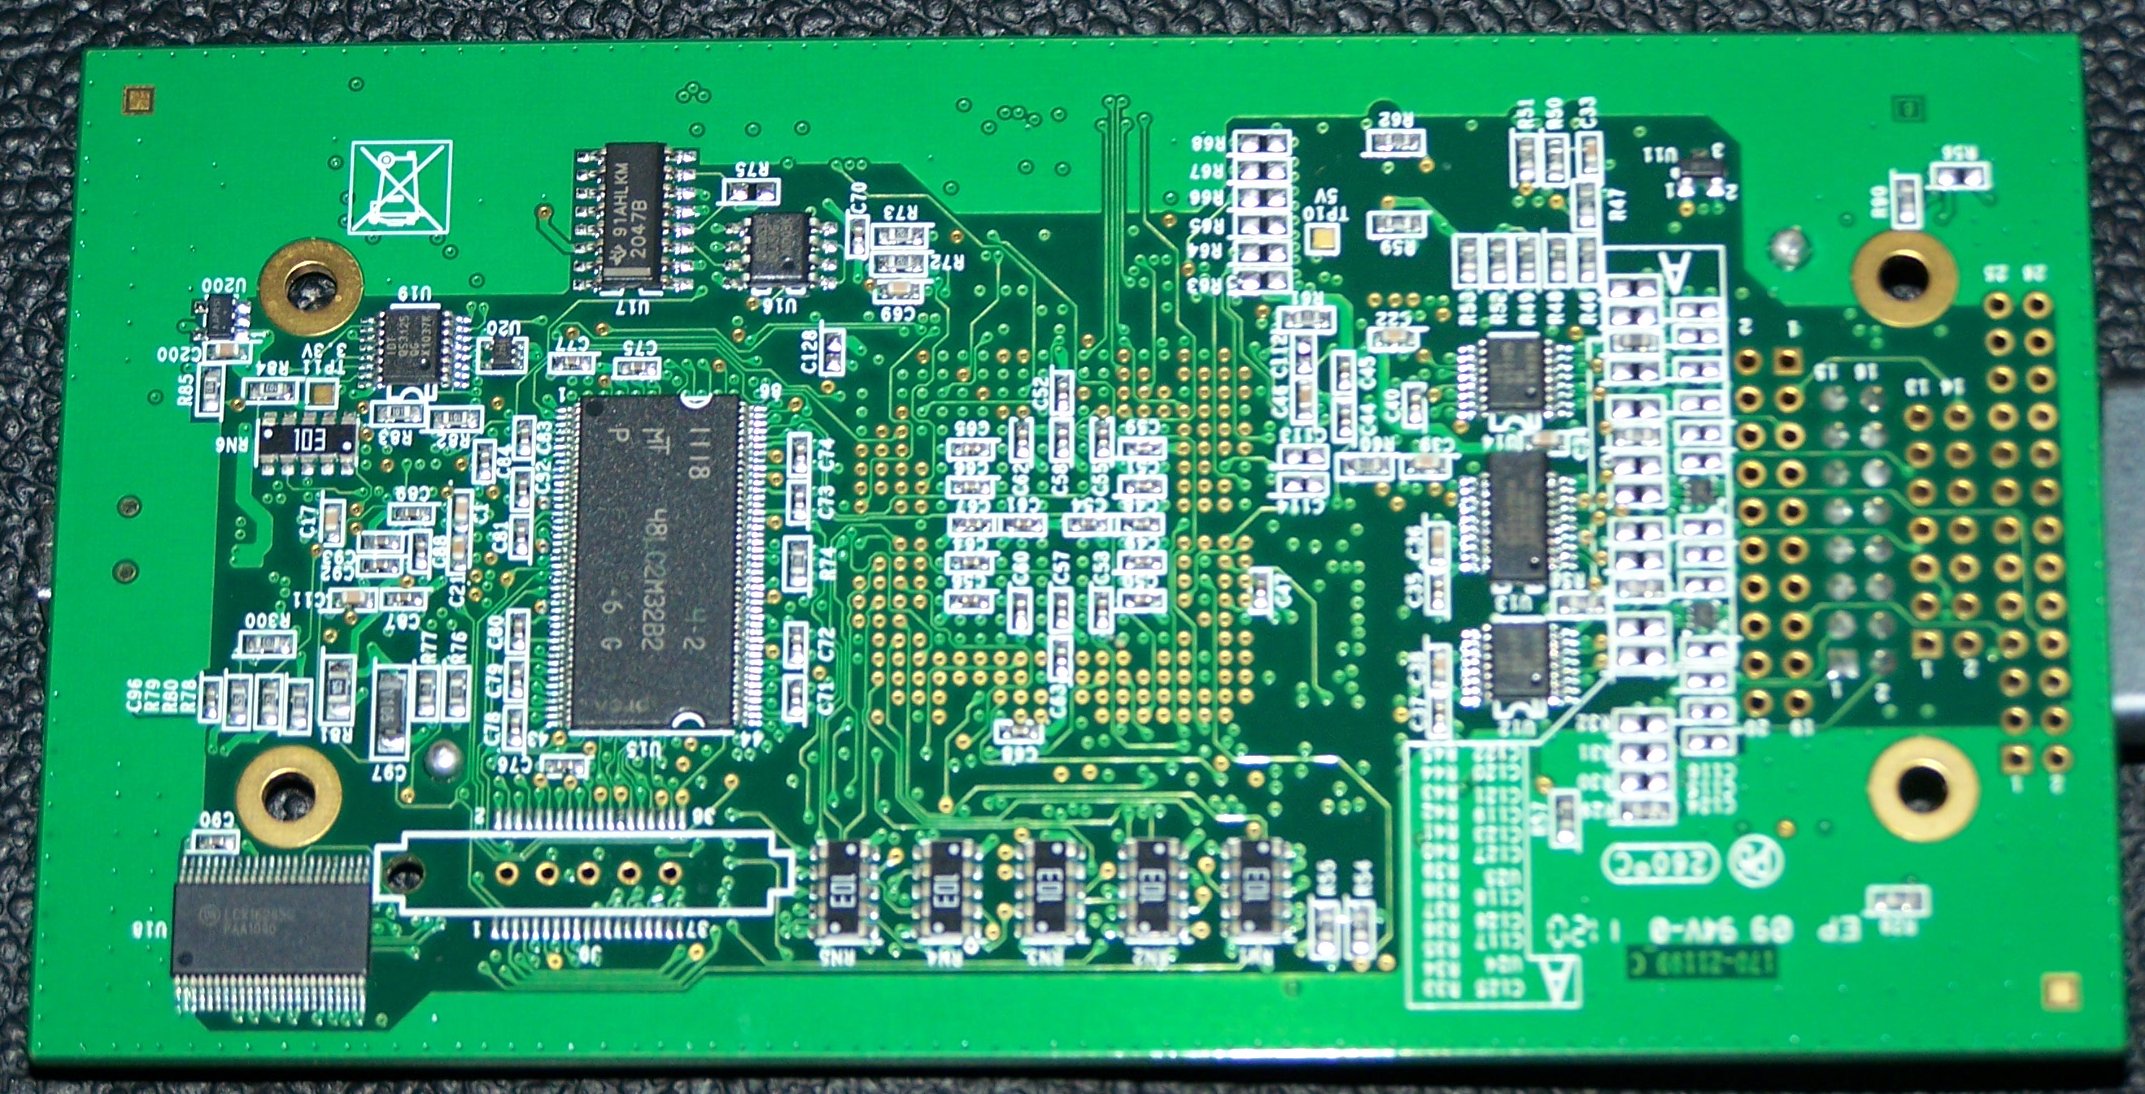
The Freeescale support was very gently, so they are provided a free replacement for my dead USB-TAP. Of course I have disassembled it to check that did they added ESD protection to the USB lines.
Yes they did:


Yes they did:
|
The Freeescale support was very gently, so they are provided a free replacement for my dead USB-TAP. Of course I have disassembled it to check that did they added ESD protection to the USB lines.
Yes they did: 1.Add the folowing to pro file:
and the binaries won't mess up your sorce code directory 2. Make the following modifications in the main.cpp: Why? The QTextCodec trick is neccessary because the sourcecode is UTF-8 encoded, and if I want to put a string from the code to somewhere I would need to use QString::fromUtf8(). If you do not believe check a generated ui_*.h file. Always give set the name to your application and the application domain. This is useful when you are using QSettings, you do not need to give constructor arguments when creating a settings object. The settings object constructed in this way always use a separate data area specified by the platform. (.config/QCodeApplication::applicationDomain/QCoreApplication:applicationName.ini on Linux and registry on Windows) Recently I had a project which was based on a 18F series PIC.
According to the "The well known ecosystem improves the productivity" motto I have decided to do the development on my Linux box. After a while I have noticed that there are not any usable enviroment for 18F development on Linux. I have tried the MPLAB on windows too, but the "ignore all well known gui actions (doubleclick on code makes breakpoint for e.g.)" idiot behaviour driven me crazy. The Piklab is an unstable stuff, the MPLAB X is a java based slow bullshit, which does not supports ICD2, Piklab2. I have decided to setup an enviroment using GNU make. The Makefile below can be used with the Linux version of MCC18 compiler. Read more... Preface: I will call new bus "foo" in this example, so replace the foo with your bus name in the examples case sensitive.
1. Write the bus code. (Implement the necessary functions, and members for the URJ_BUS_DRIVER structure. see. include/urjtag/bus_driver.h) 2. Add the bus to the URJ_DRIVER_SET([bus], []) array in the urjtag/configure.ac 3. Add the following code the urjtag/src/bus/buses_list.h: #ifdef ENABLE_BUS_FOO _URJ_BUS(foo) #endif Please keep this list sorted alphabetically as it noted in the header. 4. Add the following snipplet to the urjtag/src/bus/Makefile.am: if ENABLE_BUS_FOO libbus_la_SOURCES += foo.c endif 5. Now you are ready to make the UrJTAG with the new bus. Run ./autogen.sh && make in the source directory. |
