| [ < ] | [ > ] | [ << ] | [ Up ] | [ >> ] | [Top] | [Contents] | [Index] | [ ? ] |
First, start the WinCVS client software. If it is the first time after installation of the client you will be presented with the Tip of the Day dialog box. Just click on Close for the time being.
You will now be presented with the WinCVS Preferences dialog box. If it is not the first time running the WinCVS client, then from the file menu click on Admin then Preferences The following dialog box will appear.
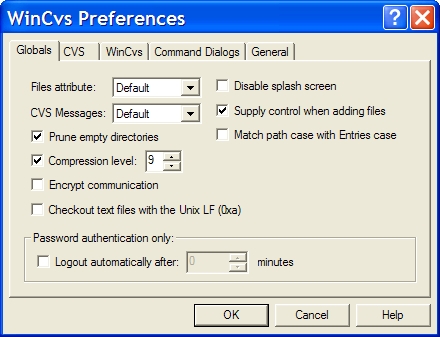
Now fill in this dialog box to match the screenshot below.
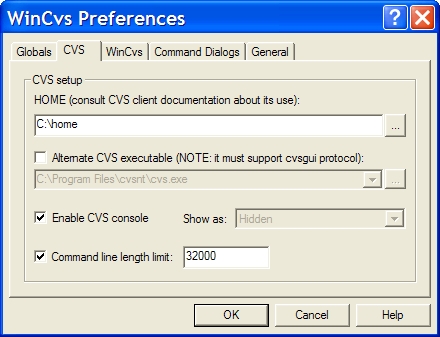
Note: Developers with CVS write-access should replace `:pserver:' with `:ext:' and `anonymous' with their SourceForge username. Developers also need to change the Authentication field to SSH Server.
| [ < ] | [ > ] | [ << ] | [ Up ] | [ >> ] |
This document was generated using texi2html 1.76.