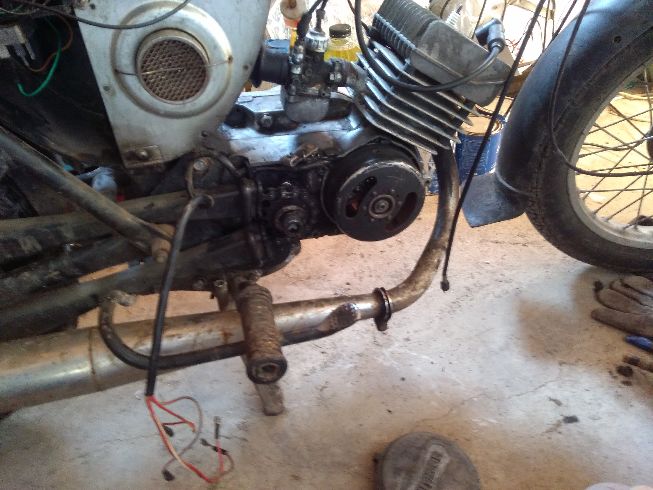
Oil was pouring everywhere ...
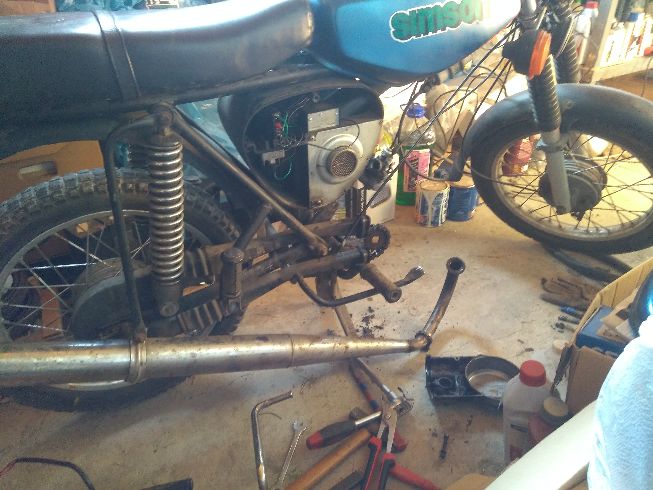
Mechanical refurbishment of Simson S51b
Once the electrical problems have been resolved (ignition switch
and wiring errors),
unfortunately, we had to start solving other
problems.
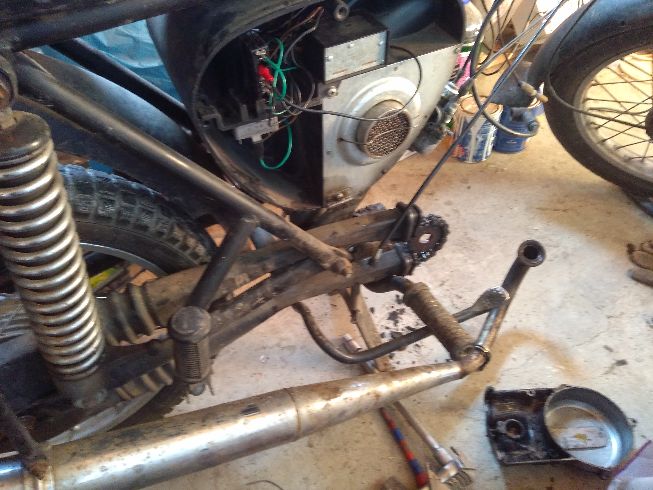
Oil
was pouring everywhere ...


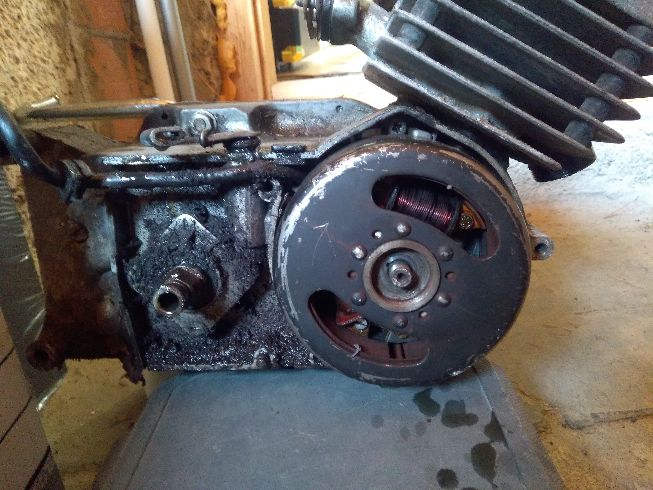
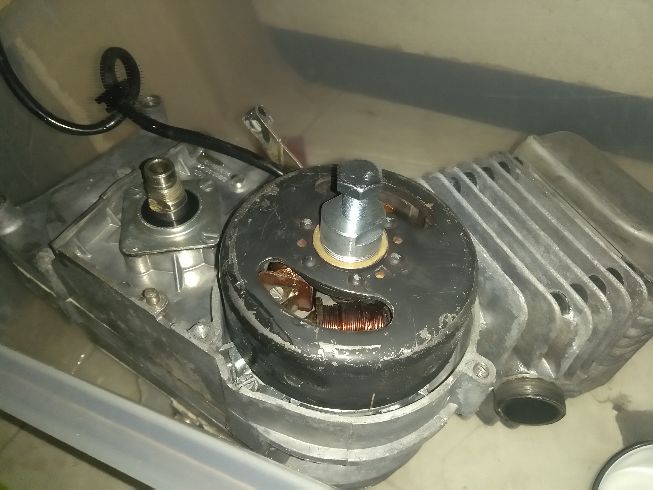
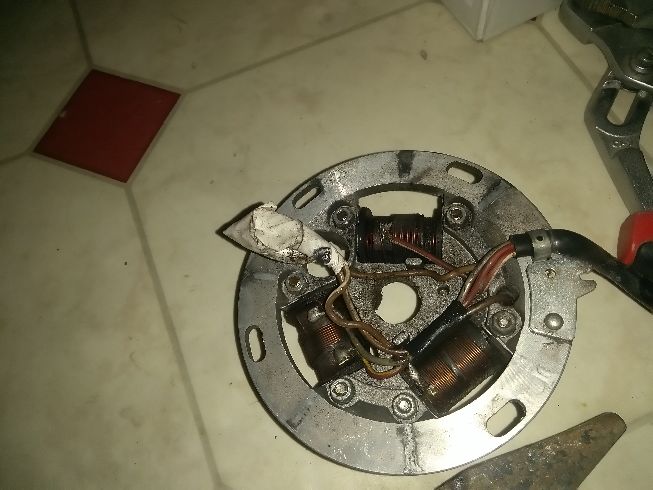
The
lighting coil is also charred ...
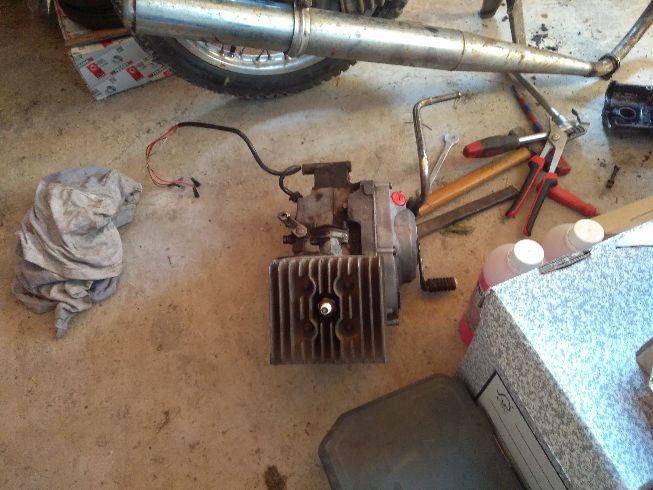
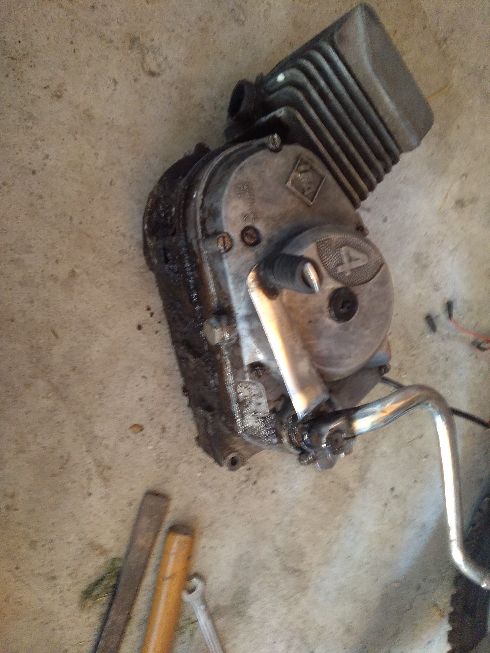
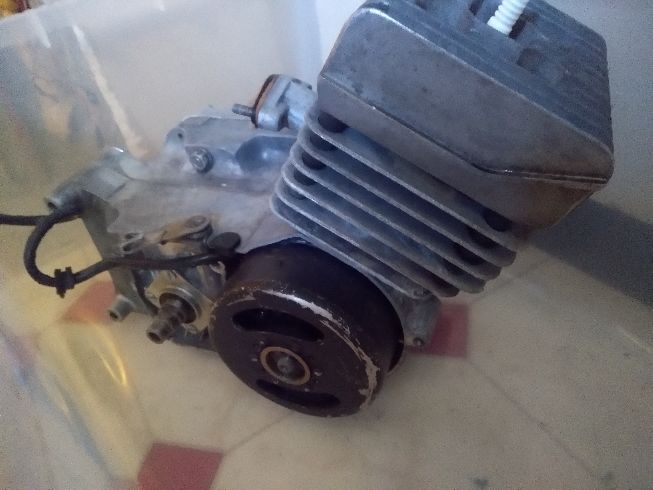
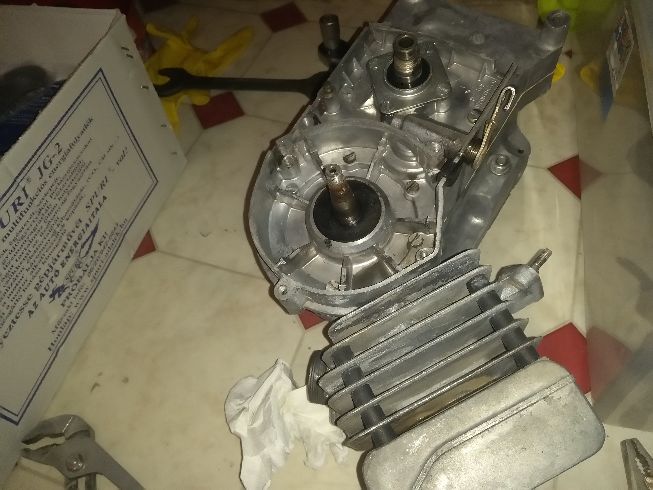
Engine
out
A
little oil mud on the bottom
but
really small ...
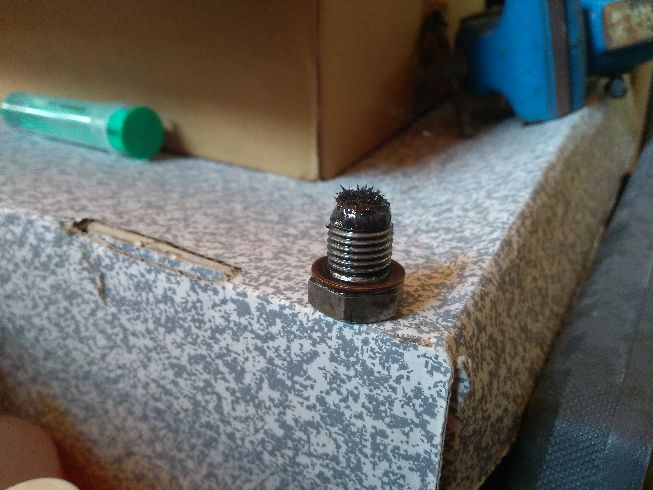
The metal chips on the oil drain screw do not do much good ...
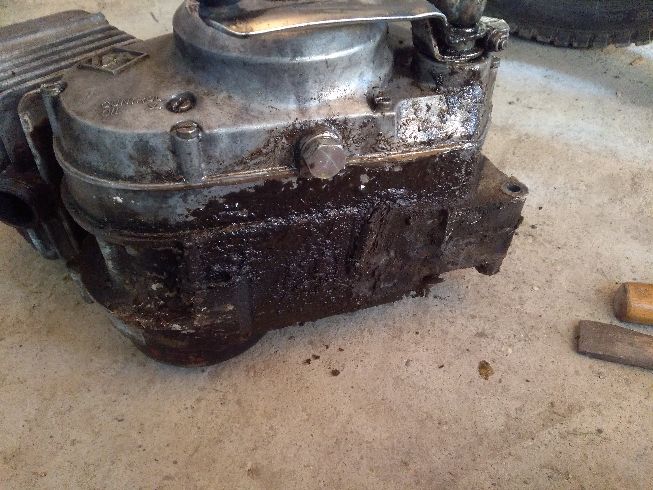
Even
when put up, it didn't look nicer

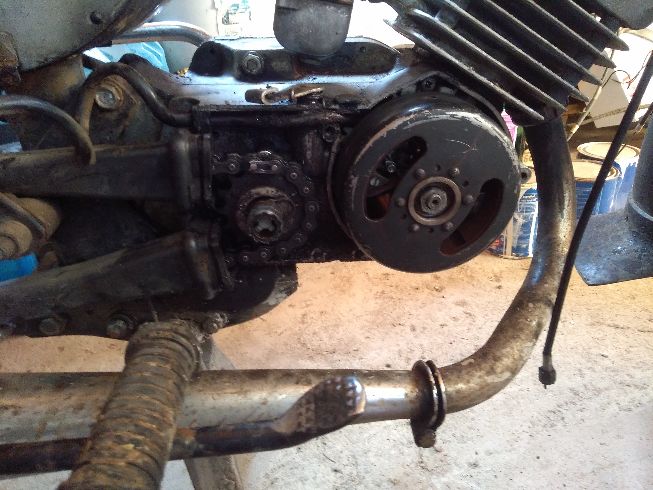
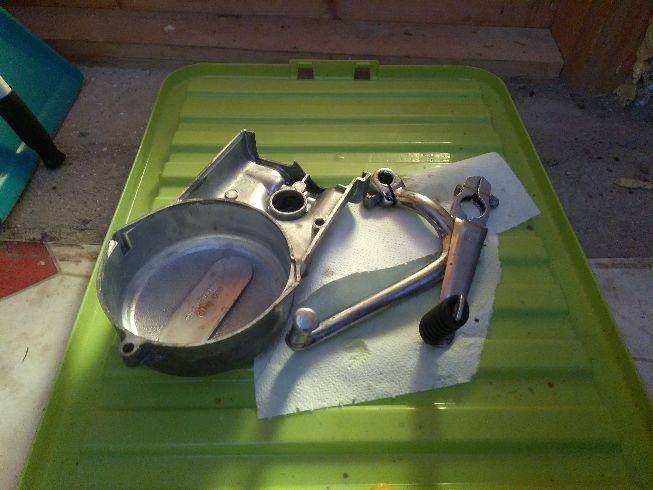
Like
all other seals, oil was spilled at the kick arm.

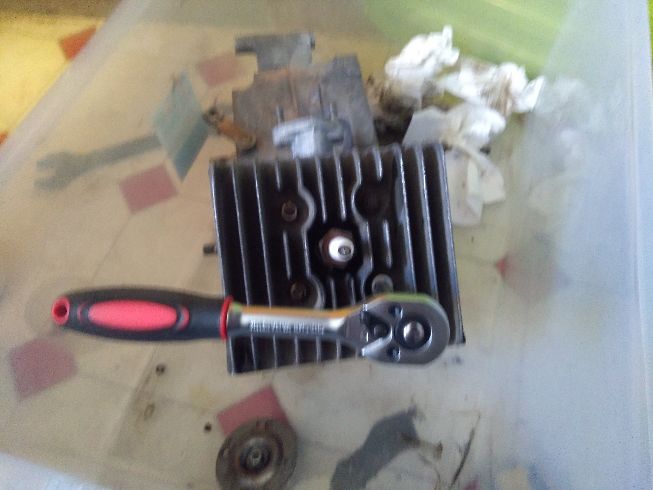
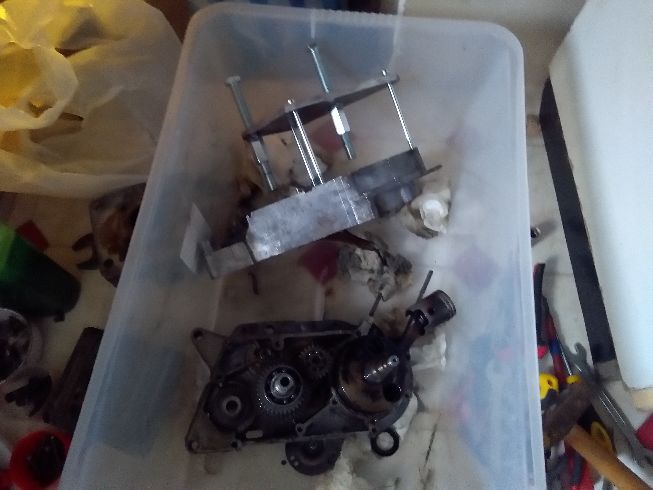
I
started to clean it in a big plastic box
It's
the result of half an hour of screaming ...
Finally
2 Liter Brigéciol and after 2 days of screaming it became ...
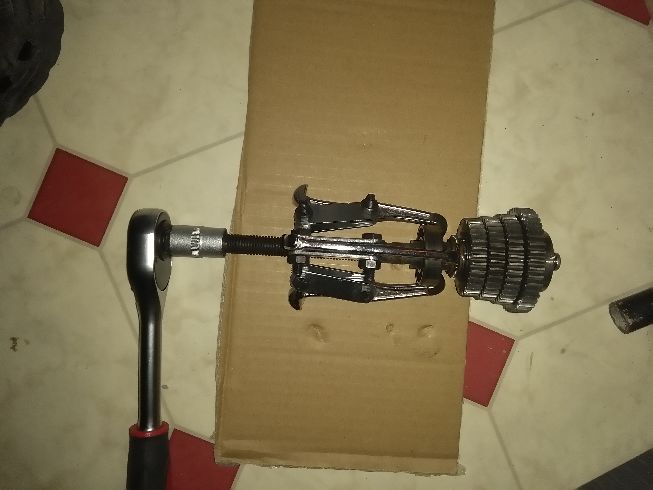
It
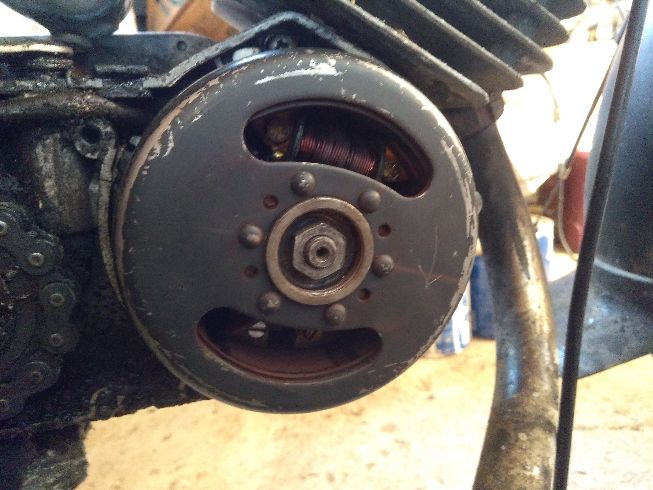
is mandatory to use a special tool for the flywheel to remove it!
Magnets can crush
when knocked. The crankshaft will not thank you either!
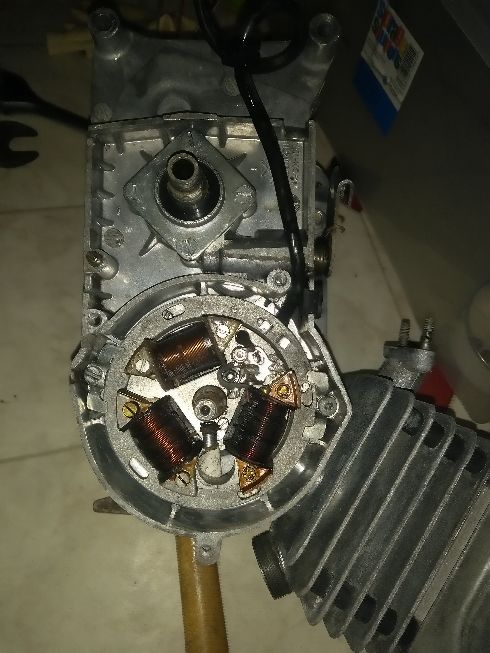
The
roll towards the cylinder head is the shorted ...
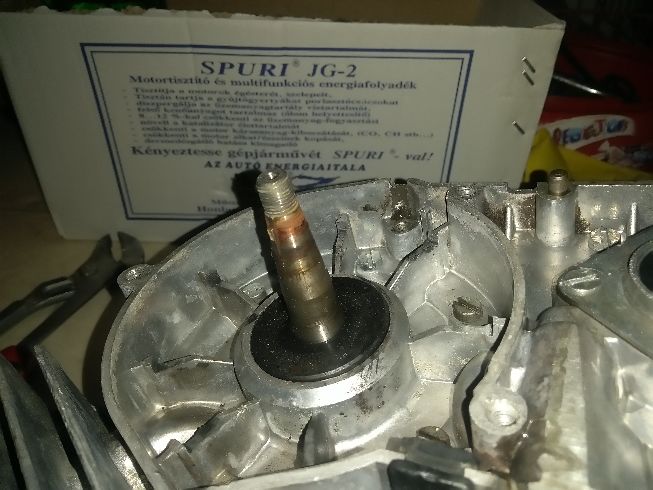
The
crankshaft seal is protruding ... I think it should be flat ... It
can be created by plugging in ...
A
true specialist is: insulating tape and cracked wire. It's the
reason that the machine sometimes stops ...
It's
already stripped here
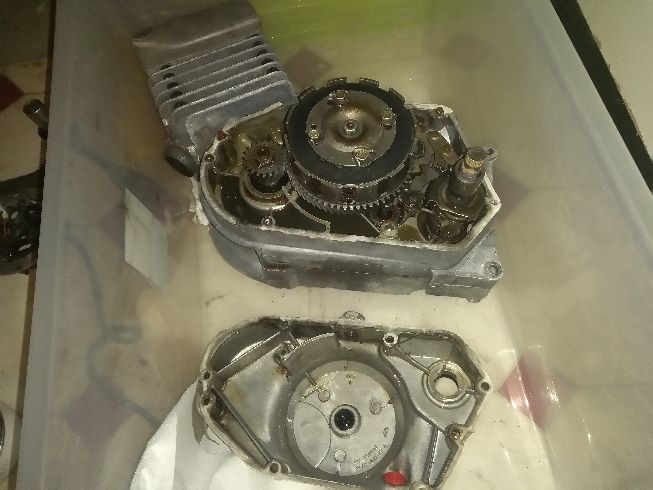
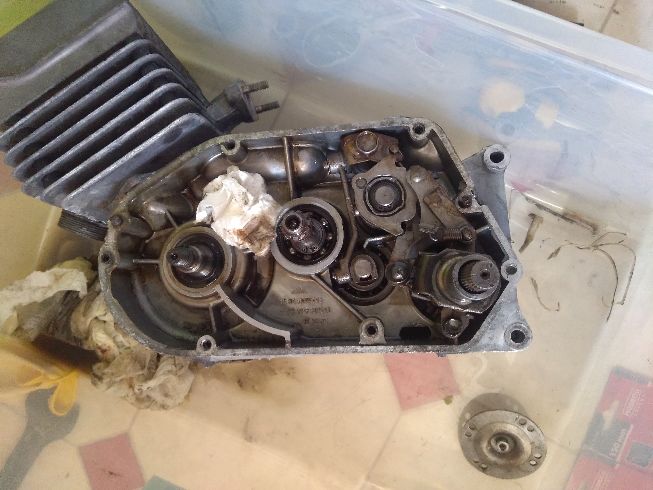
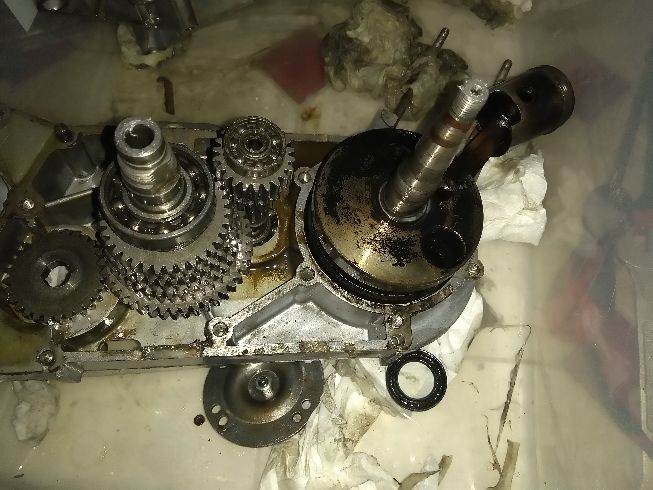
The
gears look good here.
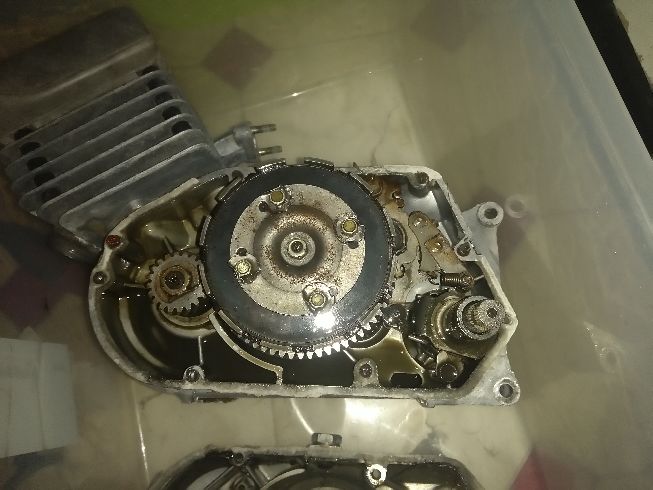
The
clutch basket is also visible.
The
lamellas are strange enough ...

Crankshaft
Gear ... Well, this is the hardest thing to remove carefully.
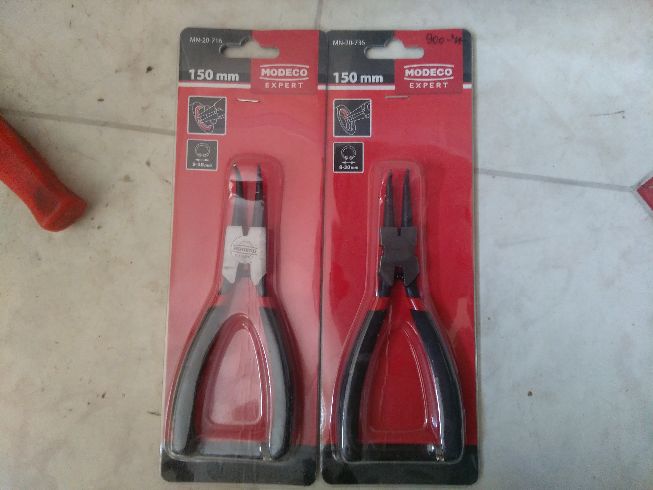
I
needed a few new zigzag pliers for the others.
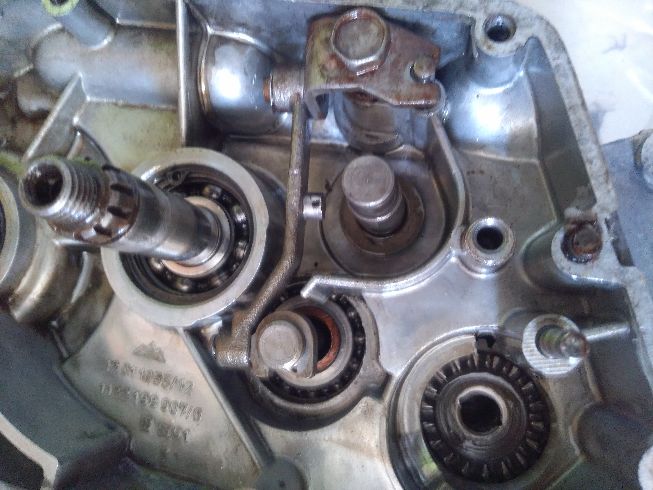
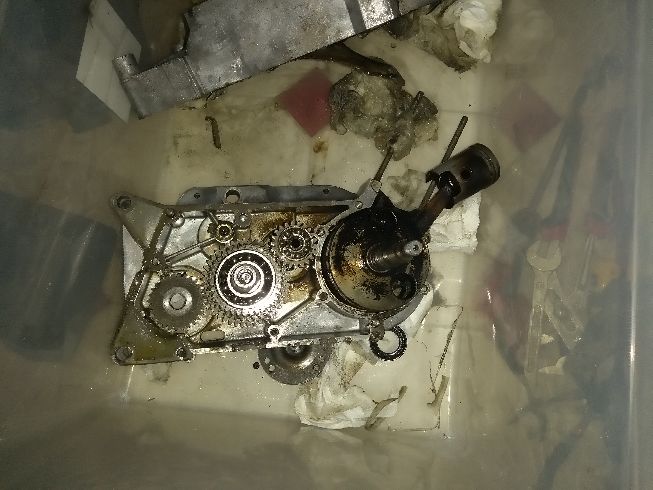
The
gearbox is already visible
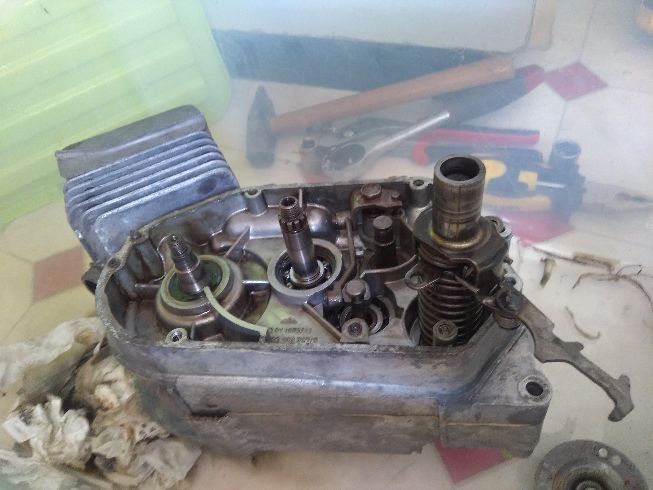
Everything
looks crap in it ...
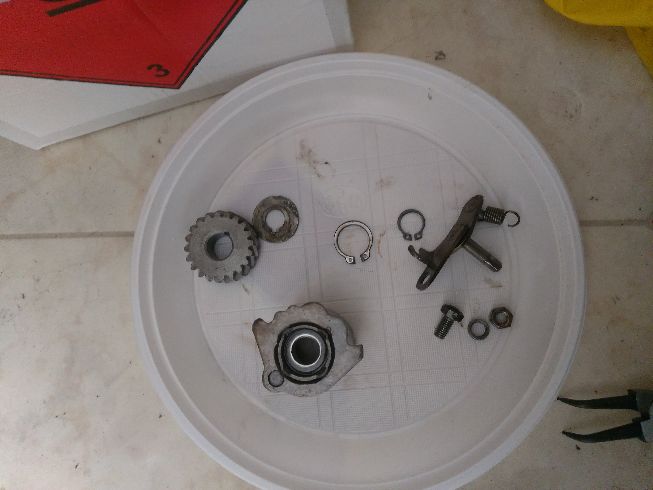
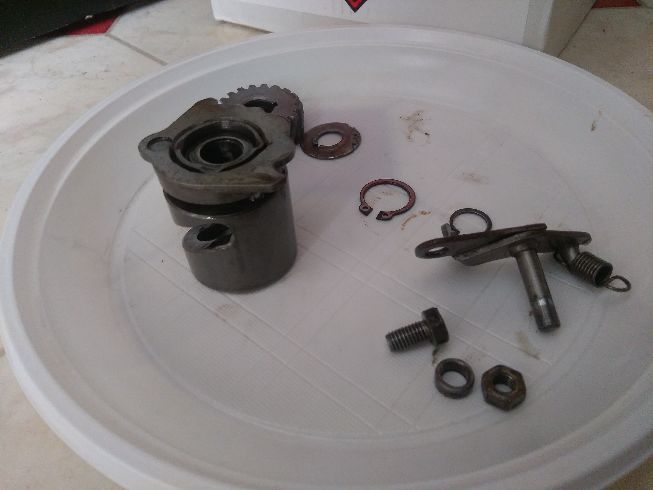
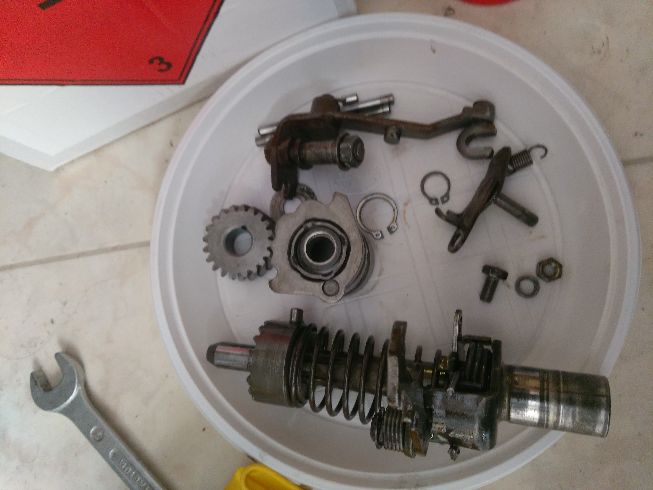
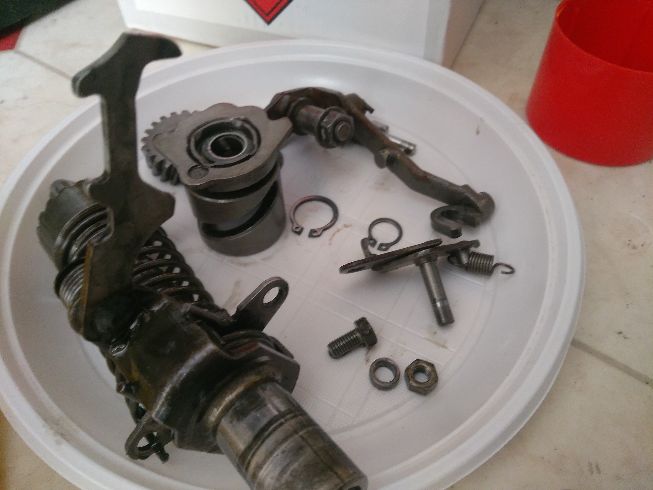
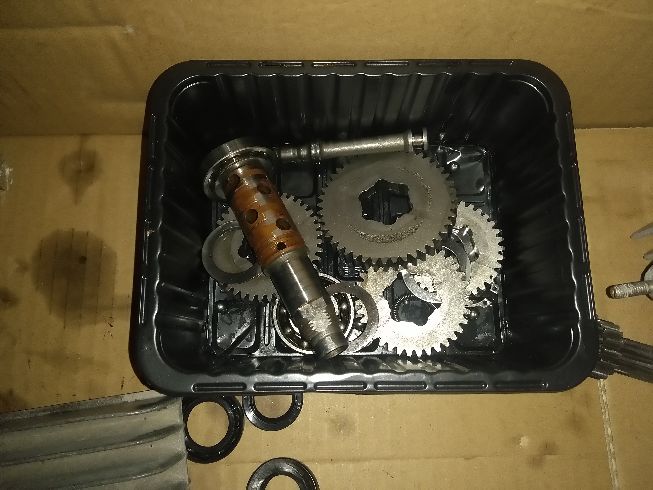
Parts
collected...
A
fact laughing at lunch?
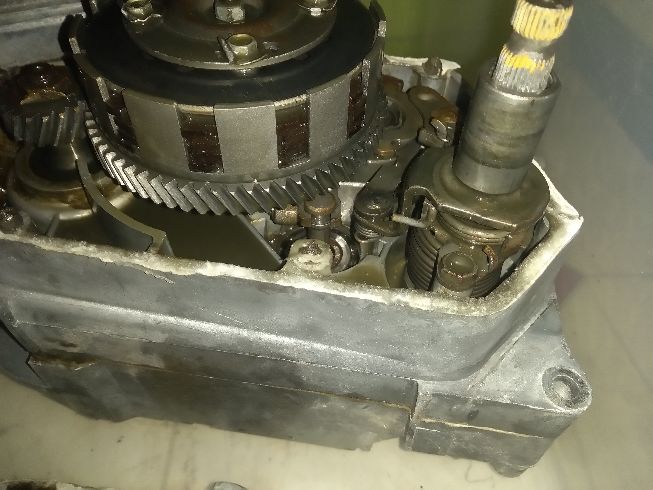
Now,
in the gearbox, everything was drooling that could only drool.
All
shafts worn out ... Wonder if it didn't change properly.
Even
the shift drum was drooling...
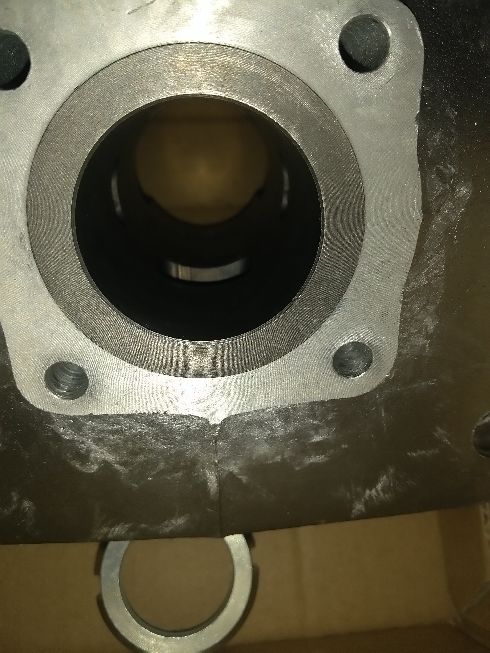
The
cylinder also blows out a bit ...

Look
inside:

It's
quite sooty.
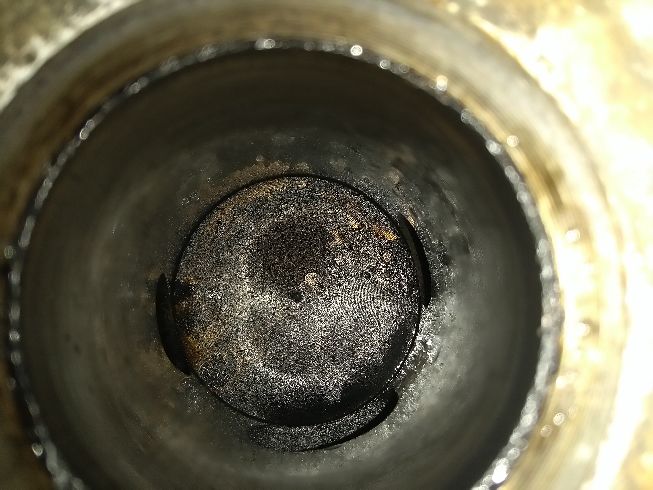
There
might have been a lot of oil in the gasoline. And what went wrong
with the crankshaft with faulty seals.
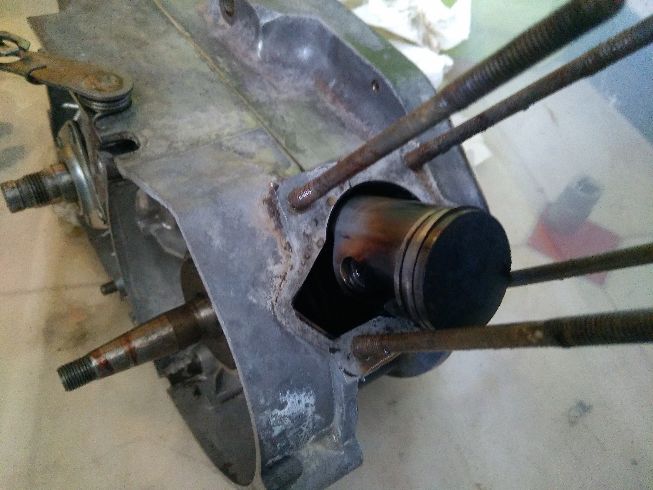
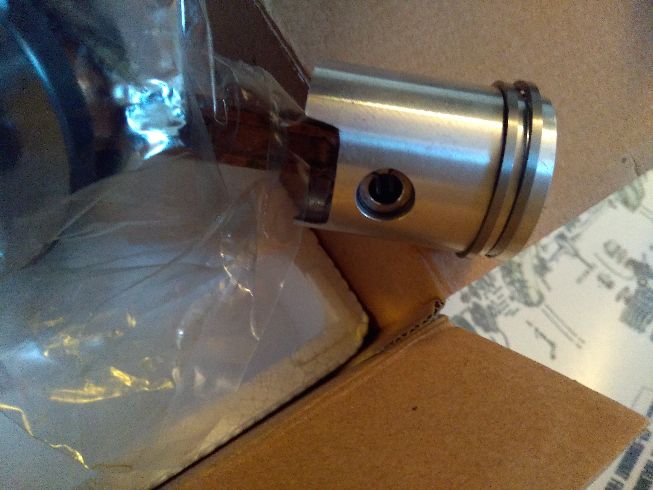
Nice
colorful piston. It does it as an ornament, but not really good for
anything else.
The
rings still did quite well.
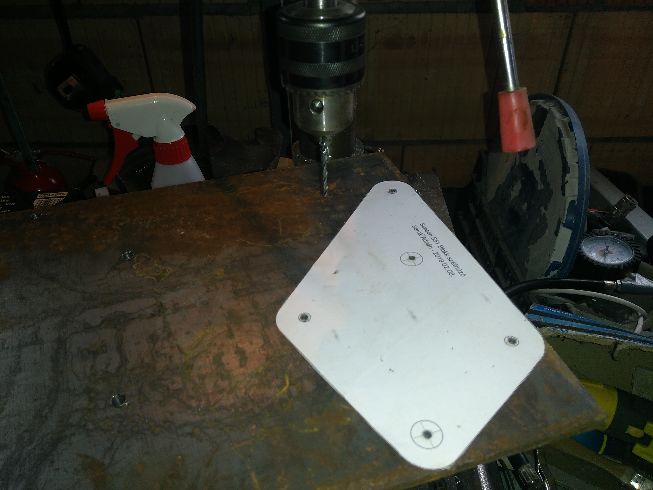
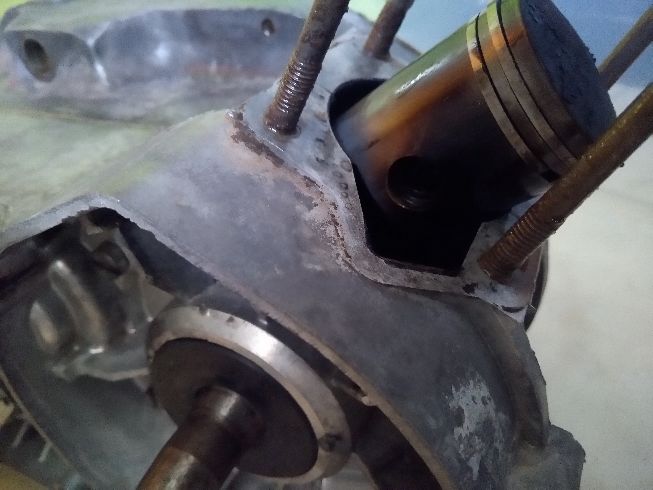
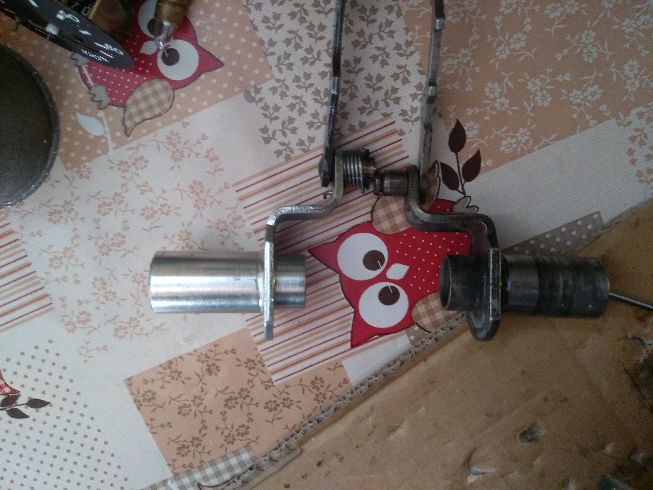
For
the rest I had to make a block pulling tool.
8mm
plate will do :).
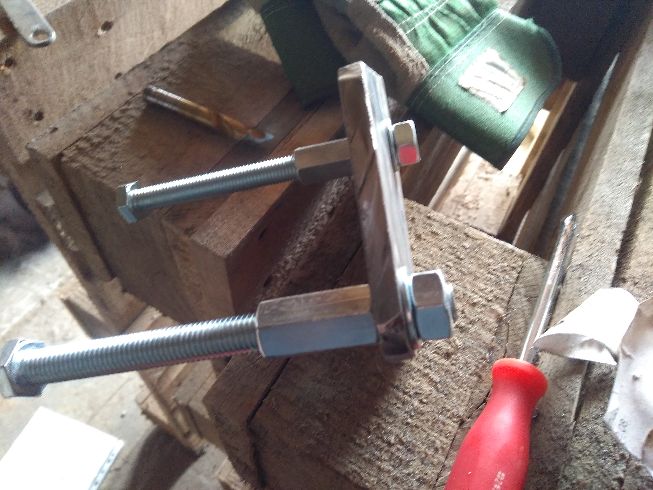
It
is guided by 12mm screws and threaded thread extension. It can be
screwed into a complete right angle.
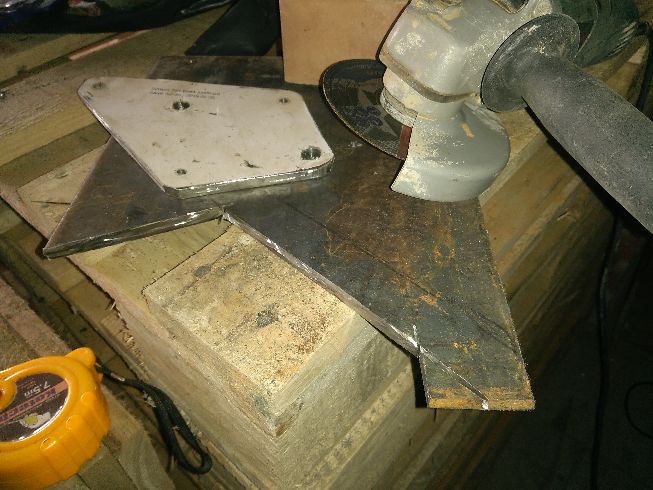
All
you have to do is weld it in place.
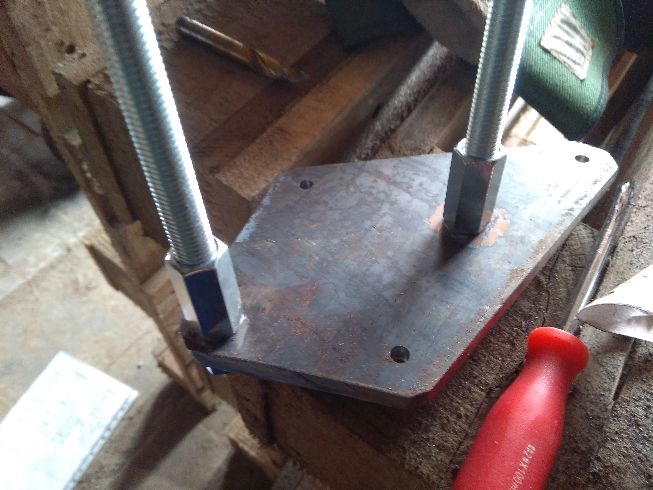
It
worked. I easily split the block with it.
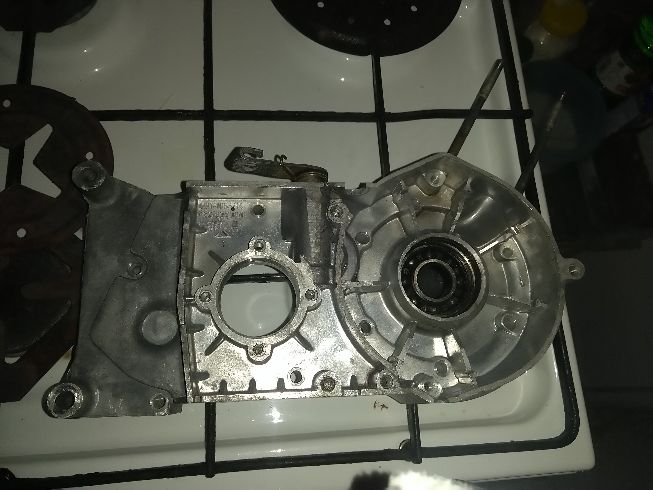
A
lot of oil was burned in the crankcase too.
The
crankshaft and plug for trash. The bearing hangs ...
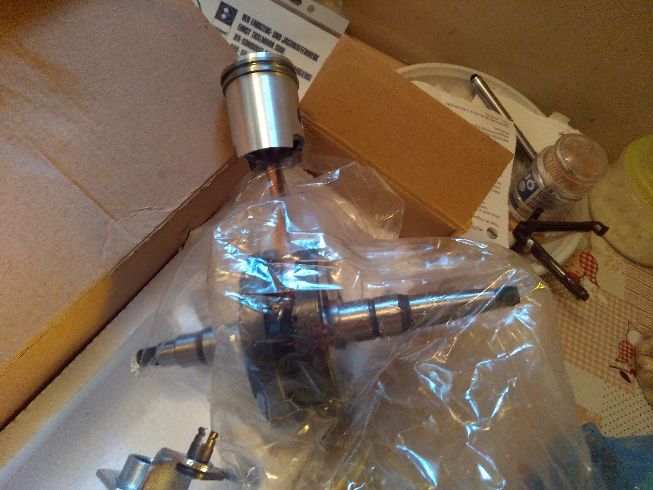
It'd
rather get a new one.
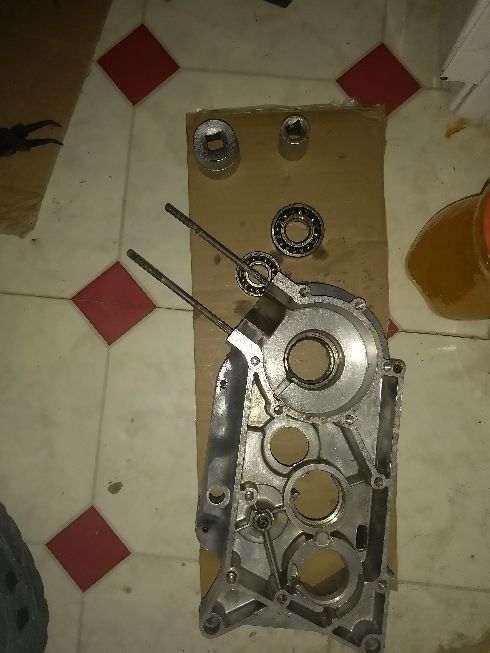
It's
just nicer, isn't it?

If
everything is new, I also replace the roller because it was slightly
scratched.
Bearings
must not be hammered. You need to heat the cast and it will almost
disappear!
I
used socket wrenches for the rash.
I
removed the bearing from the shaft with a bearing puller.
The
pipe shaft is also quite worn out ...
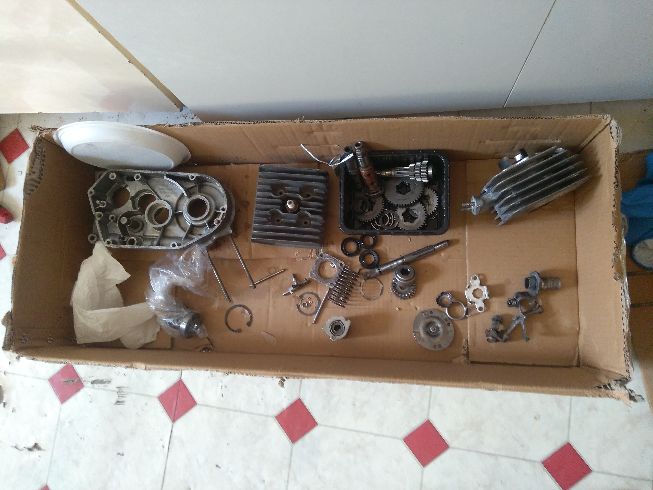
Cleaned
components are taking up more and more space.
I
bought a replacement fork with shaft.
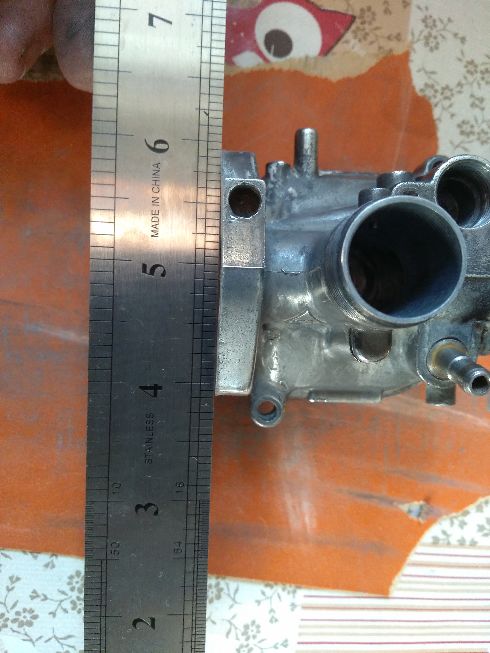
See
how inaccurate all his sizes are. It simply sticks to the structure!
I took it back and bought it elsewhere.
2-3mm
deviations in all directions ...
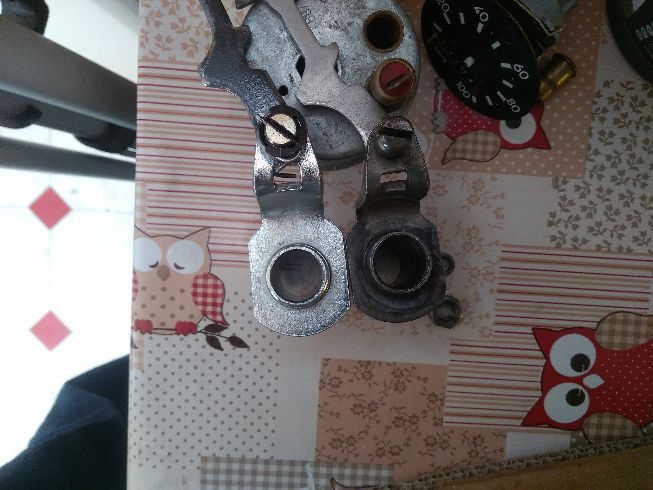
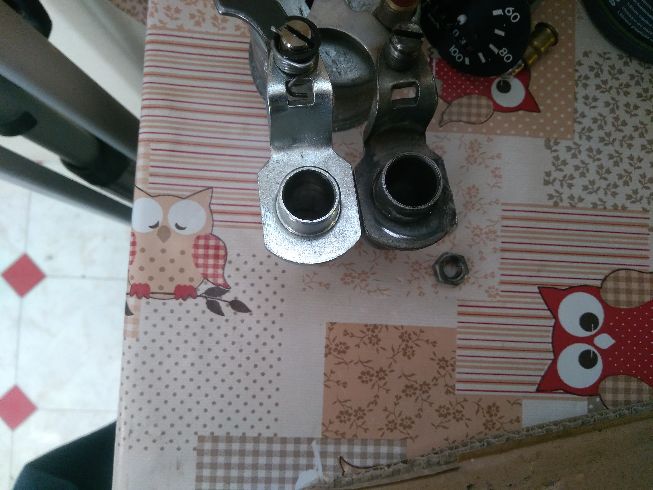
The
carburetor interface was slightly extended. This should not be
hammered!
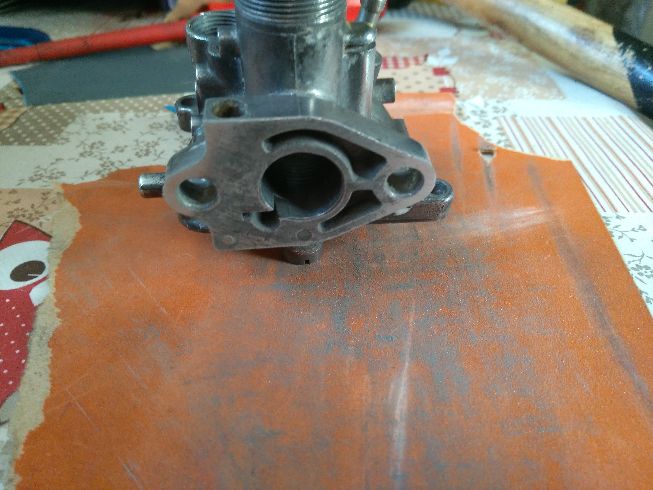
It
should be sanded flat. Here you can see that only the two edges touch
the sanding paper ...
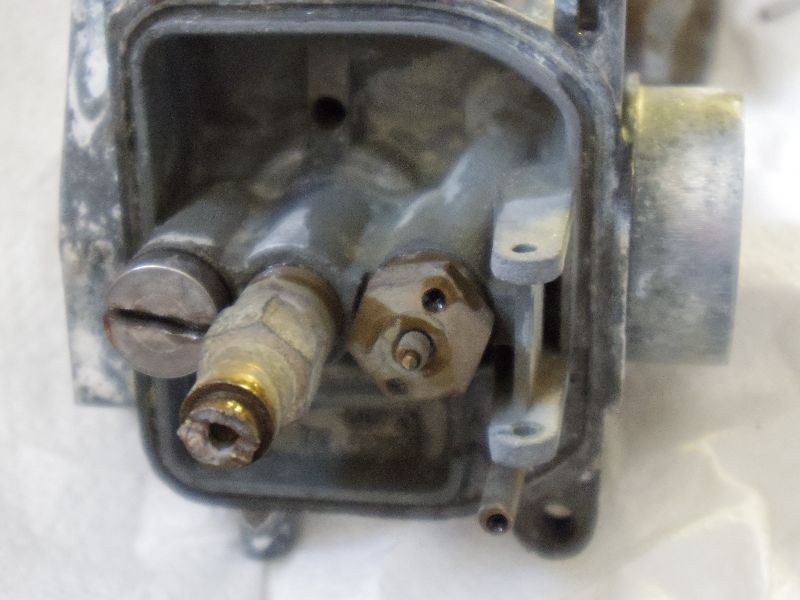
The
nozzle head was scraped with a screwdriver ...
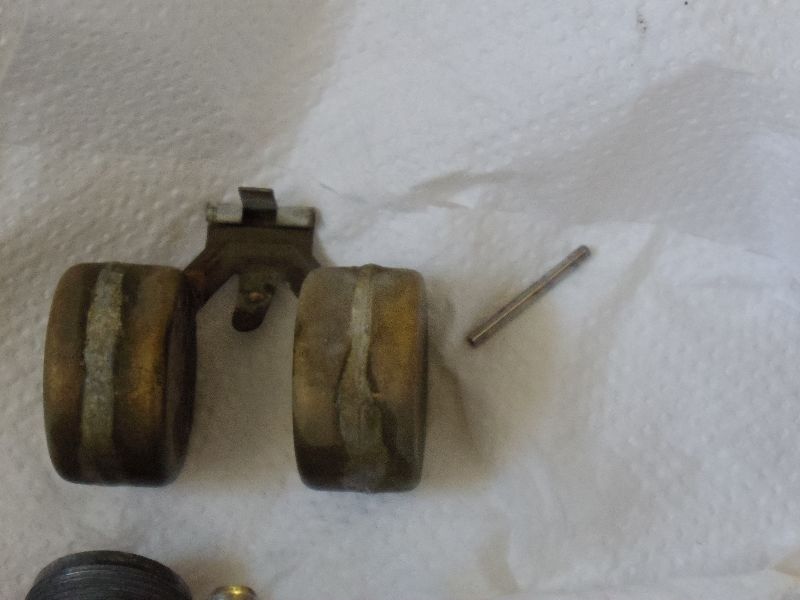
The
swimmer unfolded....
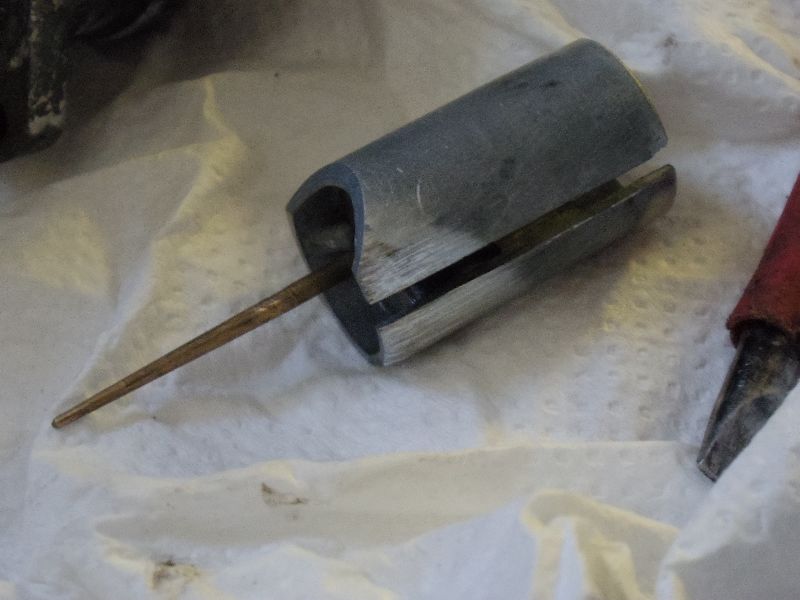
The
valve moved by the throttle is pretty worn, but that's the slightest
problem ...
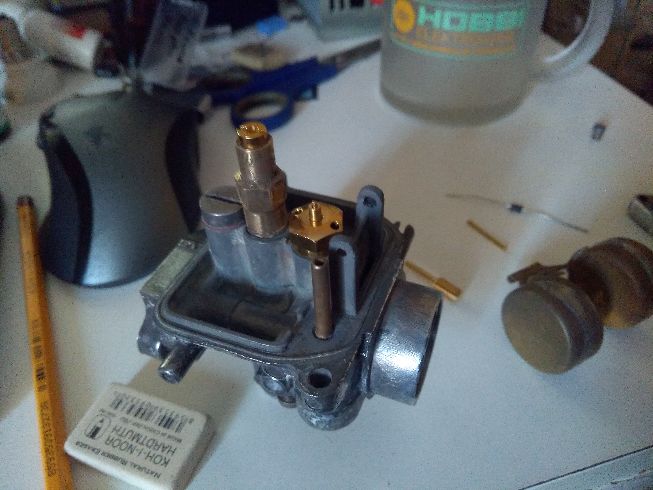
Here
the nozzles have been replaced and the carburetor has been cleaned.

I
polished it a bit.

More
beautiful than in his new age.
Continued on next page ...