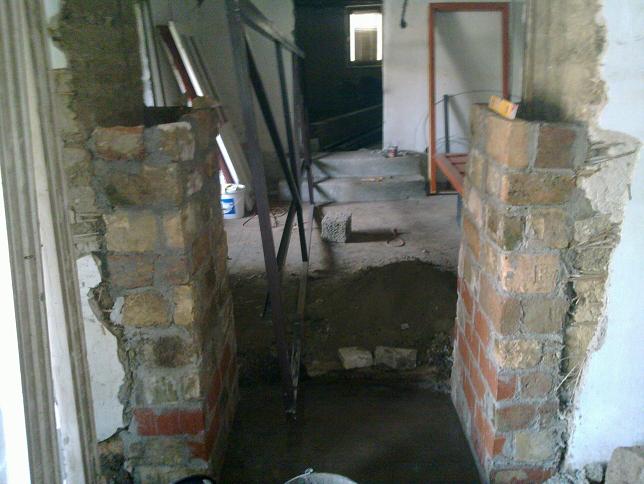
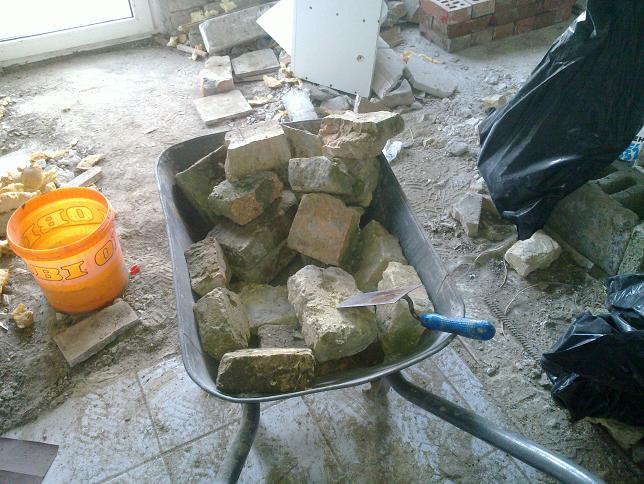
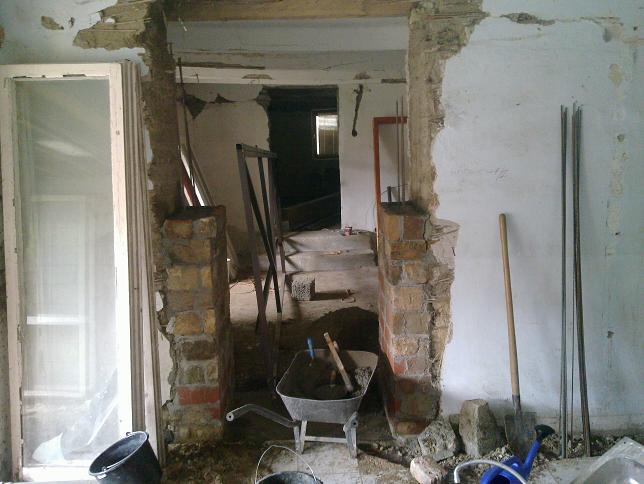
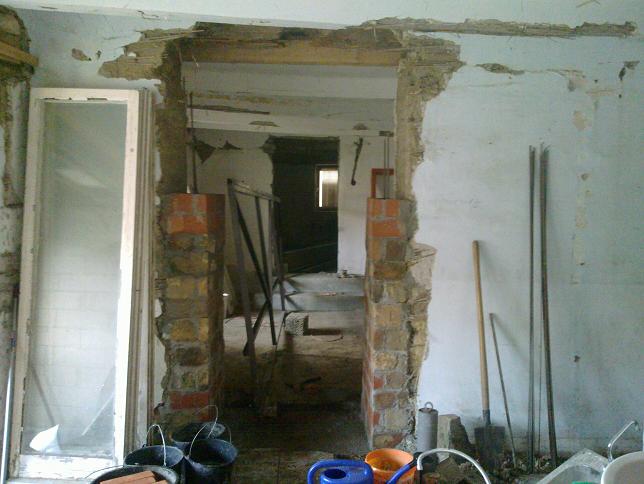
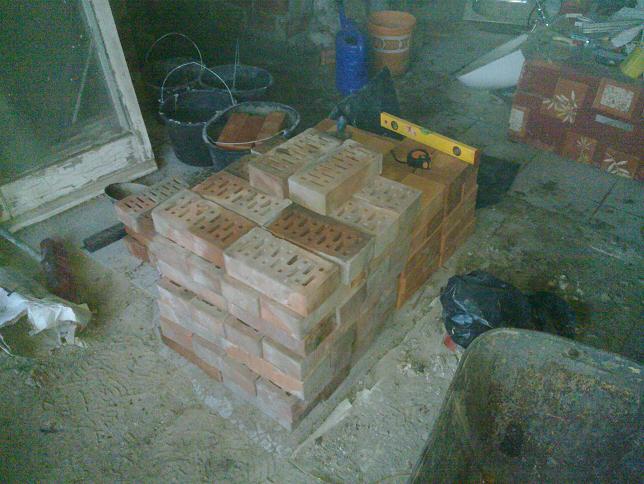
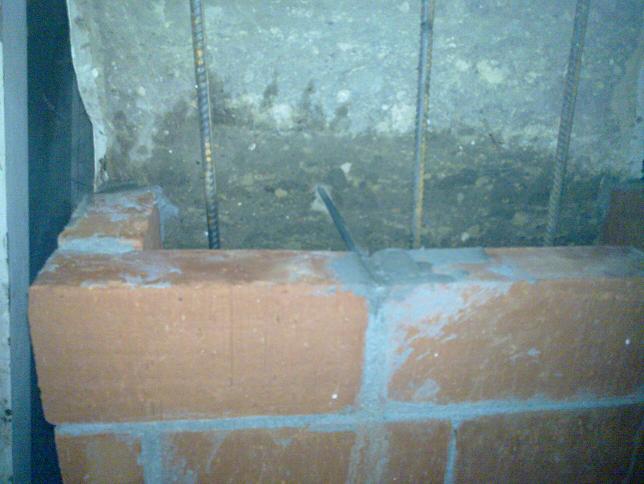
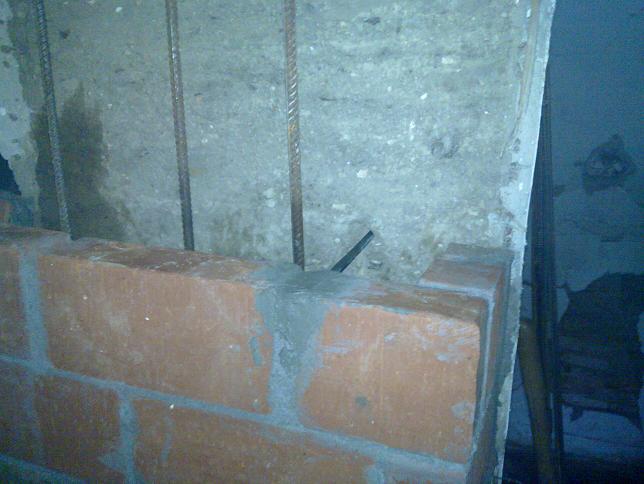
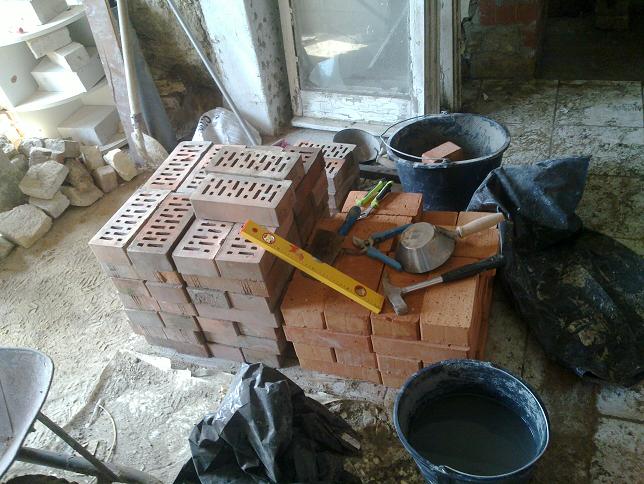
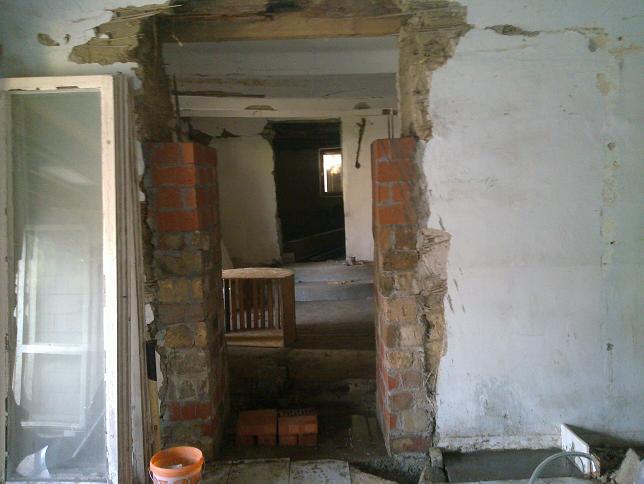
The red hole bricks (officially known as pillars) will be good for the arch.
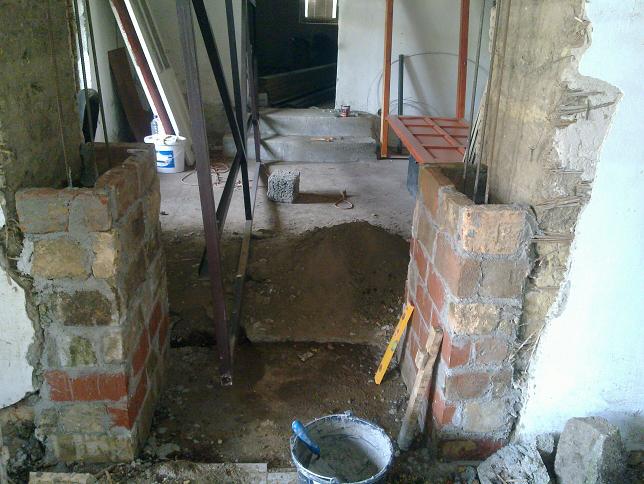
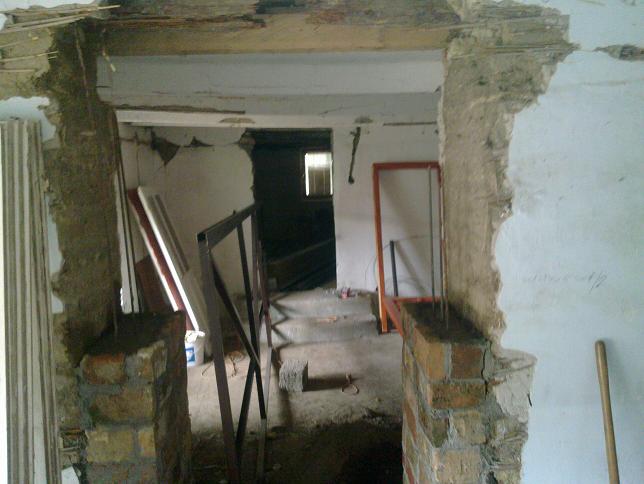
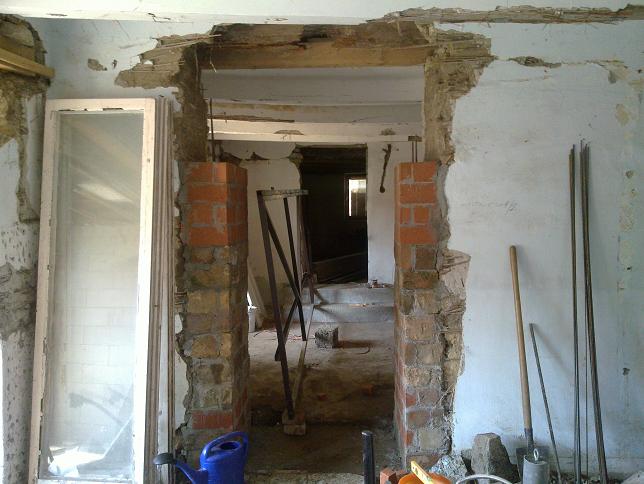
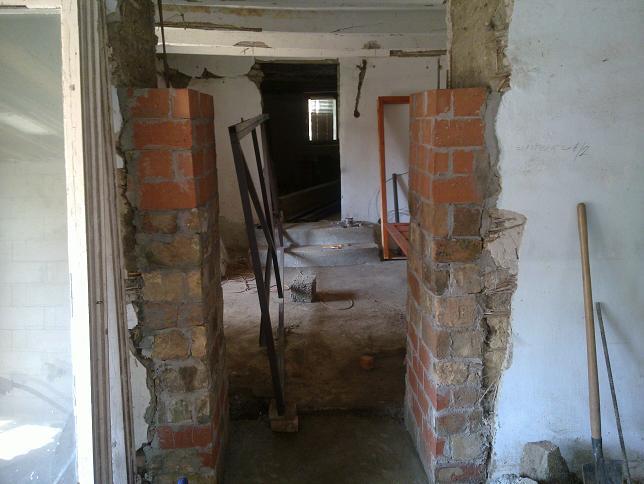
Adobe house renovation – Kitchen passage walling
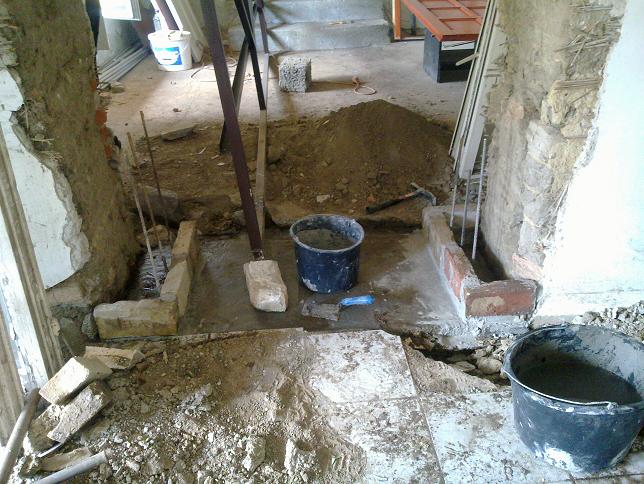
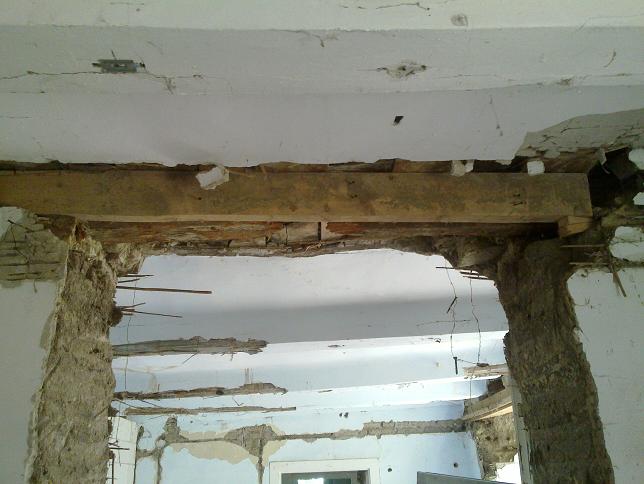
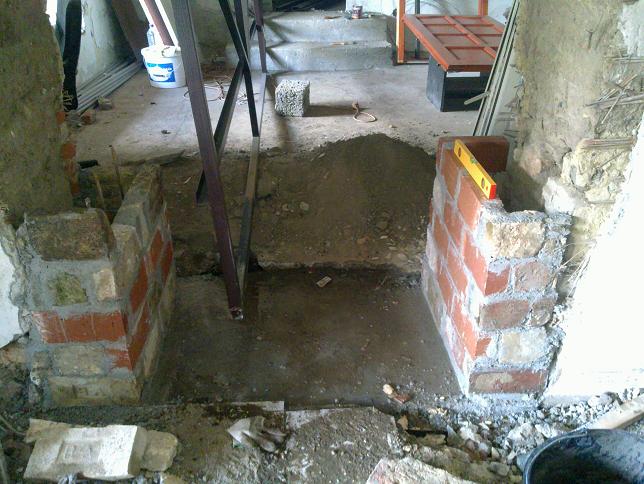
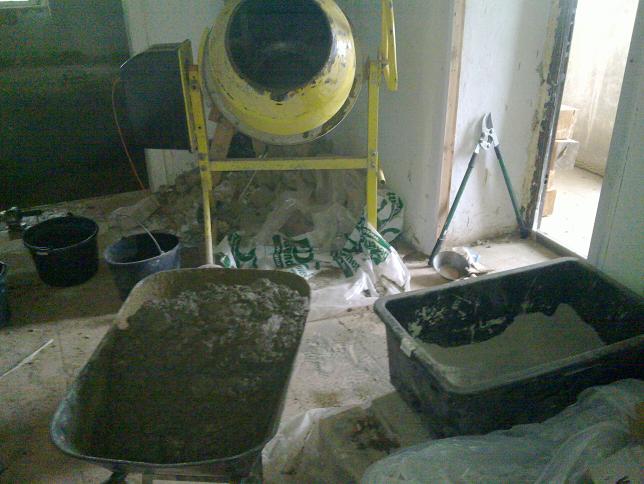
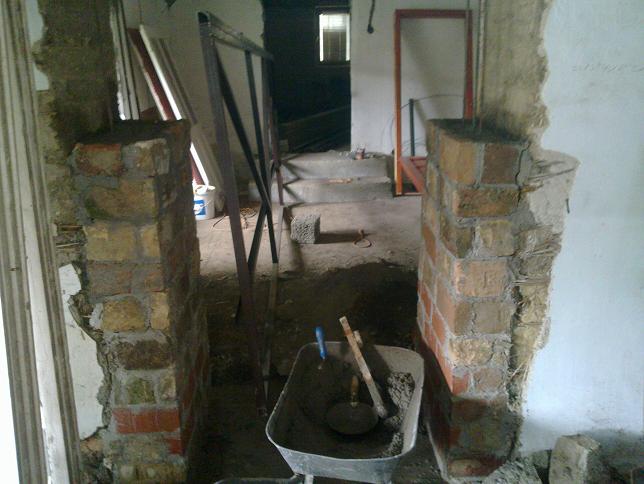
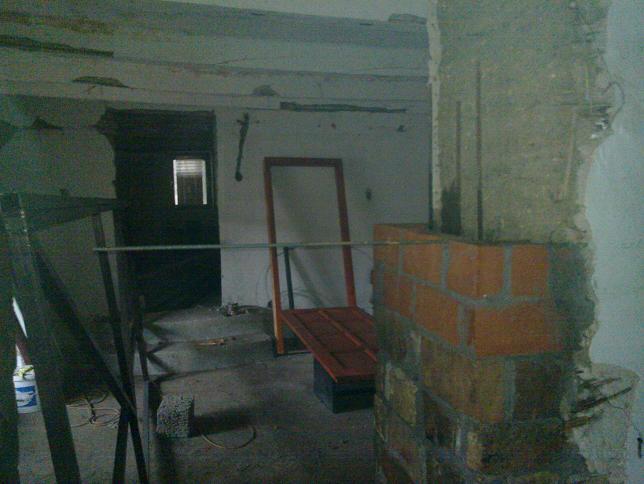
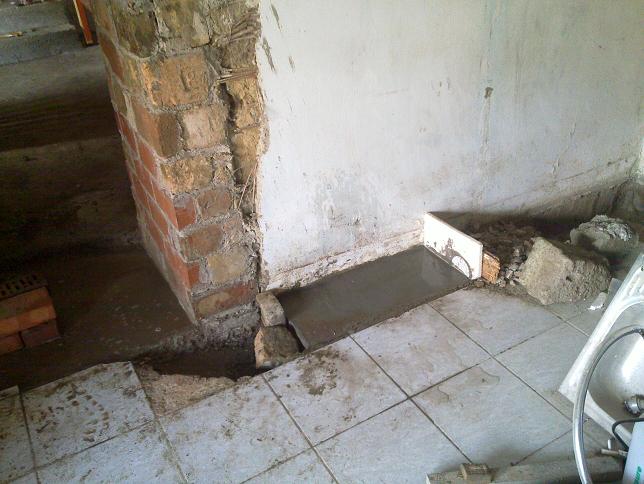
As the kitchen passage was cemented to the small room and the concrete was solidified for 2-3 days, I started to continue repairing the wall and building the bottom of the vaulted gateway.
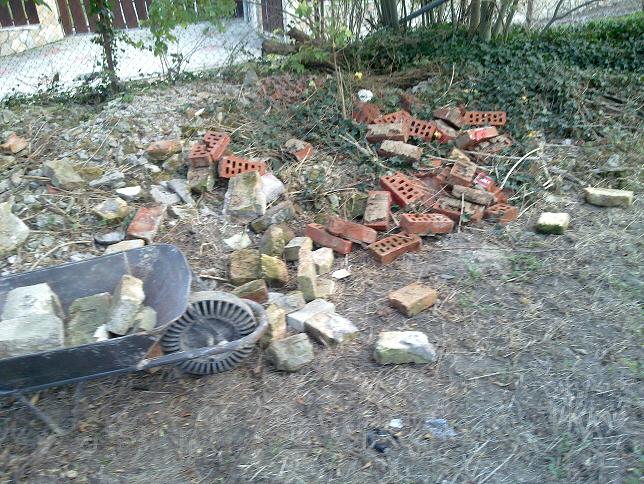
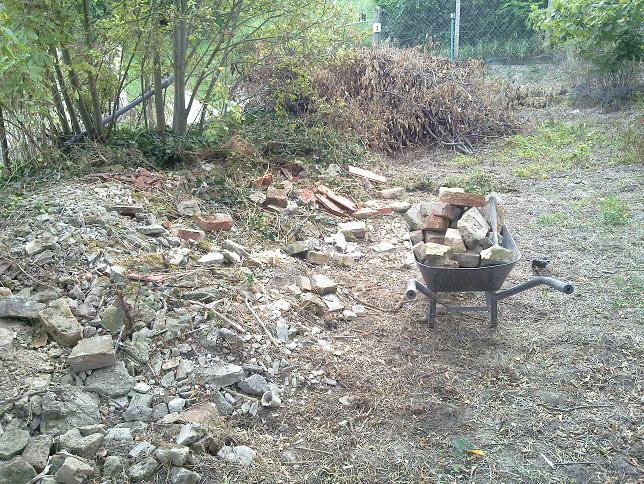
As a first step, I selected the useful bricks from the scrap pieces at the end of the plot, which I also fired.
The red hole bricks (officially known as pillars) will be good for the arch.
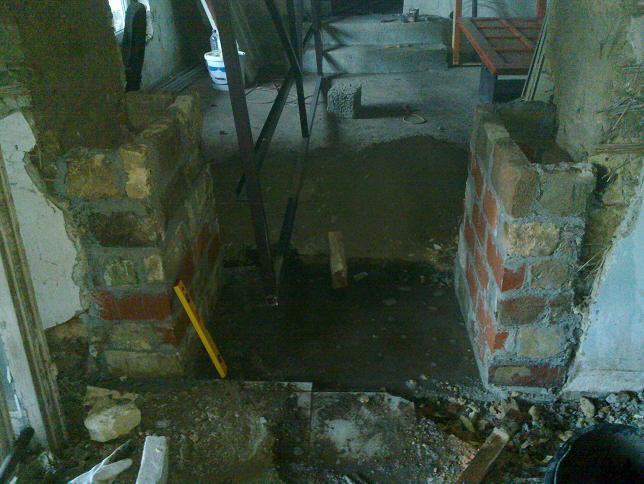
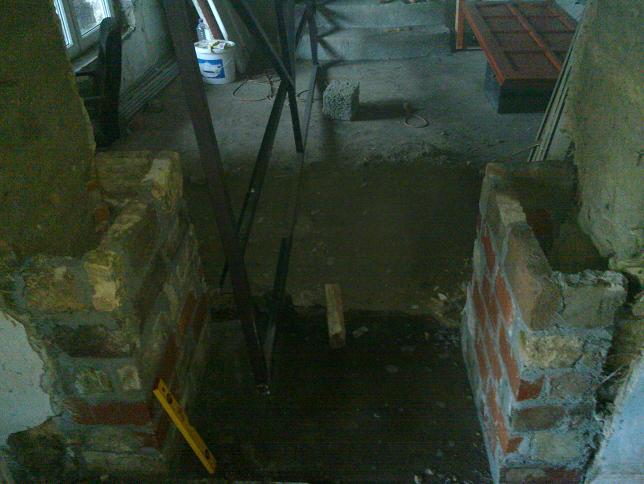
For the side walls, as I cut them up to the top, they do not match because the concrete pours out on the holes.

There
are still usable bricks, we only have to search ...
They all lay in the garden:

The
reds are in good shape after being fired.
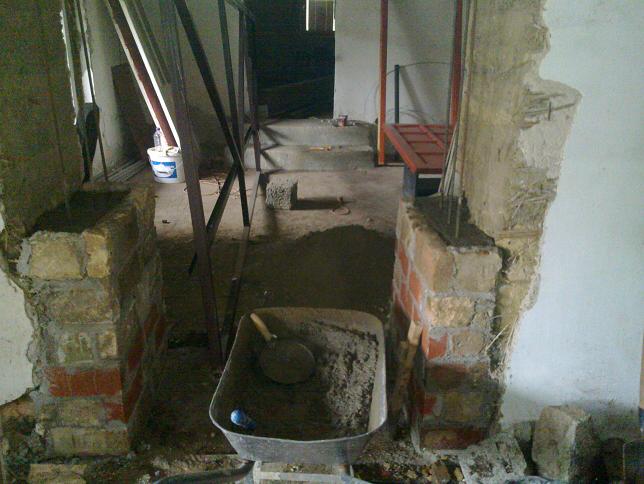
Masonry can come:
The
wall made of bricks serves as a formwork and an exterior decoration
element.
Behind it will be poured with concrete, of course well-fed.
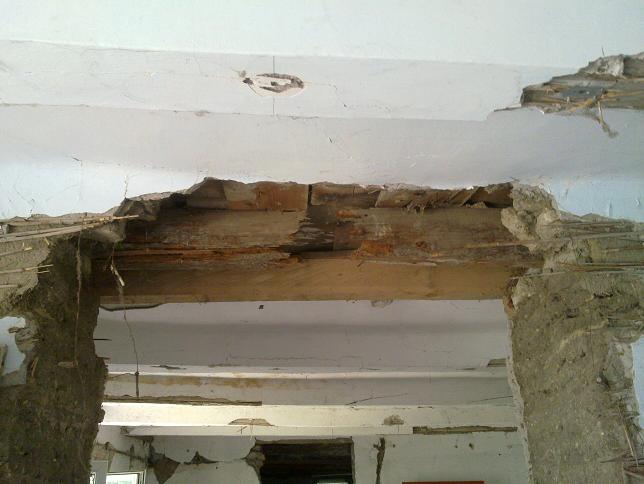
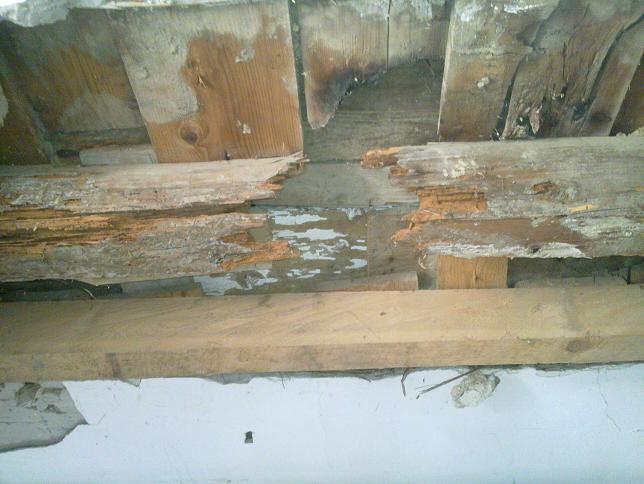
The jumper over the opening is totally devastating, since the jaw has been fed up with it several times ...
So
maybe it looks even better:
The
two wickets are not too comforting for the adornment wall ...
So
there will be a well-baked brick-based concrete.
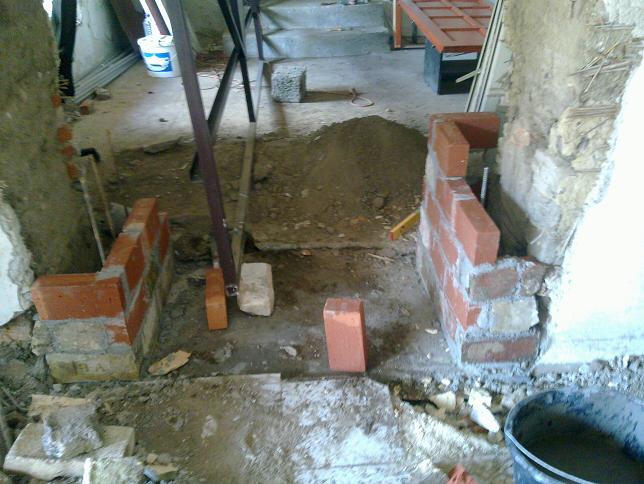
- Back to the wall:
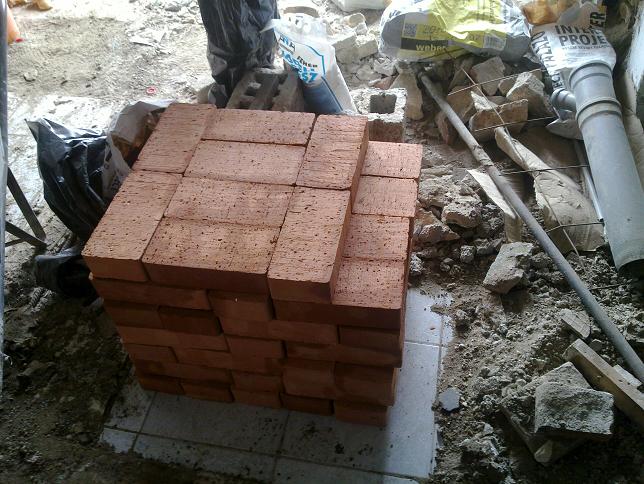
Here are some new bricks on the bottom, because the bottom should be perfect.
When
the water level is well suited to the bricks, it is also easier to
work with bricks of inaccurate size.
Large bricks should be carved enough to make the height measurements.
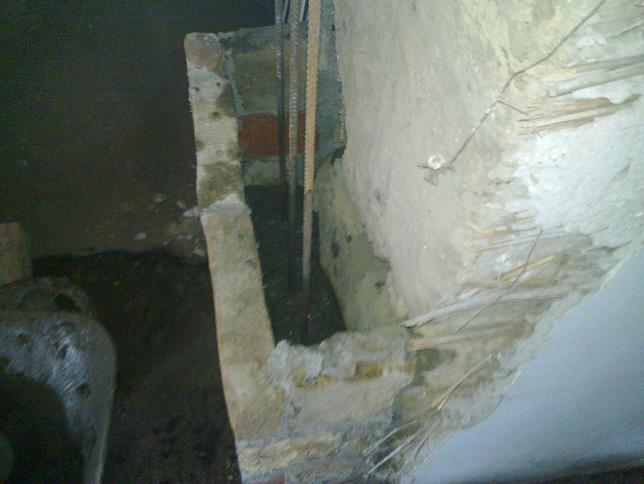
At
the meeting point of the wall there was a small gap.
All
the tools were just a masonry spoon and a water meter.
Of
course I was still dark again ...
The
large brick is more advanced but at the same time it requires a lot
more mortar because it is inaccurate almost every size.
After
this, concreting and ironing will continue, followed by new bricks.
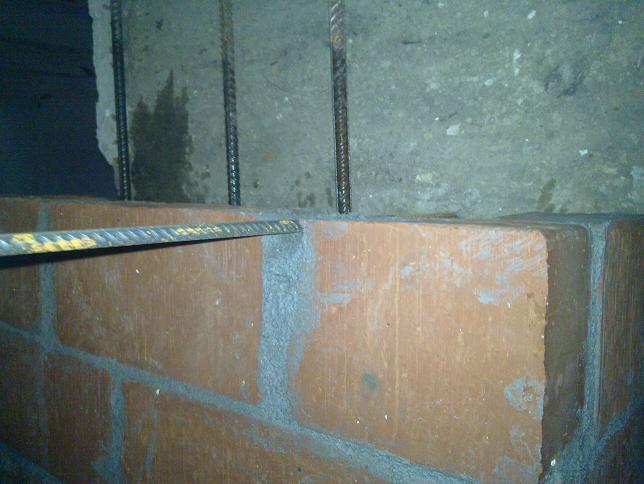
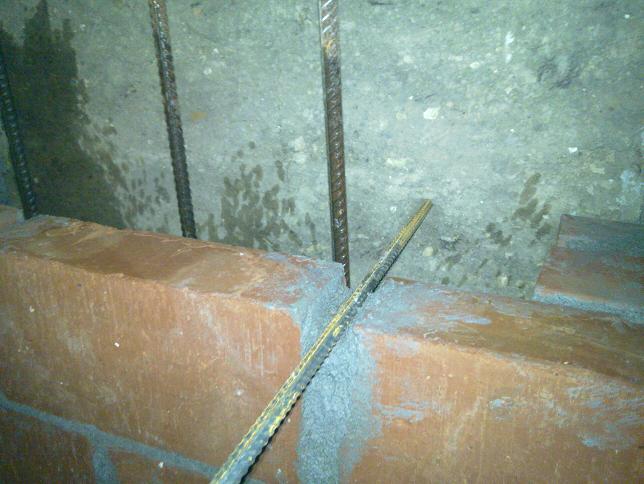
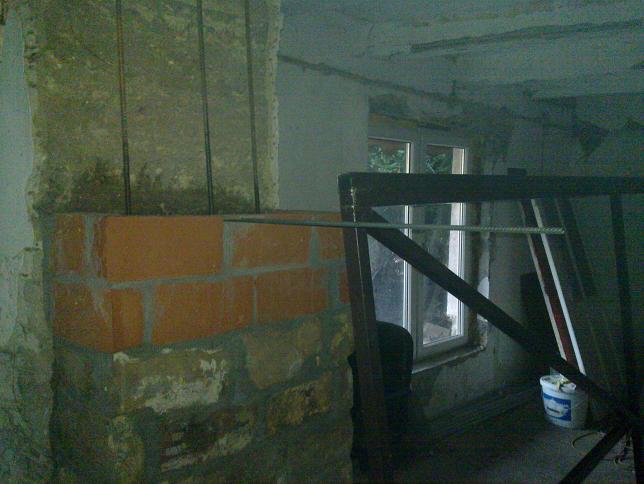
The width of the gateway has dropped to 105cm, which corresponds to an average door.
The jumper is 260cm high, so there must be an end to the arch.
The height of the brick at the arch is 12.5 cm, the door width is 105 cm,
(105/2) = 195cm high (a standard 100x200 door would fit).
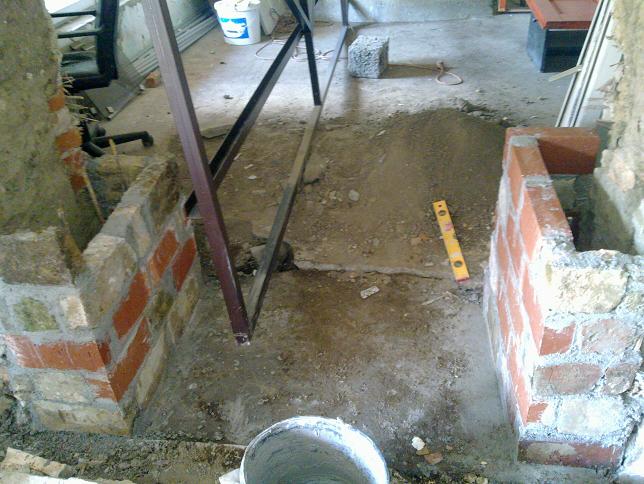
Two days later, when the mortar was firmly bound, the concrete was started:
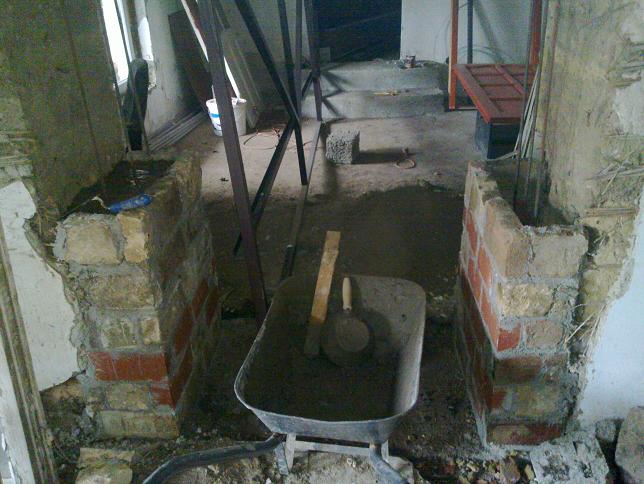
The
left part had a little more than 2 spatulas of concrete.
I painted the concrete with a well-honed earthen block in the wheelbarrow to fill the space.
Concrete lathes for the continuation were also replaced.
The
bars on the right are also set. They are 2m long, so they almost
reach the ceiling.
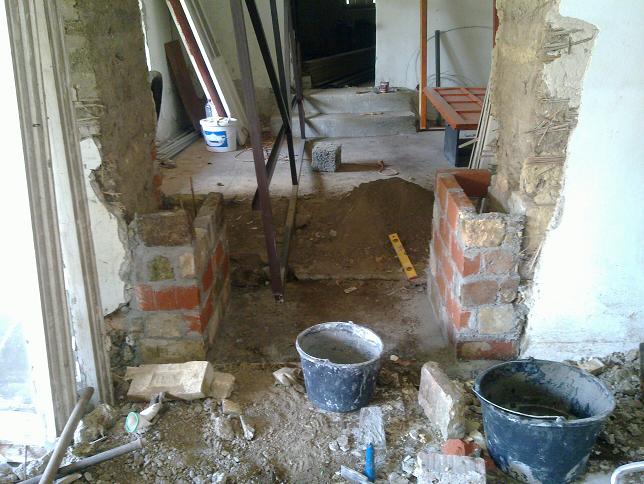
Here
you can see that approx. With half the concrete when the iron was
placed.
Need to overlap, it did not even matter ...
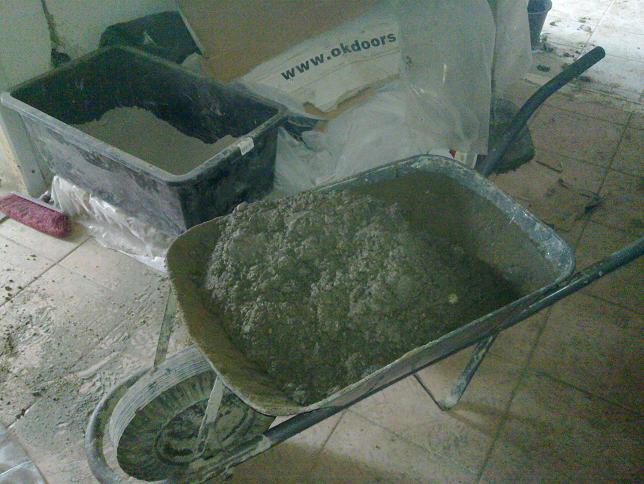
Concrete
is now made with the well-proven 1: 4 cement grader ratio.
Its consistency is very important. It's almost ground-based concrete.
If it contained more water, it would be much weaker after solidification.
If it does not dissipate itself (as in the picture), it's okay.
There is a little more work on the insertion process, but it should be compressed, so this is not really a plus.
I
always put the cement in a mortar box, because it is easier to get
out of here.
I will not let you run out, but I always pour it down, so you do not have to struggle with the removal of the residue.
Both
pages are full. But the rest is always where to go :).
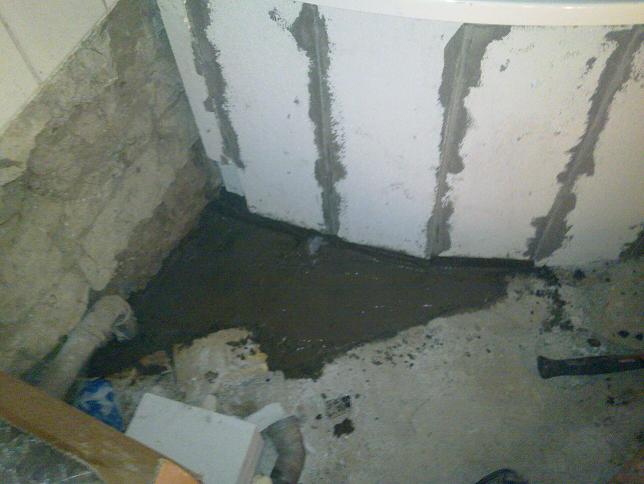
For
example, under a bath where concrete was left out of the waste water
pipe to make the bathtub easy to bind.
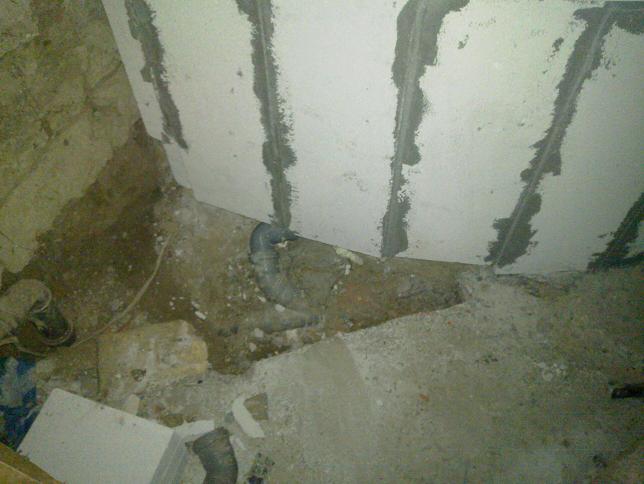
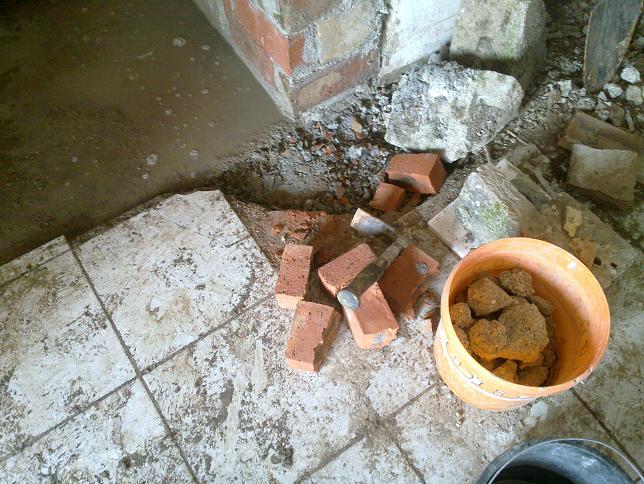
Hole
filled:

Gaps
filled and stuffed.
The
next day after the concrete was solidified, the masonry continued:
However,
the bricks have become obscure...

So
there was a new purchasing tour on the thickest part of the garden,
in the amber-covered forest of debris shells:
Then
work continued in the house.
A
little further (the plastic buckets are beginning to grow).
In one bucket I soak the bricks, the other is the mortar, the third is pure water for mortar mixing.
The fourth is just for the sake of "mess" :).

This
is the rest of the bricks ... They're pretty irregular and there is not anybody else, so I have to buy new ones.
They can be at least nice and fast with them.
Between broken bricks, many injured and even several pieces were twisted ... (long ago there was no ISO rating)
Now
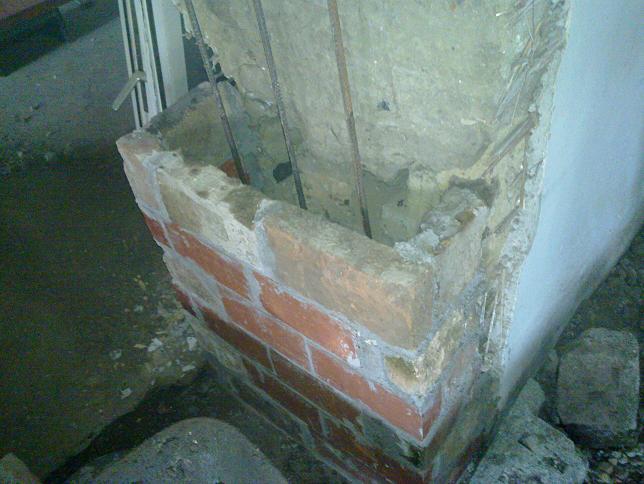
the height of the wall is 140cm. There are 3-4 rows and the arch may come.
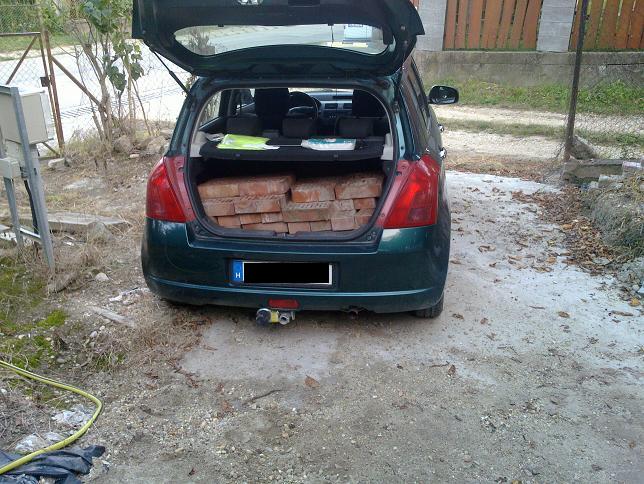
As all the bricks went out, I had to bring new ones:
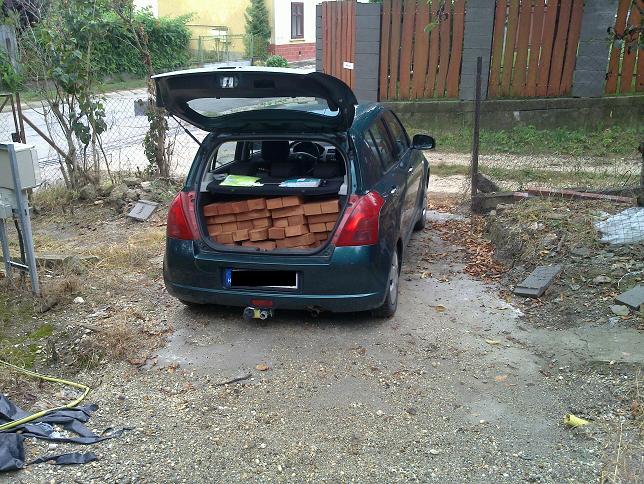
In
the trunk, surprisingly, 68 pcs.
I threw them into the house with a stick.
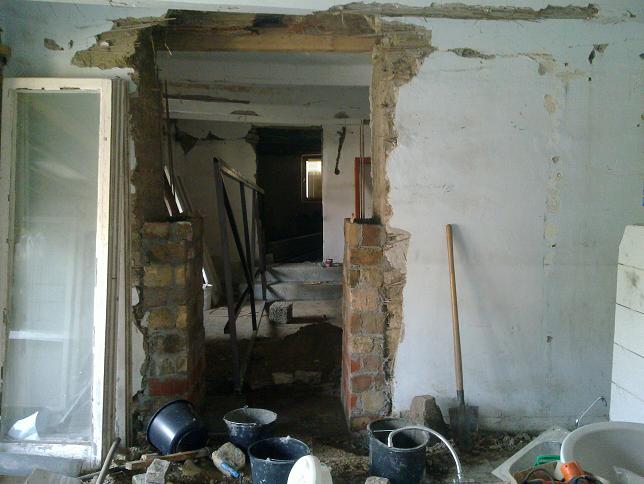
After two days of binding, a further concretion was made:
Due
to broken bricks, the wall is not as beautiful as it was in the
beginning, but the target is right.
After
compression, lowered the top.
As
it was clear, I put two more lines in the new brick:

A
little further away:
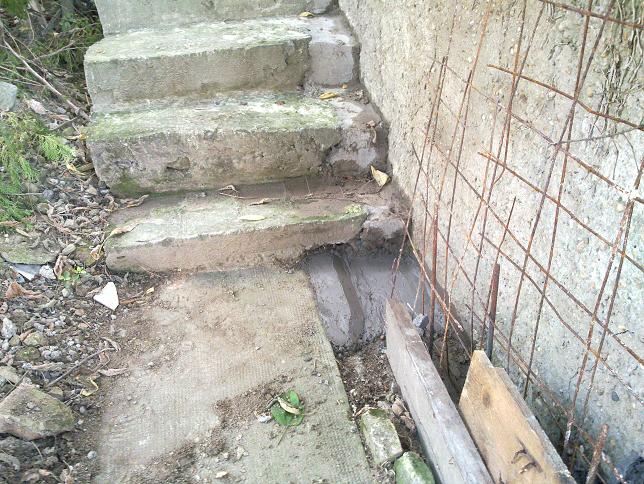
The
joints beside the stairs have been cemented even if the concrete
mixer has been mixed.
There
was also a pit below where it was difficult to remove the leaves.
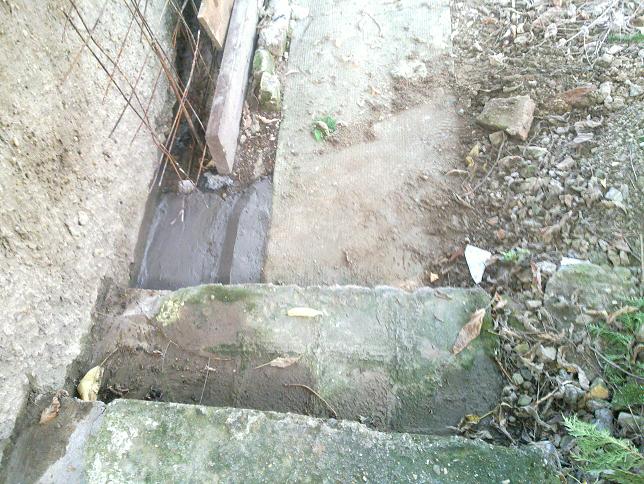
The
formwork had some cement sheets and bricks and a little nikecell...
This
will make it easier to clean it if the leaves fall off.
The steel mesh is prepared for the support wall to continue, "only" to be molded and concreted.
At
6 o'clock in the evening I went to one of my dear acquaintances
because she offered 65 pillar bricks, which was just on her way.
I have to get some more than $ 75 for the arch, and I've got some 24 out of the box, so that's it.
The car also sat down normally (about 250kg in the trunk).
At shunting, it was a bit of a drawbar at the crawler.
All
they had to do was take them up and take them a little bit:
In
the evening I finished 8th. Finally, after 3 pm, it is not a bad time
for concreting,
Masonry staircases and brick purchases :).
My parents helped me today, so the ground and scrapers in the way disappeared from the road.
Special thanks to them. There was a long time in the middle of the house :).
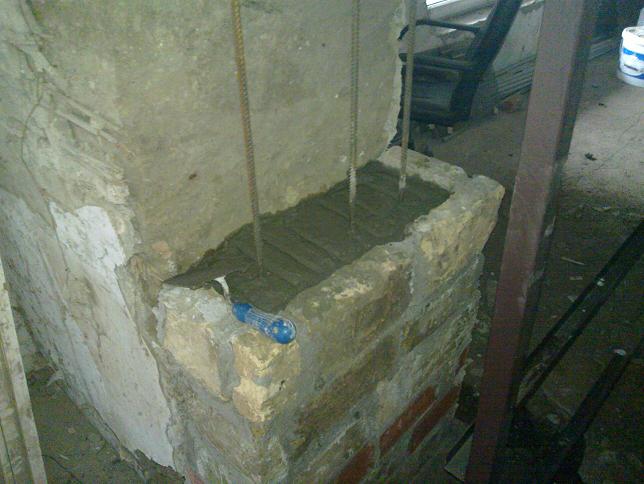
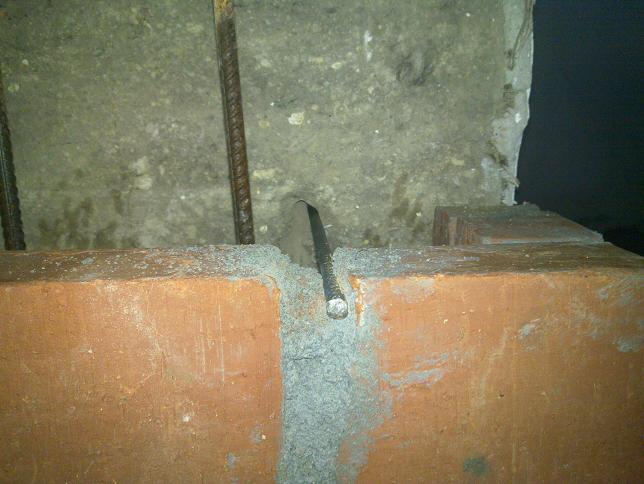
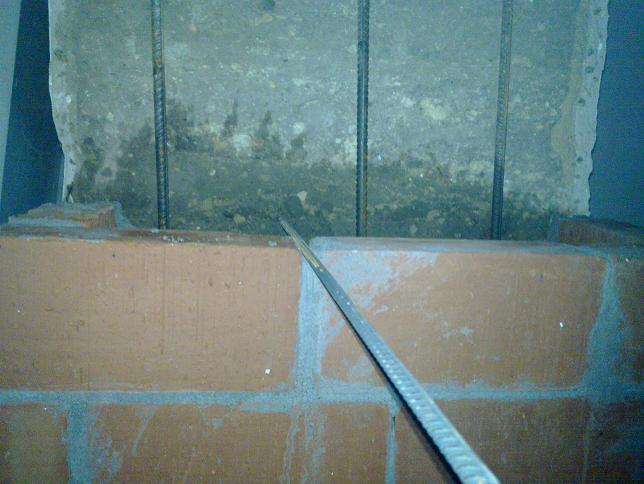
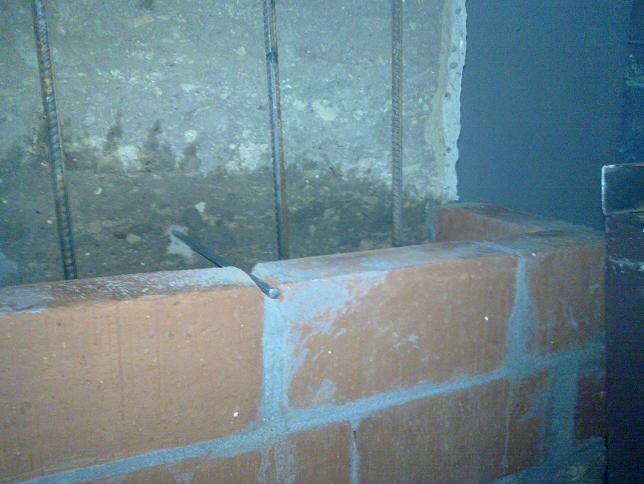
The height of the pillar has justified itself to be tied to the wall.
To do this, I hit 1m concrete bars in the wall, which I missed in the groove.
When
he went down a little and had enough space, I helped him with a 5 kg
hammer because the wall was quite solid...
Fully
typed:
The
other side:
After
5-10 minutes, this was also replaced.
Then
I fixed it with tile adhesive:
The
iron has been raised to undertake too much.
The
next day, two more bricks were put up:
Still
life:
The
bricks are divided here:
Concrete
(prior to watering):
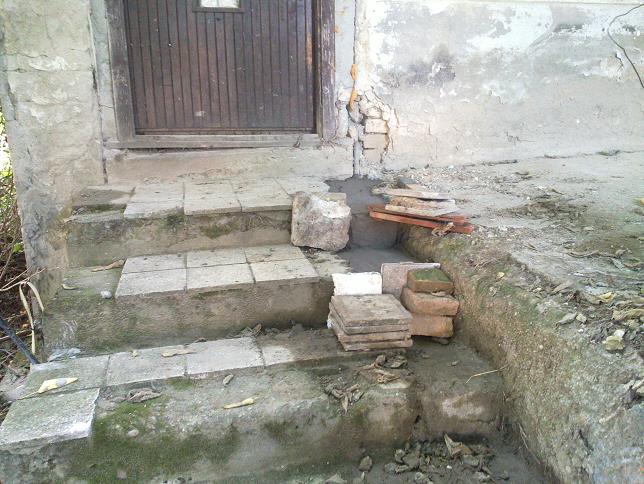
The
next day, four acquaintances helped get the door out of the house
because it was difficult enough and on the road ...
The setting of the pedestal was a great challenge because of the threading of the threaded stems
The stones in the concrete pushed a little ...
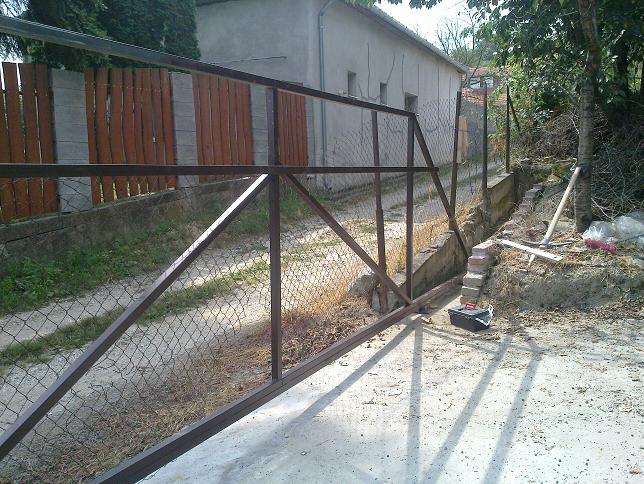
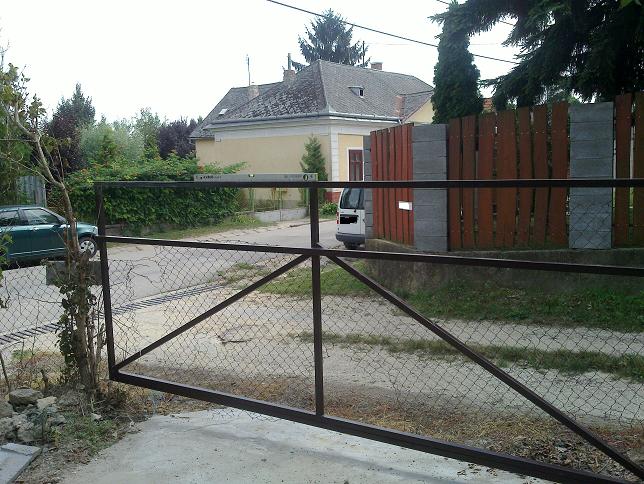
From
the front (here only the bearings hold the gate in all directions):
Here
the water level is already set:
The
following is the archive template creation:
Since the OBI has been cut off for technical reasons, the panel is cut off from OSB.
I pulled the bow with a circle made of earthenware and a pen with a drilled hole :).
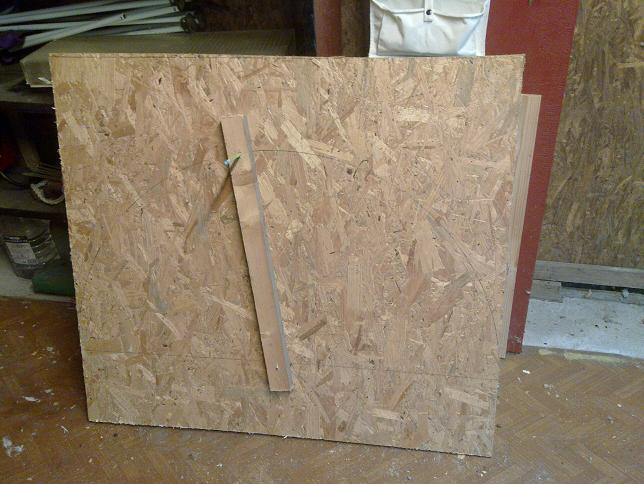
In
the middle there is a 6-screw, which is a pretty good benchmark.
The
2 OSB blades were screwed together to ensure that they were evenly
cut when grinding.
Of course, it would have to break the decoiler saw during the cut-out ...
The axis of the large gear is slightly distracted.
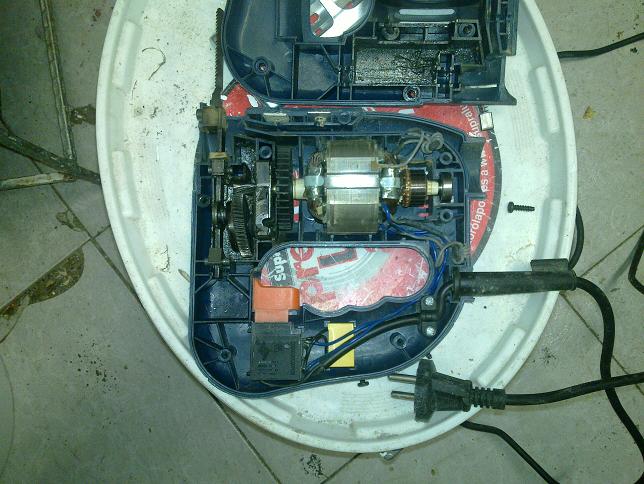
So
in a corner grinder (popularly flex) I cut and cut a circular saw
blade.
The spacers are made of tiles.
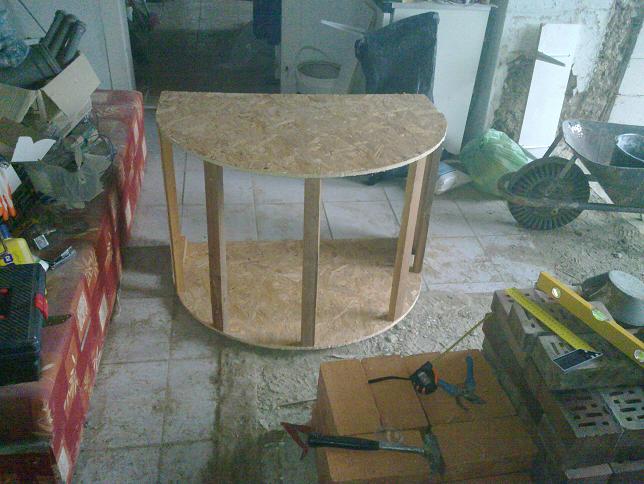
102cm
is the diameter of the circle and 69cm wide.
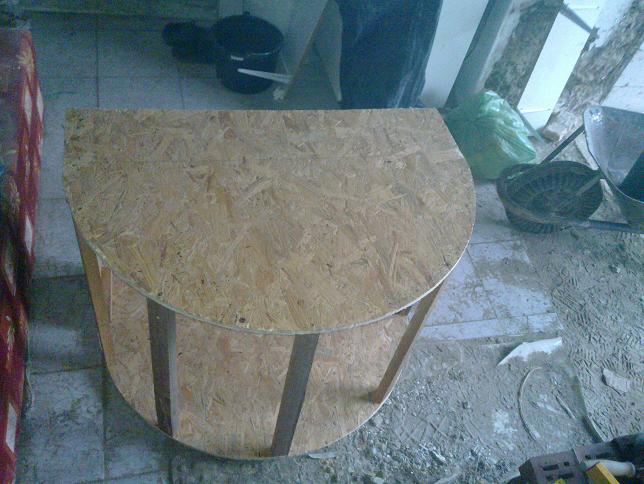
The
arch is in principle 104cm, but the wall is pretty bad and even the
plane of the two walls does not line up ...
Here, there were also 12 different tiles to have the bricks to rely on.
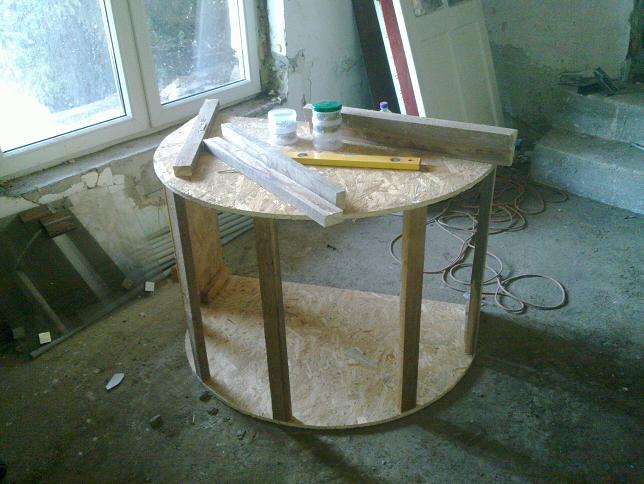
Of
course, the hammer was found to scratch the screws.
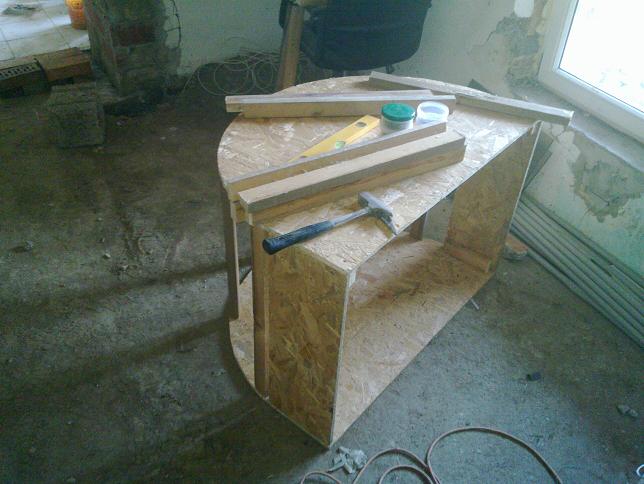
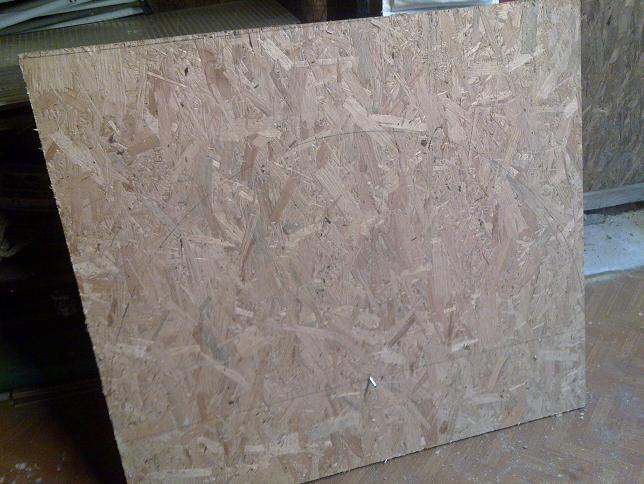
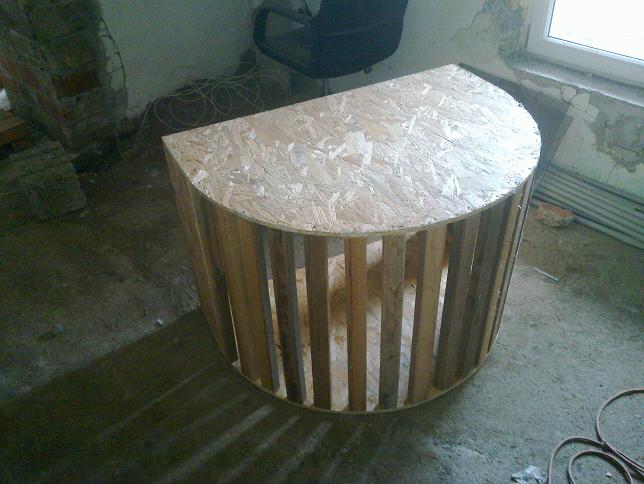
The
work being done:
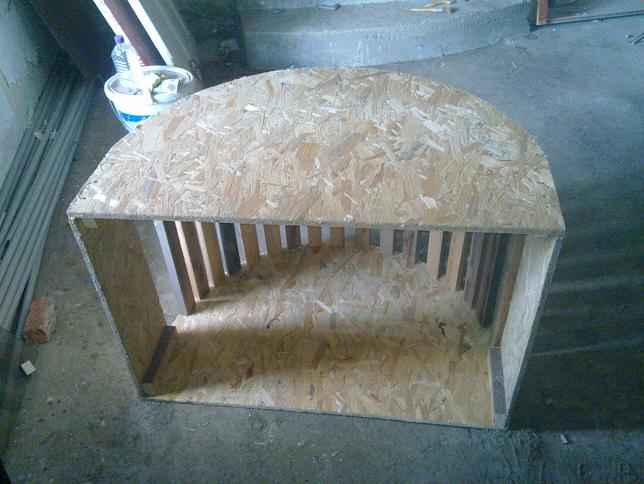
The
final result:
The
rest of the pillars of the pillar have been cemented:
The optics could be a bit damp...
The
remaining concrete is always in place (it can be seen the next day):
Current
status:


2016.