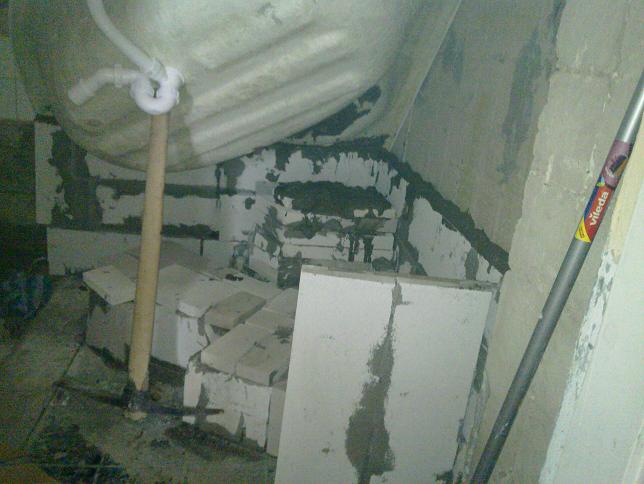
After removing the tile carcasses and the other victims, I will sketch the surface with the adhesive bridge.
Adobe house renovation – Creating a bathtub
I had some spare time, and the payment arrived, so I bought a sack of tile adhesive,
And some foamed lime sandwich bricks (yes, Ytong and tile adhesive can be bonded well).
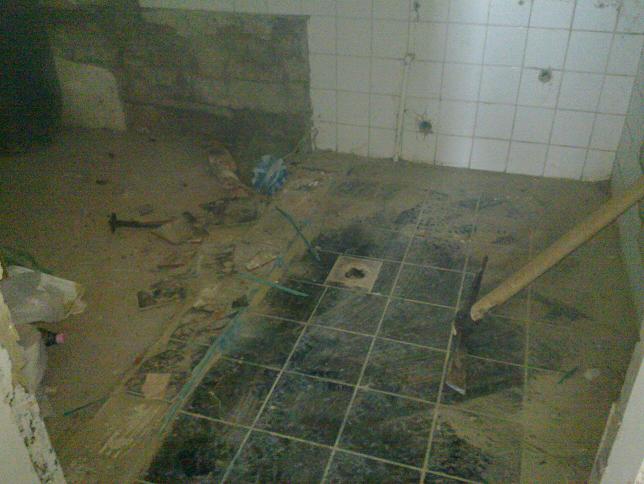
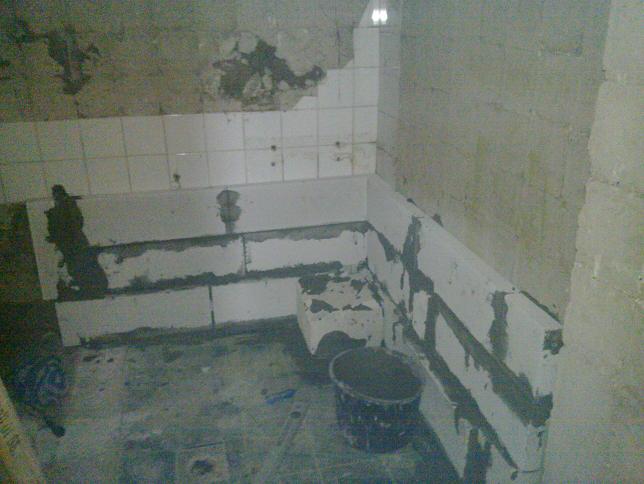
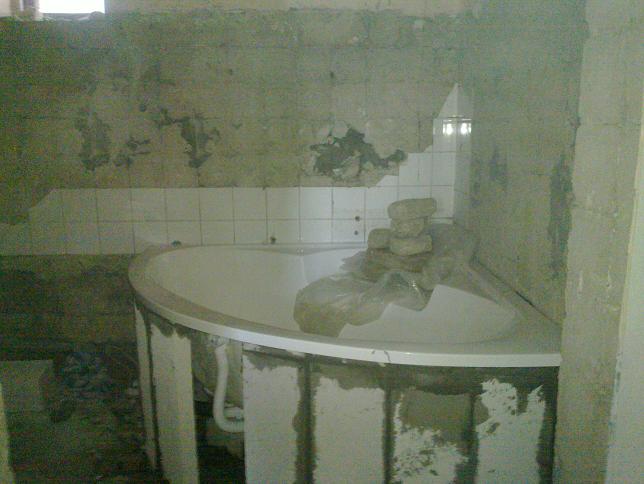
The bathroom has a pretty interesting tiling strip in the middle, which is higher in its surroundings.
Of course the pick was not accidentally because they did not sorry for the cement...
After
removing the tile carcasses and the other victims, I will sketch the
surface with the adhesive bridge.
There is no money to pick up the old bits of a heavily laid tile ...
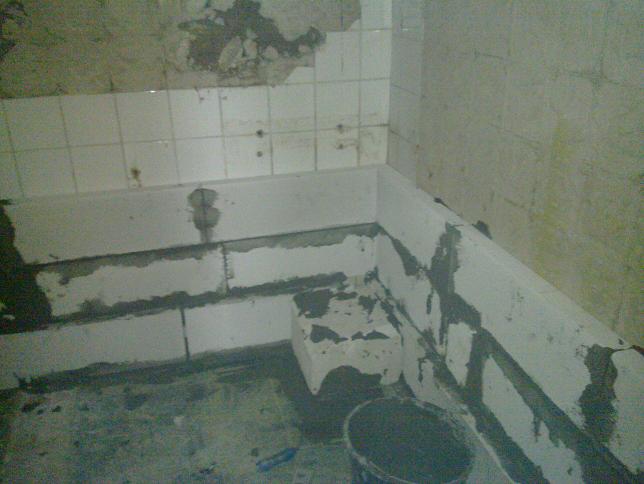
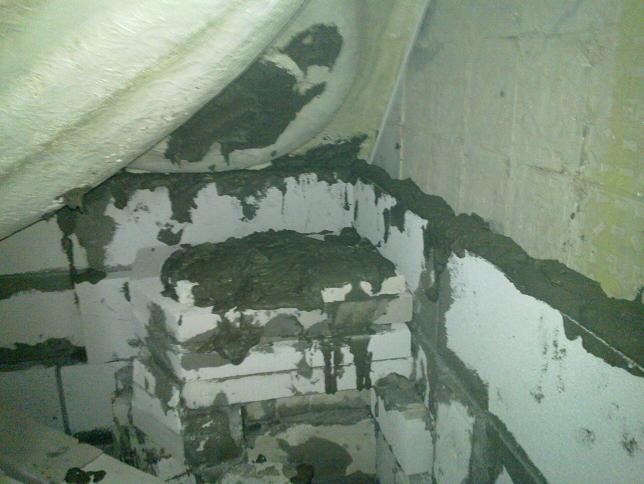
Then
came the preparation of the back wall of the corner tub.
With the help of a gauging meter and measuring tape, death is precisely adjusted.
The back wall is not completely straight, but it is set right at the corner ...
There
is one more picture because it is not made any more:
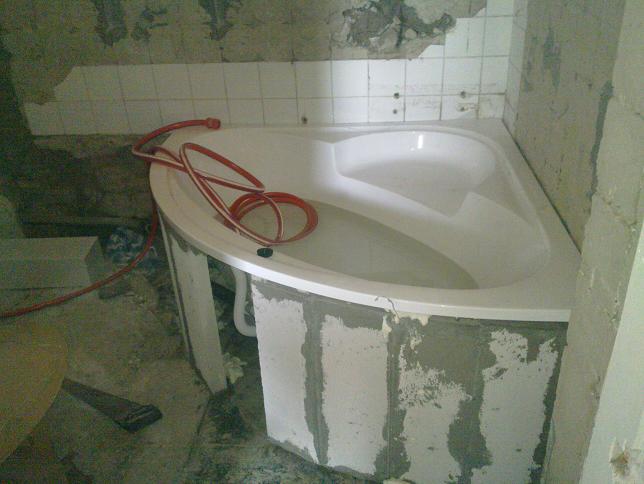
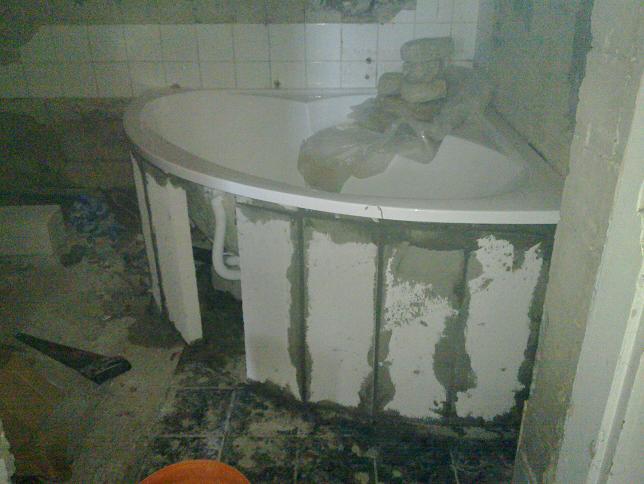
Yeah,
yes. With the tub tilted and drain assemblies provided:
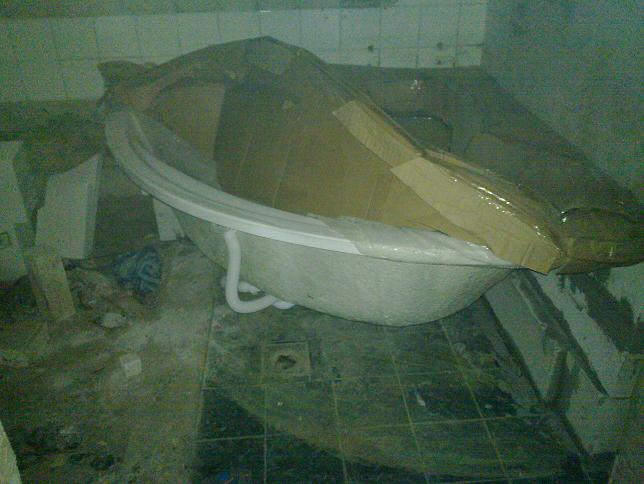
I
still do not take the protective film and the wrapping because there
are still plenty of wrinkles here ...
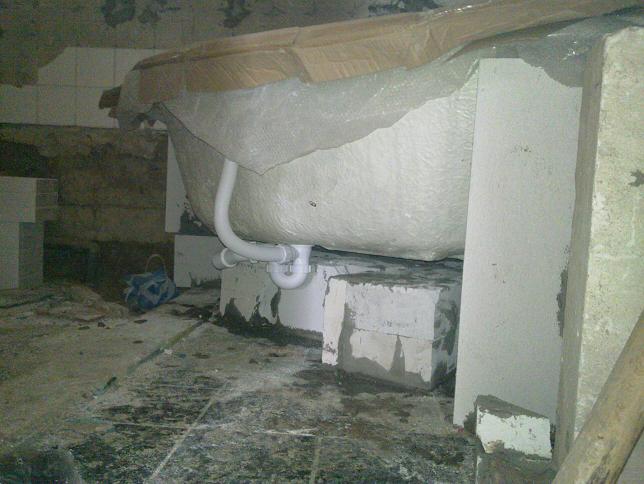
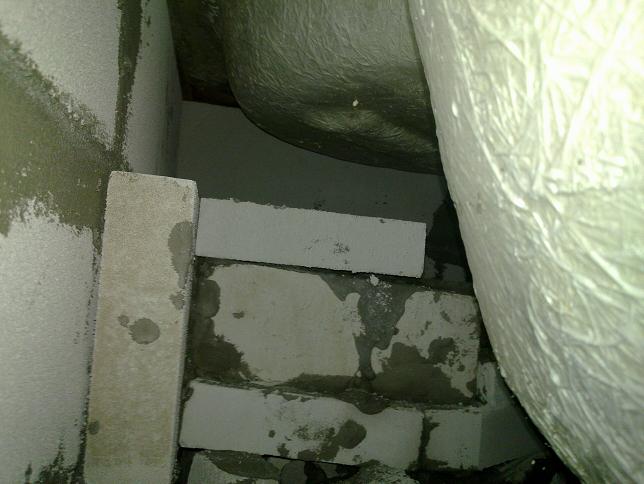
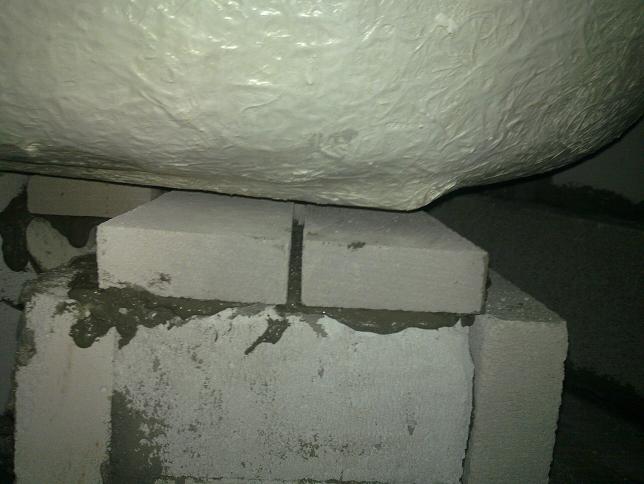
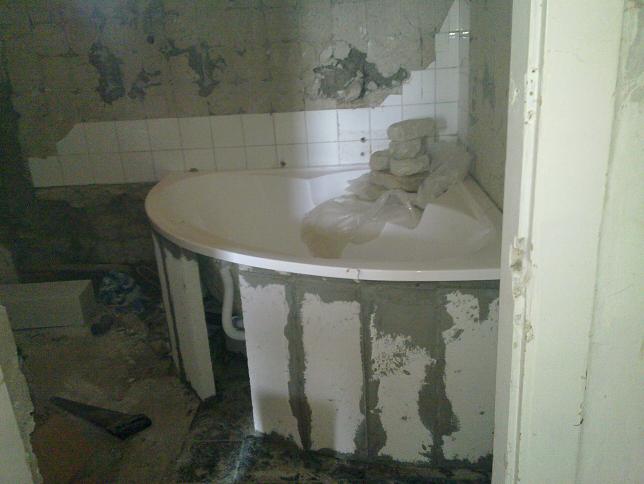
More Ytong bricks were placed under the bath:
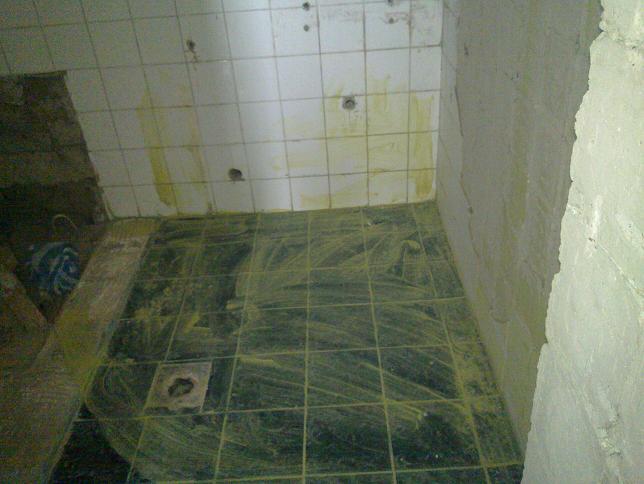
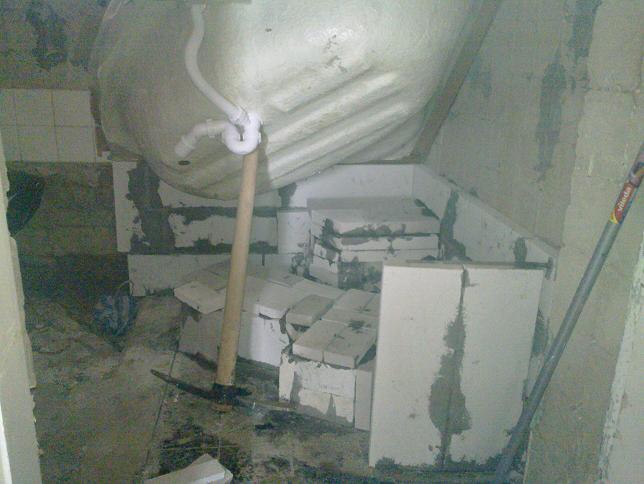
Meanwhile,
the site is being prepared:
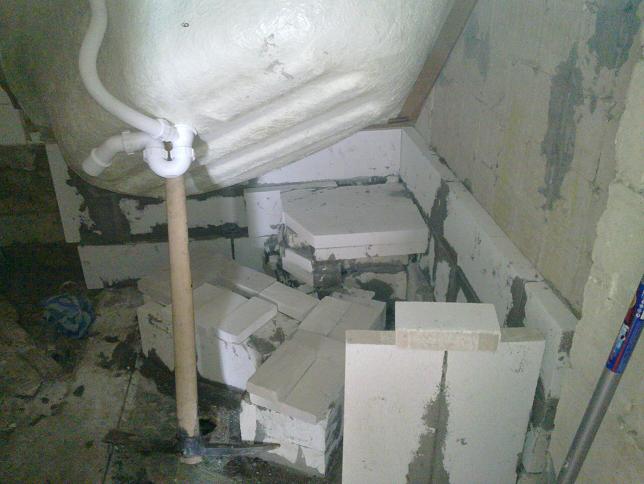
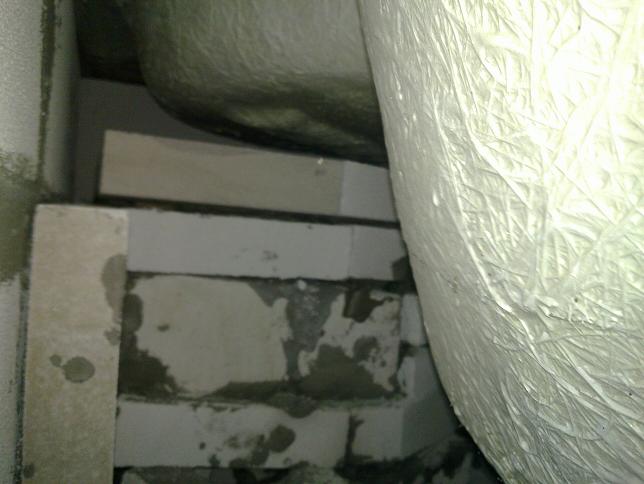
Under
his seat there is still plenty of brick...
and
more...
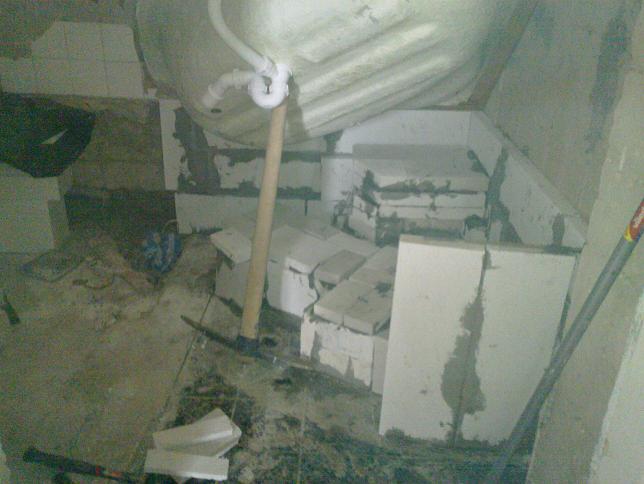
Because
I was alone with the tub, I supported it with a peg, so you do not
have to always lift it off, just roll it up.
(I know, it is laboriously strong, but without risk there is no victory.)
There's a small brick forest here under the bathtub. Slowly this will be the most stable point of the house :).
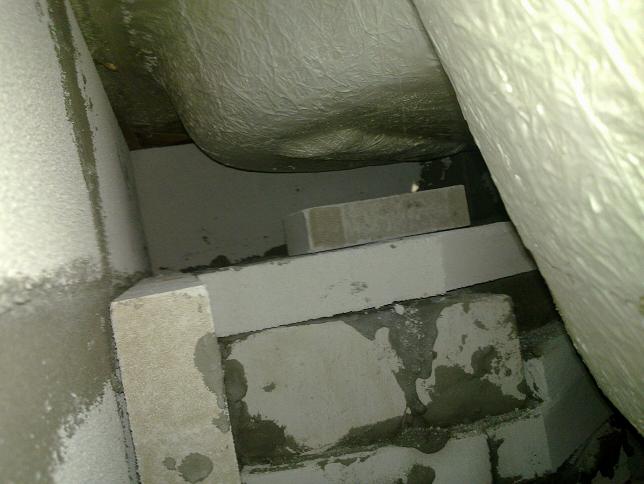
A
little further away:
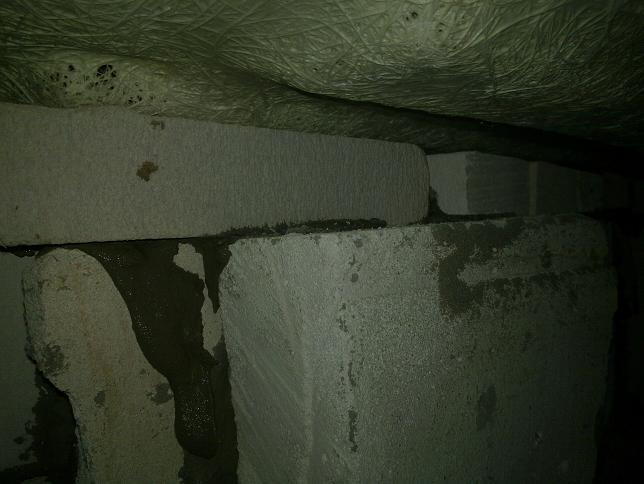
Under
the tub is a small gap (about 3cm).
Well,
this is...
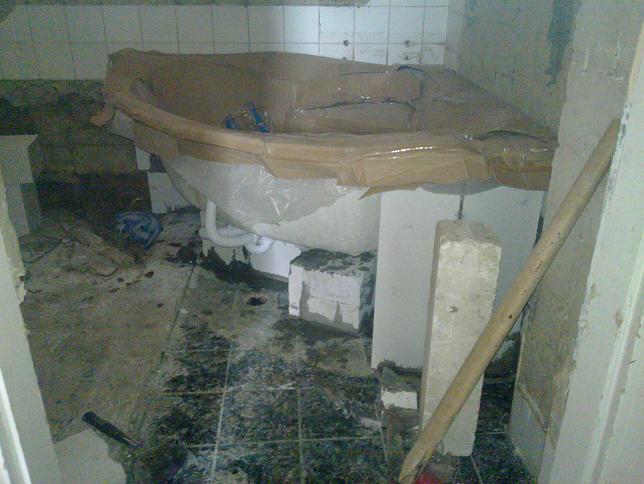
Below
the seat are new bricks sculpted and a little reinforcement:

So
here's the ideal 2-3cm gap:
And
lifting it again (my hand is full of glass fiber pieces ...)
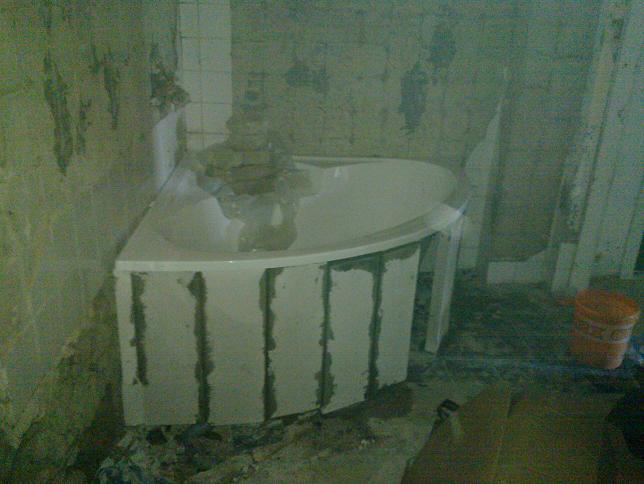
These
are the final preparations: Haberdashery everywhere (ie tile
adhesive)
The
point is that everywhere the bathtub will stand, because it will be
really stable.
The
flange was everywhere (joy was to climb down ...)
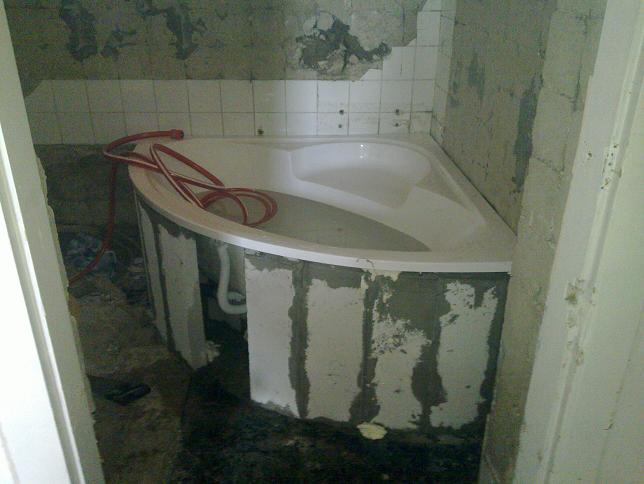
The
bathtub is in place, weighted in the seat, tied to the canal and
surrounded.
The
edges are precisely aligned with the water level.
The dropping is checked with a bucket of water and the water runs well.
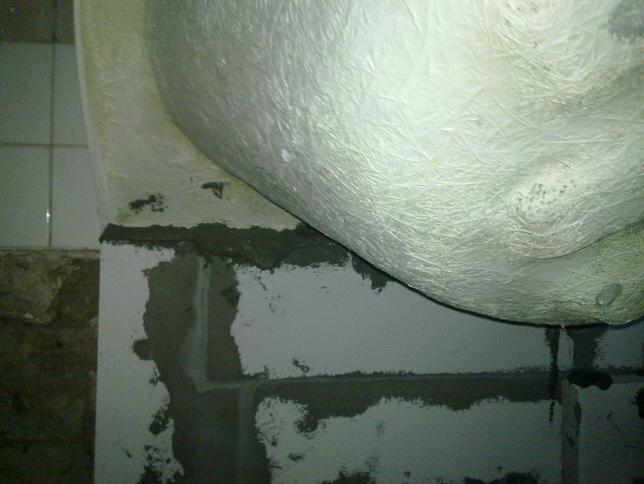
From
the other side. Here I would note that the old tiled floor beneath
the wall
They were made with a bonding bridge. Otherwise, the walls would not have been stable.
The Ytong bricks are individually set to vertical (60x20x5cm)
The
next day the whole thing is bound.
The
bathtub was filled with water using a watering hose.
The load was good, he did not get embarrassed, as the whole bath is under the bed, as it should be.
As
a last step, the remaining gaps were filled with PUR foam.
I was a little scared not to make order as it swelled, but there was no problem.