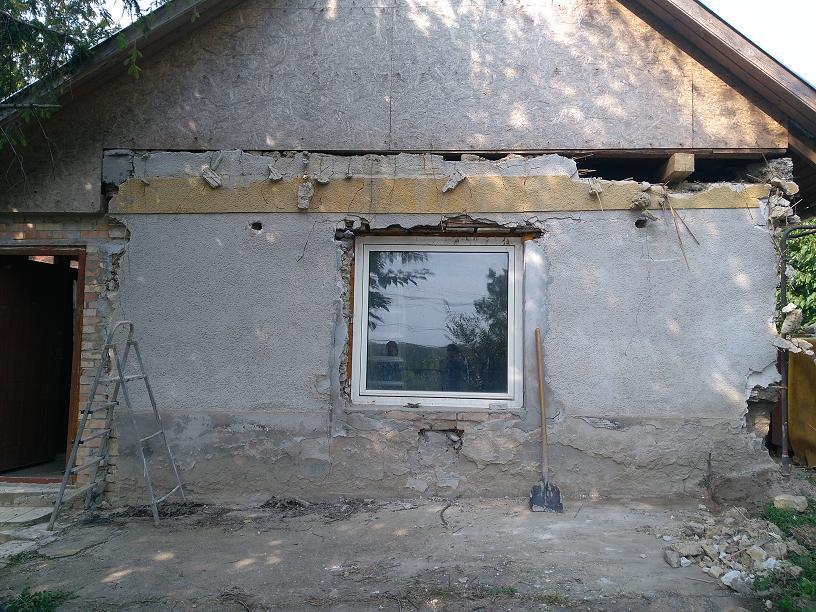
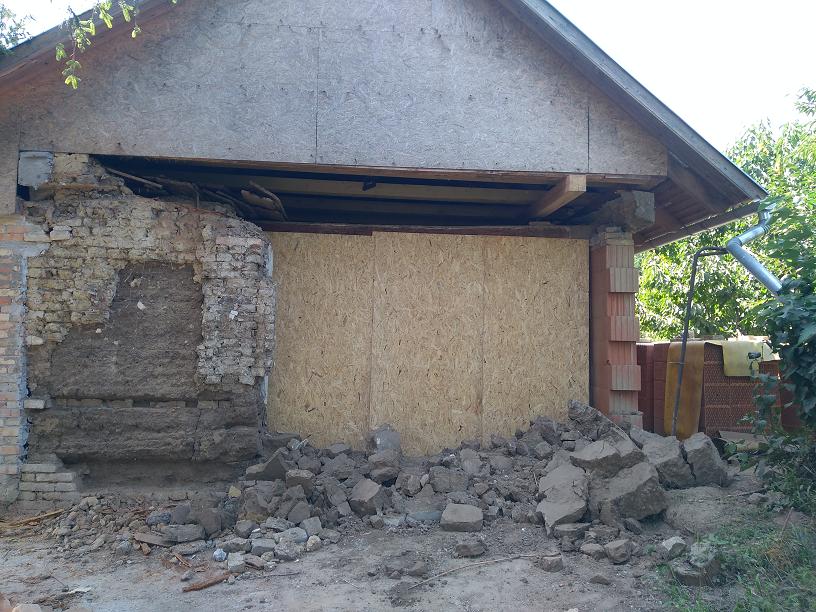
The bottom of the wall was full of soaking (since there was a horde of land when I bought it).
Main page – Adobe house - 2019
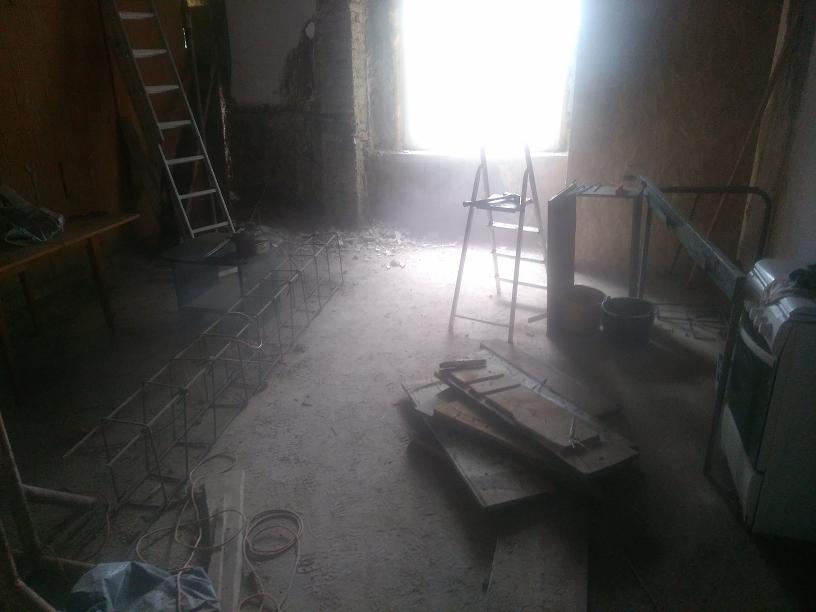
Adobe house renovation – Living room wall replacement
Unfortunately, the firewall wall was "slightly" tilted, due to the sinking of the old retaining wall. It had an 8cm bend.
Since this will be the bedroom I thought it would be better if it was also replaced. The windows around the window are still clean
it was black mold because it was plastered with polystyrene sheets, which completely sealed the board and the wall.
Allergy is not good for something like that, and it is not healthy anyway.
The
bottom of the wall was full of soaking (since there was a horde of
land when I bought it).
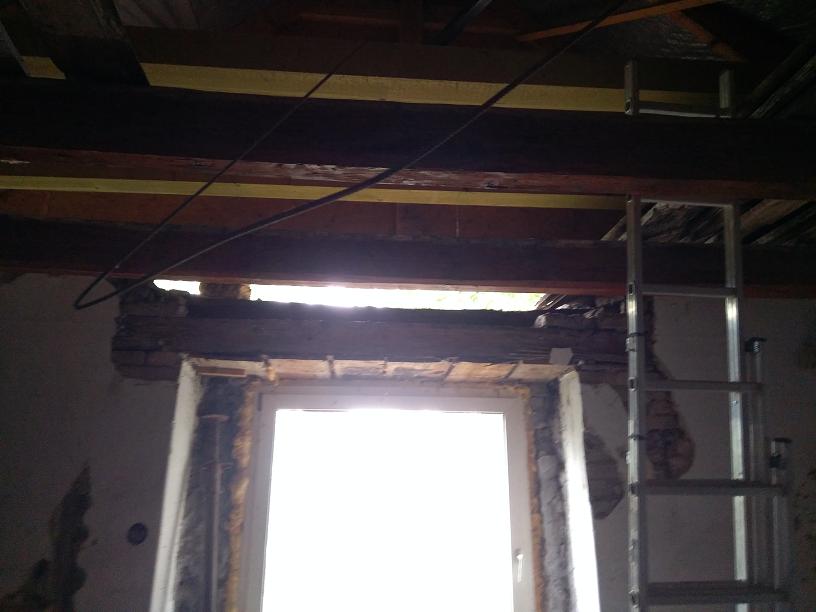
The
bridge over the window was in bad shape. The mosquito and the mold
munched on it alternately.

Stretching
mountains and cracks everywhere. The plaster covered it well.

Stretching
mountains (what was it?)

The
iron tooth of time chewed everything ... It was 50-60 years ago
...(Blight, pierced beam)
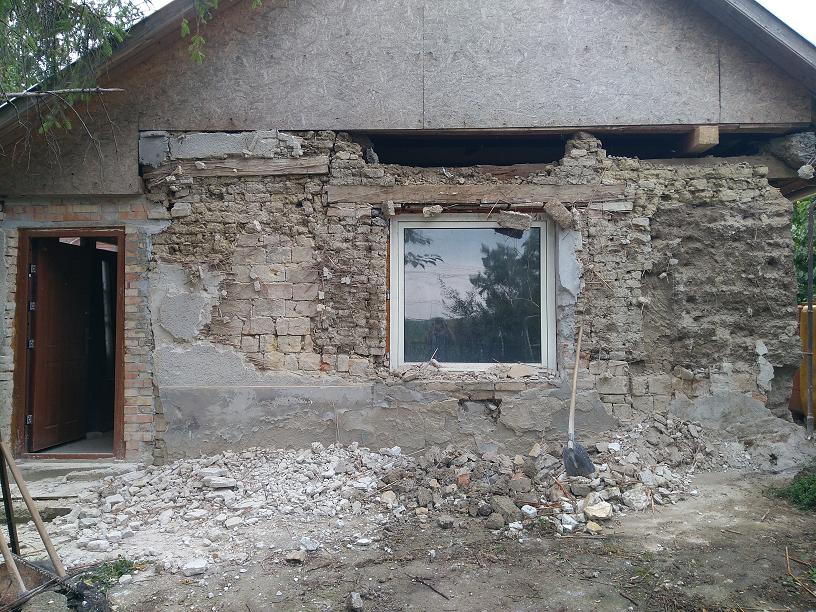
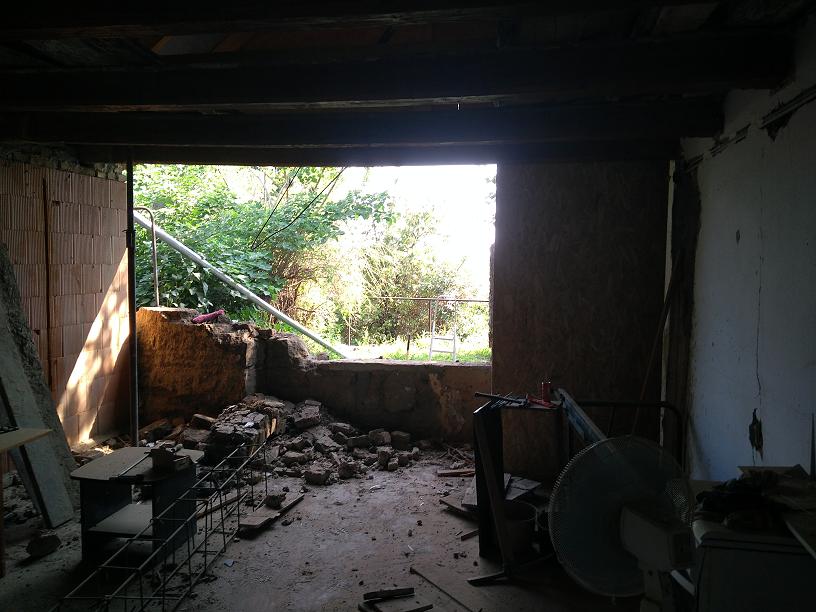
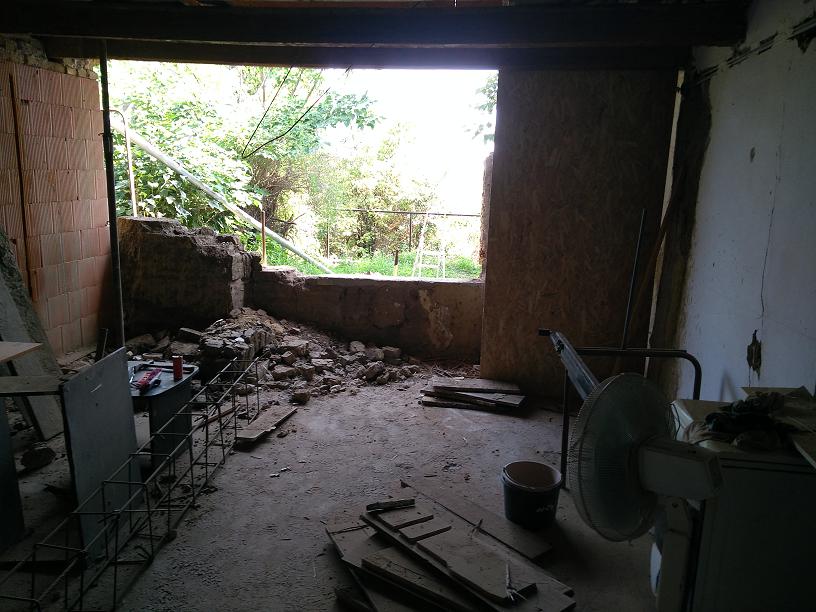
and
the debris just gains weight ...
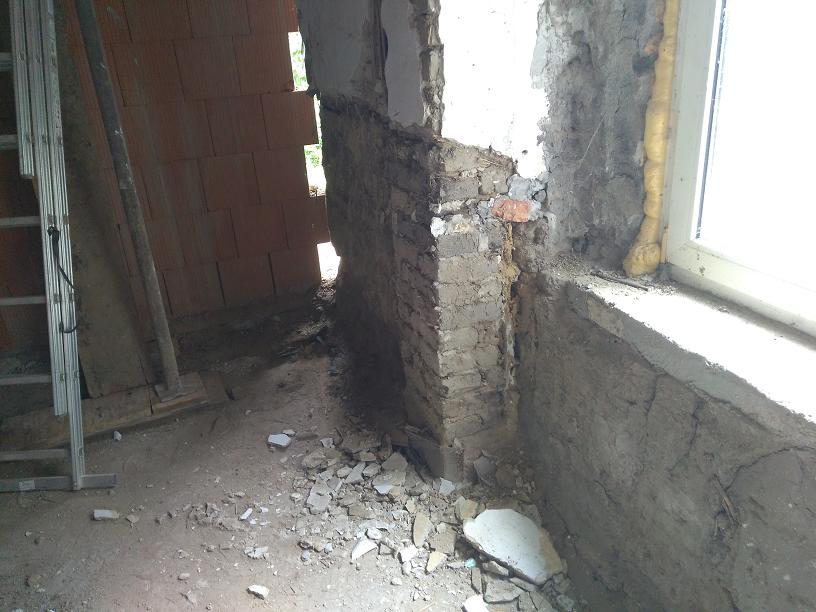
It
contains traces of adobe brick inside.

This
is not the secret of a long life. (black mold)
Not
even the dust cloud ...
This
is how the picking mountains become debris mountains.
Made
of reinforced concrete ...
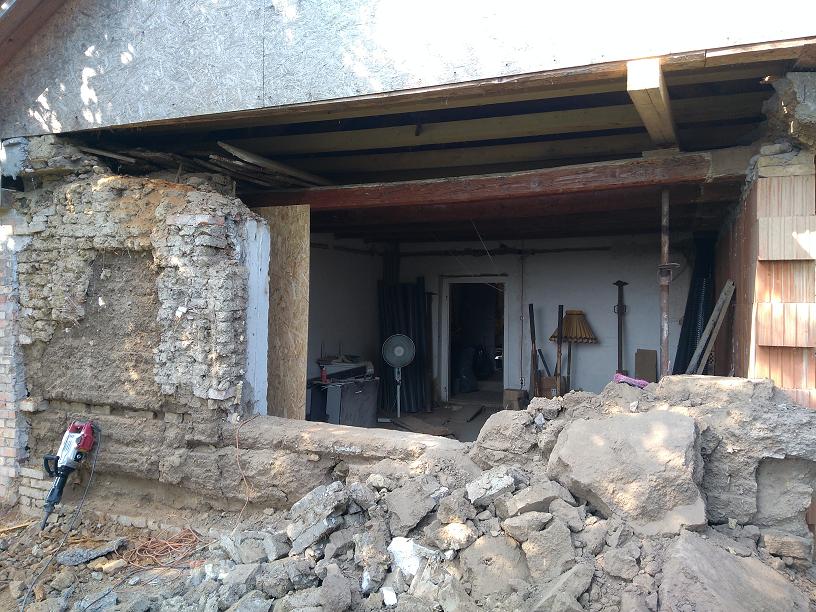
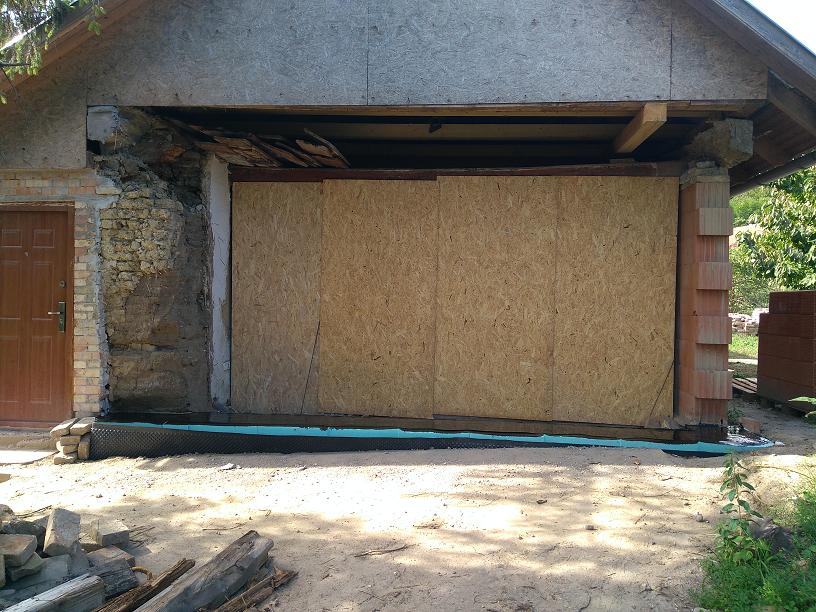
That's
enough for today. Wall covered because the house cannot stay open.
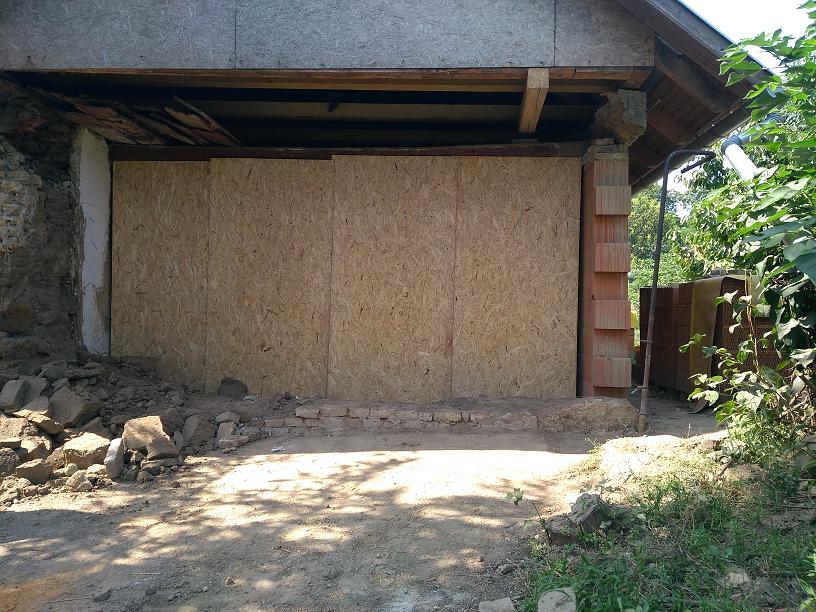
The
next day the wall and debris continued to run out.
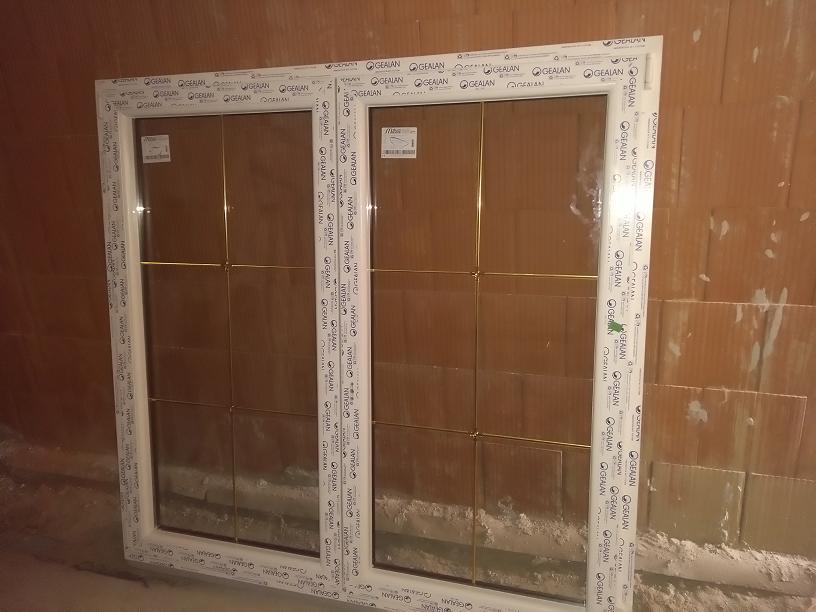
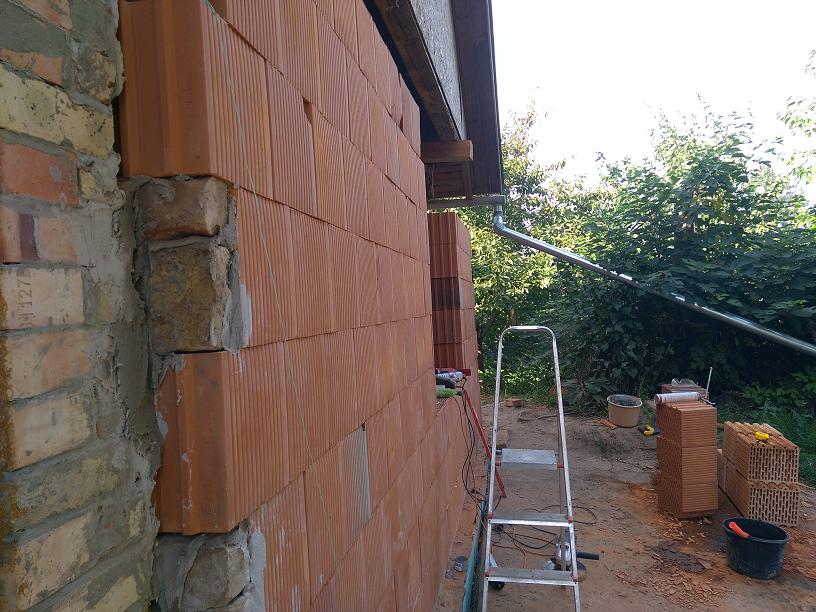
This
will be the new window. (It's exterior brown too, so as not to spoil
the street view).
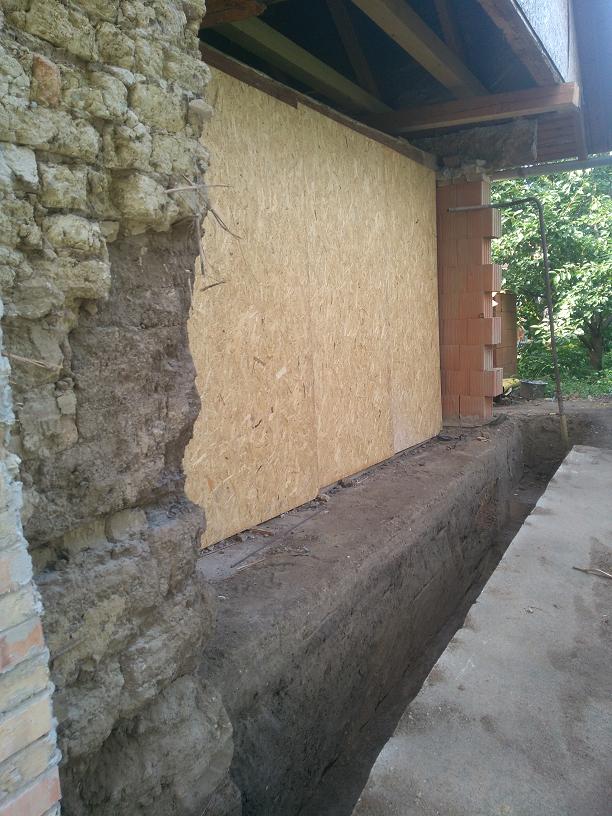
The
trench is being made.
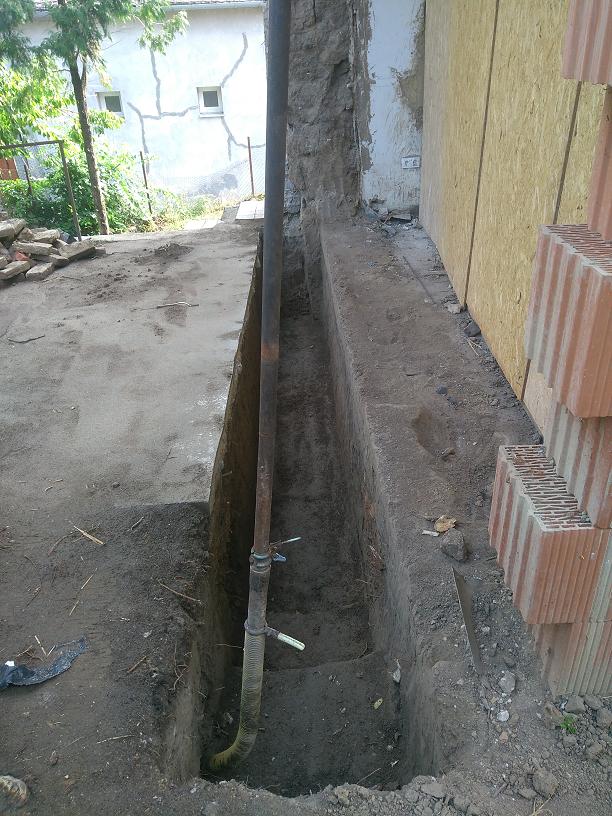
Of
course an old gas pipe is in the way ...
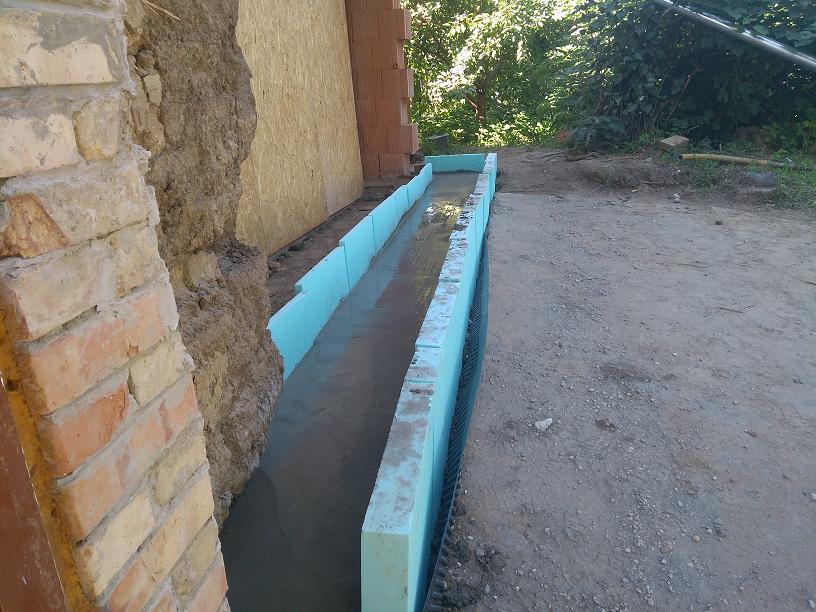
Polystyrene
formwork on schedule, with external drainage plate as before.
So
much for the outside concrete slab.
A
lot of concrete was needed here.
Finally,
after a long stroke, he didn't want to purr, so that was his final
state.
Nothing
special from a distance.
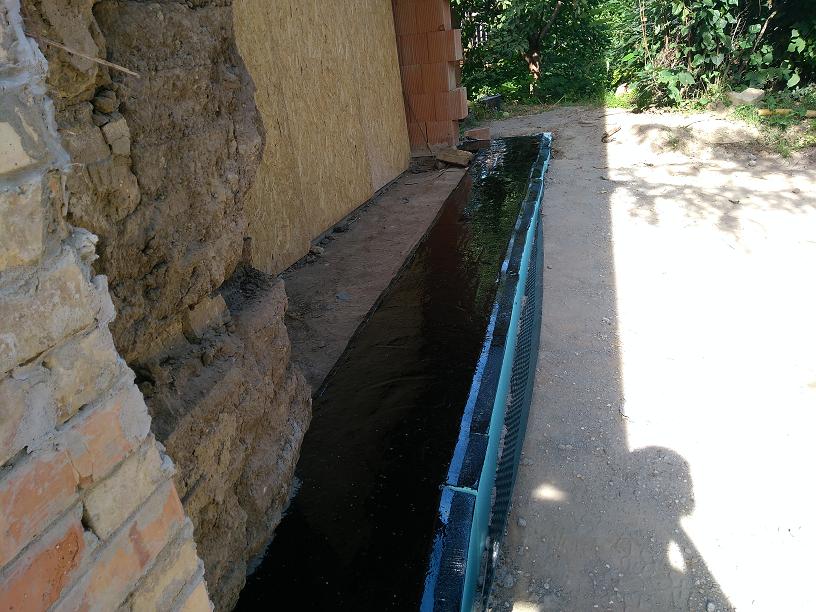
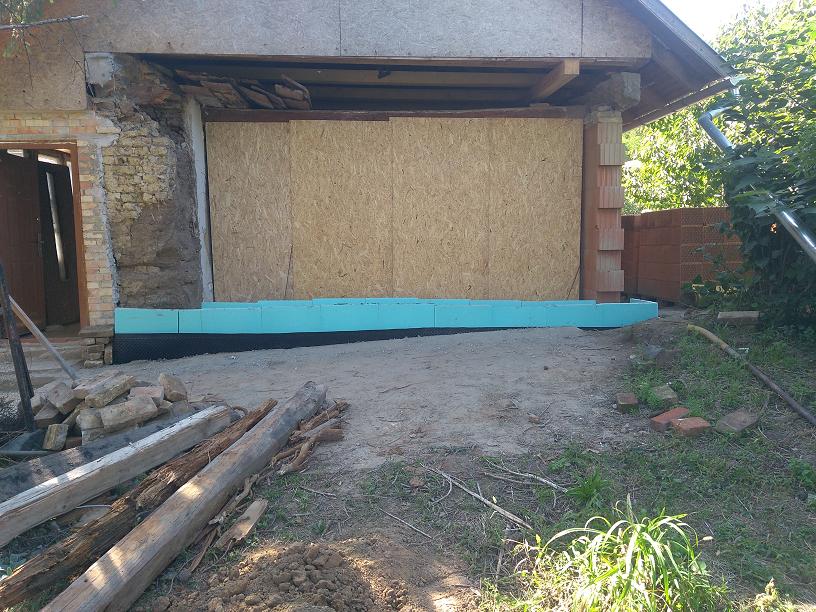
After
the concrete had set, an excess of polystyrene was cut off and
lubricated with bitumen.
It's
just nicer ...
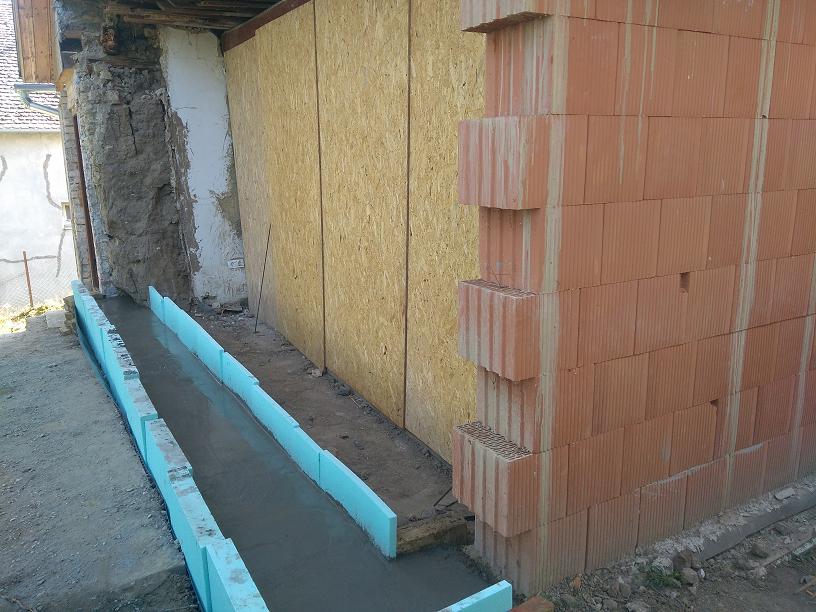
I
melted the tar paper (I also roasted the insulation a bit ...)
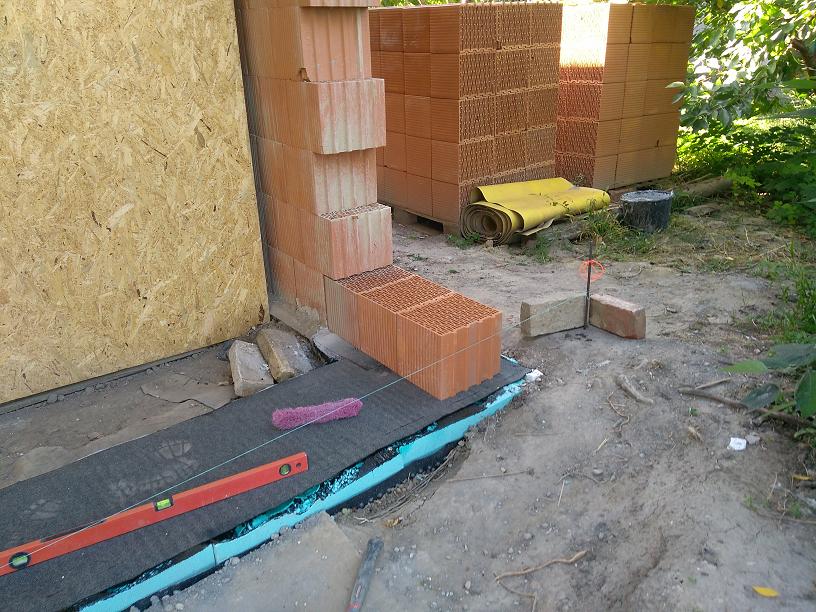
First
line trying in place ...
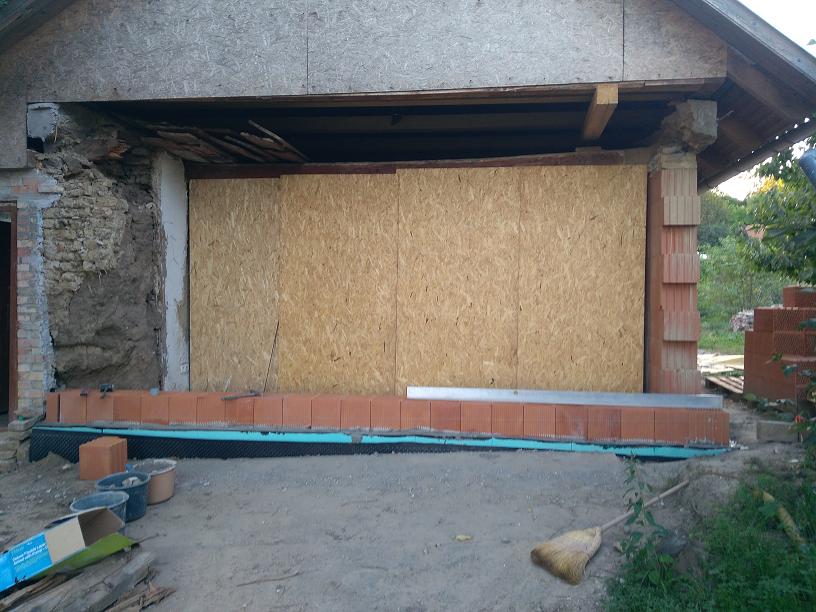
Leveling
with mortar.
The
position of the stretched cord is measured to the roof, so the wall
is exactly where it should be.
Not
too bad :).
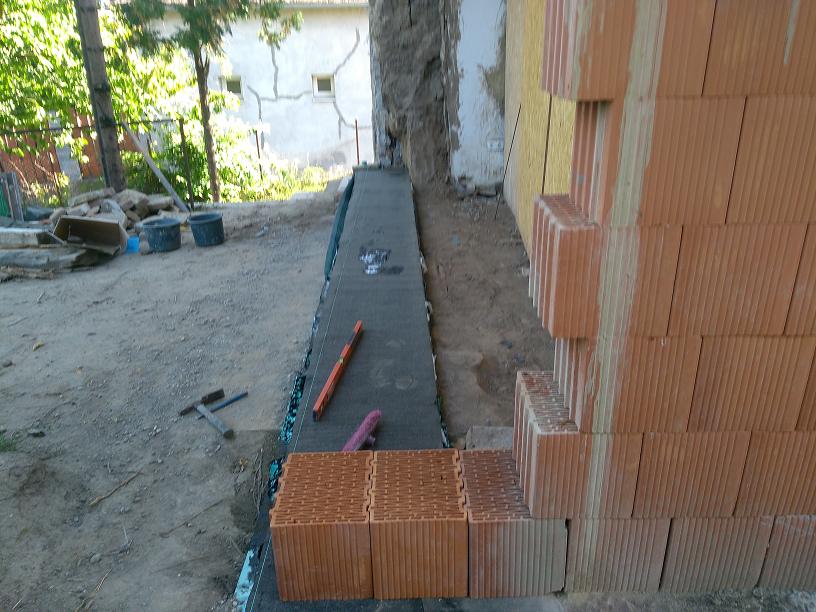
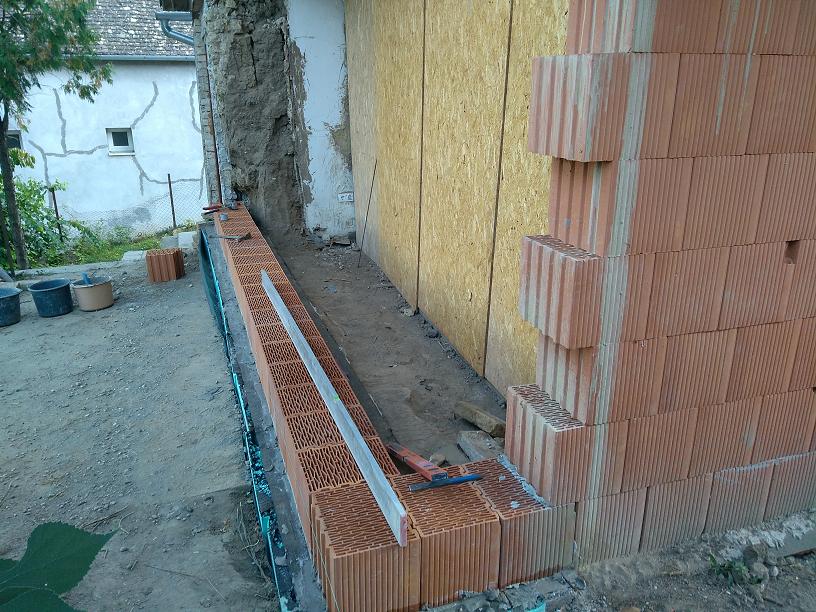
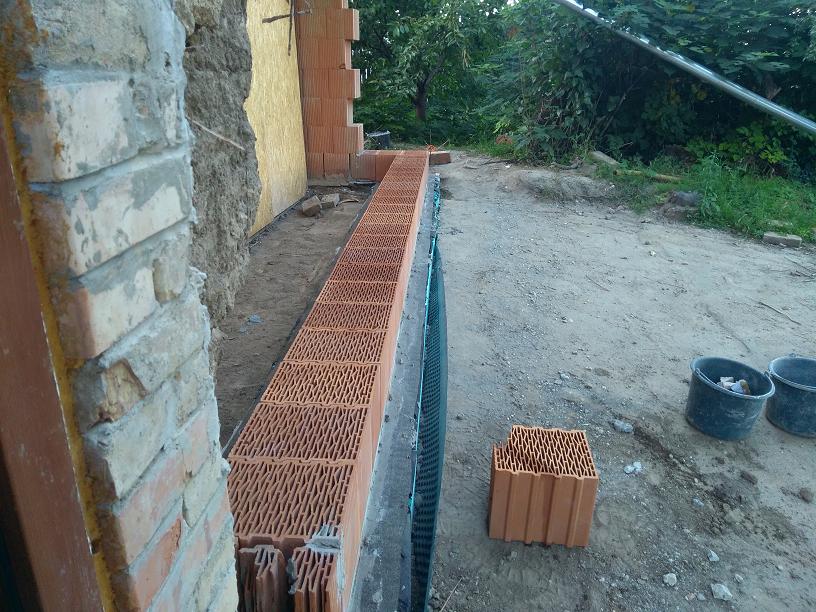
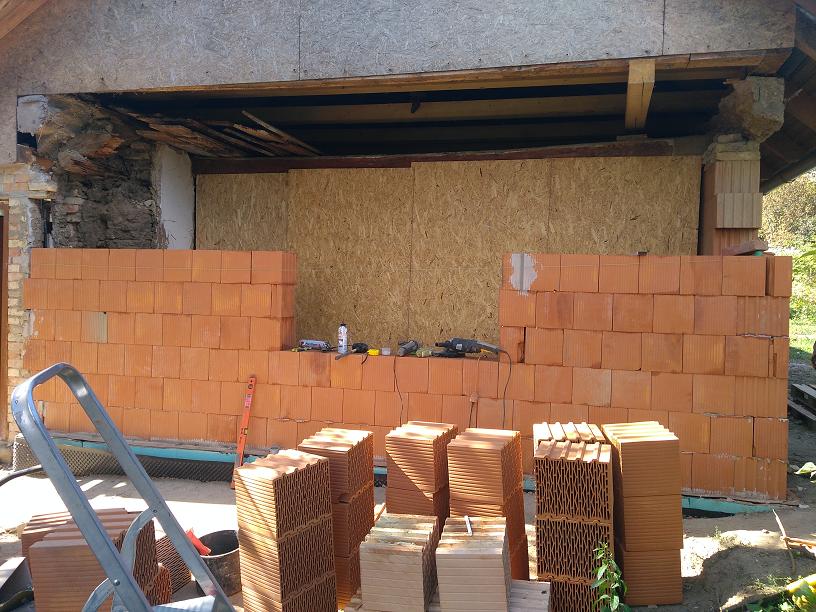
The
wall is gaining weight ...

One
more line ...
Unfortunately,
that's where the suffering goes, because I can't lift my injured
shoulder very much ...
Ladder
is no better ...
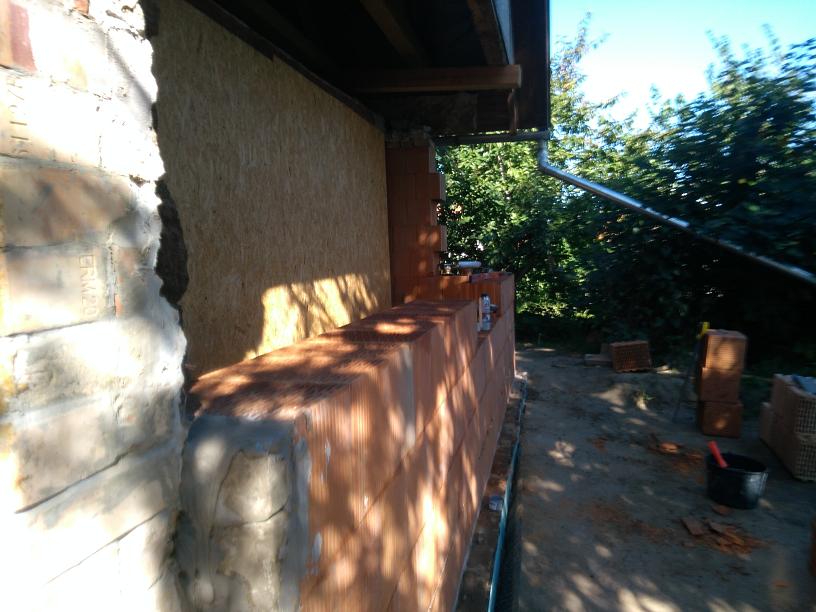
I'll
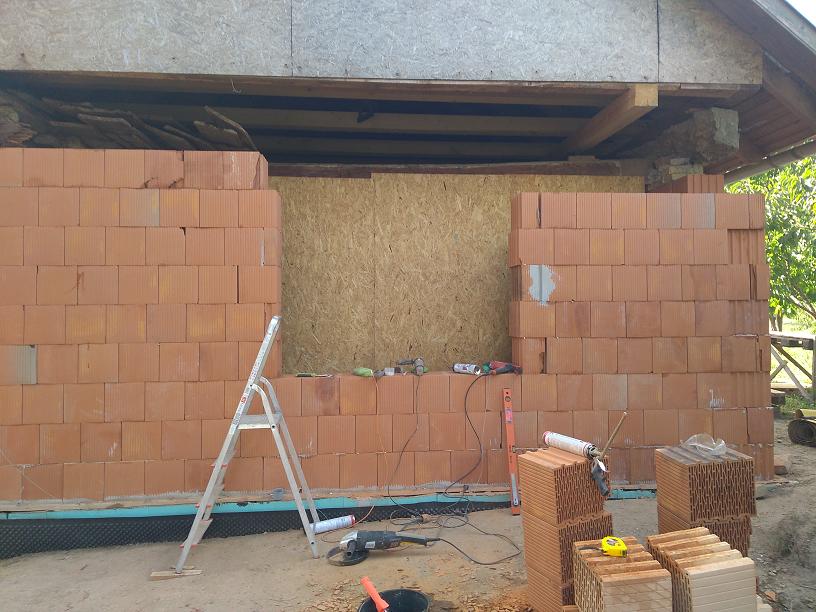
just reached the level ...
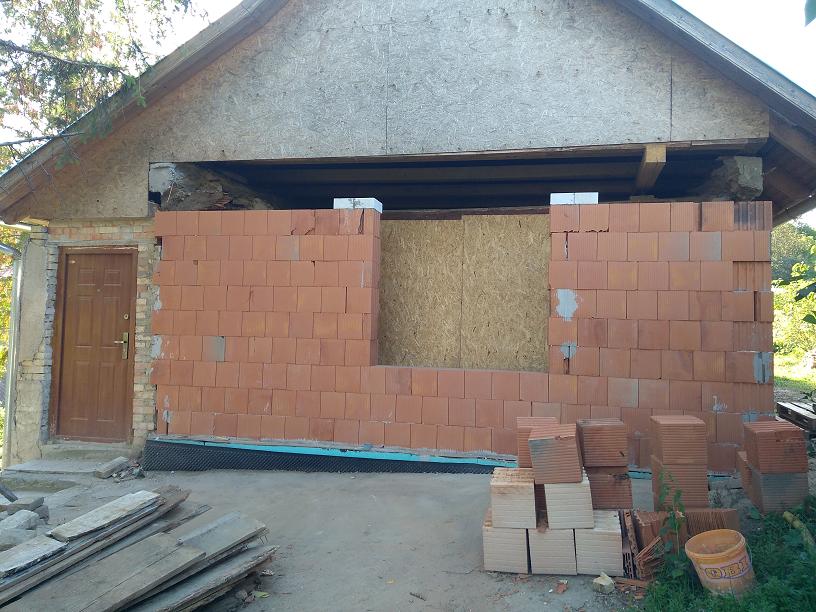
Comes
up the level to the bridgehead. Fortunately, there is no load on this
wall
(this doesn't hold the roof) so 2pcs of 15cm beam will do ...
The beams were secured with a snap fastener to prevent them from moving before setting the adhesive.
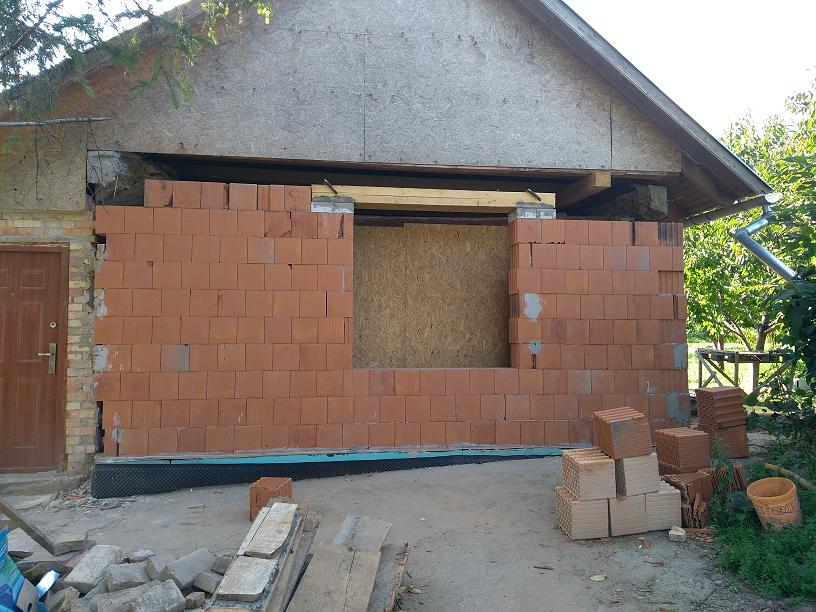
The bricklaying continued in a few days later:
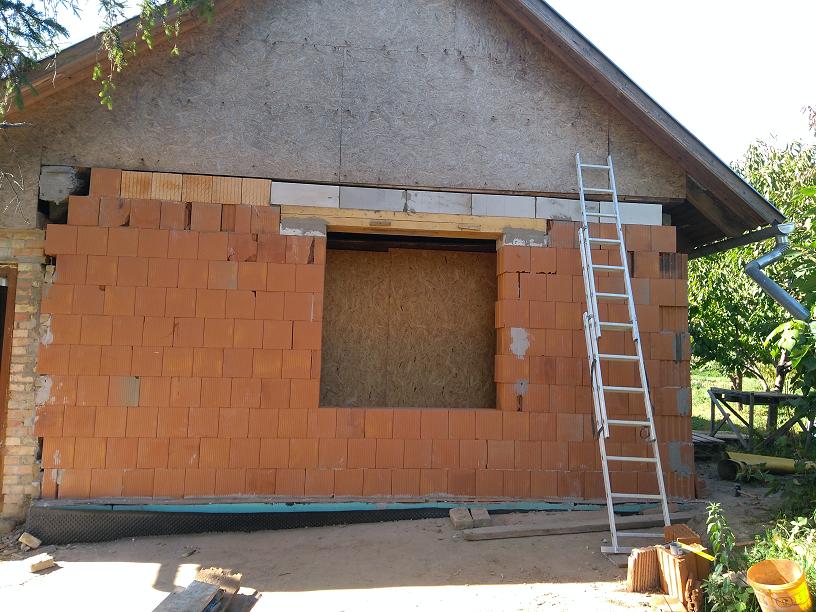
It was a great pleasure to lift the bricks off the ladder ...
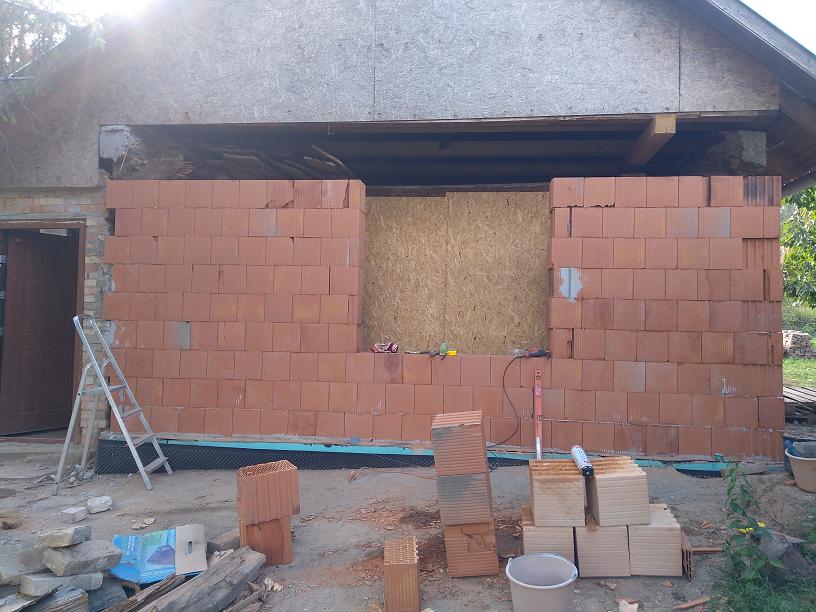
Then the window was installed, which was also hard:
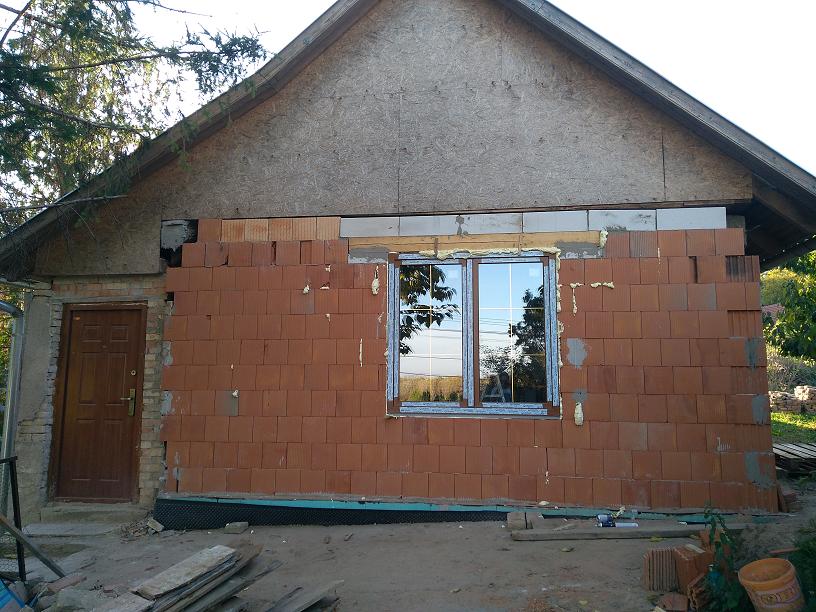
So it has a house shape :).