For this I brought 20cm wide 4 meter impregnated planks. 4.5m would not have been available at the attic entrance ...
Home – Adobe house - 2020
Attic boarding, beam end cutting
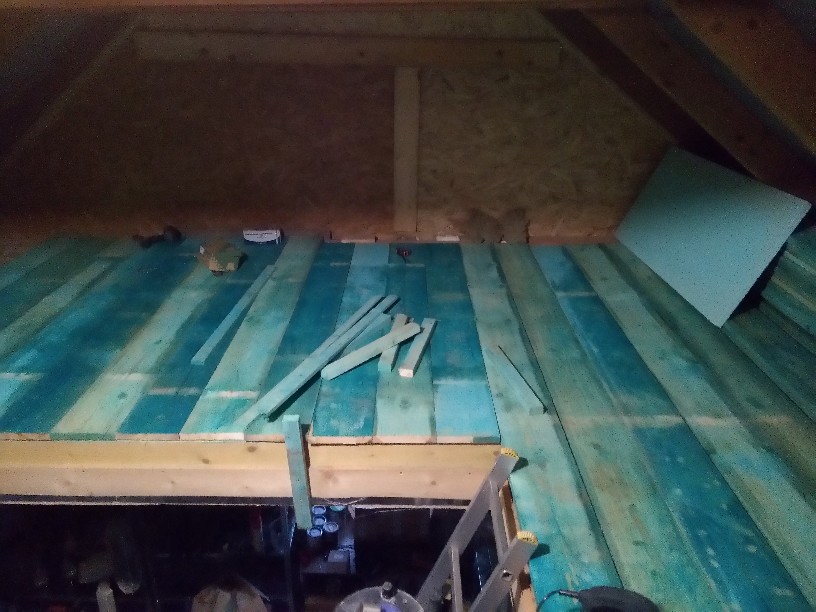
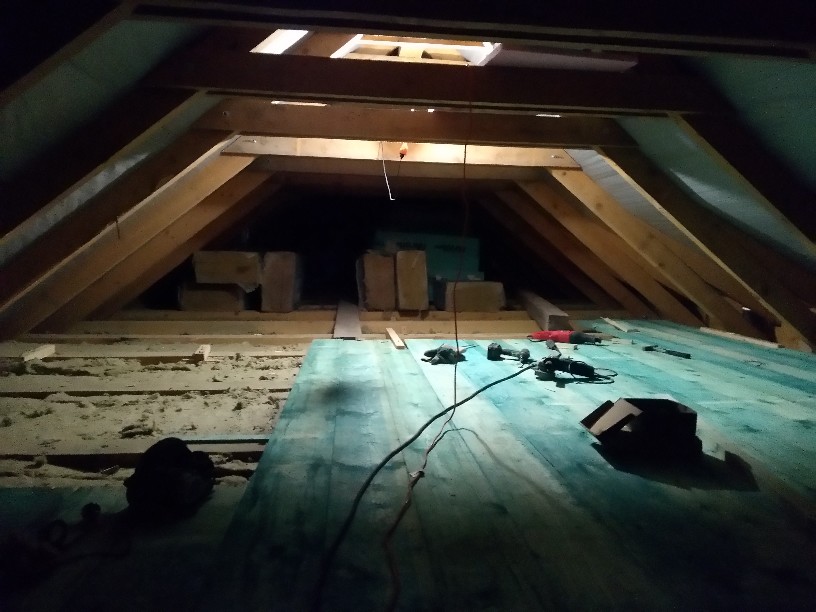
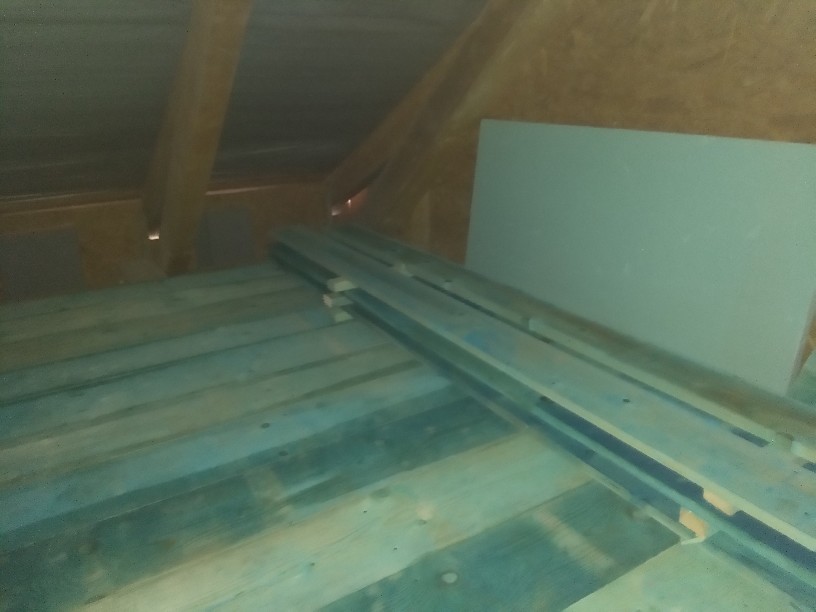
Once you have a roof, it’s time to board the part of the attic above the workshop so you can pack things that aren’t too hard, but big, here too.
For this I brought 20cm wide 4 meter impregnated planks. 4.5m would not have been available at the attic entrance ...
Unfortunately, I got enough wet boards. I thought it was just because of the impregnation, but not ...
The downside is that it will only dry out in the summer and there’s a good chance there will be cracks on it.
Anyway, the nails hold them in place, and I'll paint the ends so they don't crack there.
(Wood loses water here the fastest, so the ends tend to crack.)
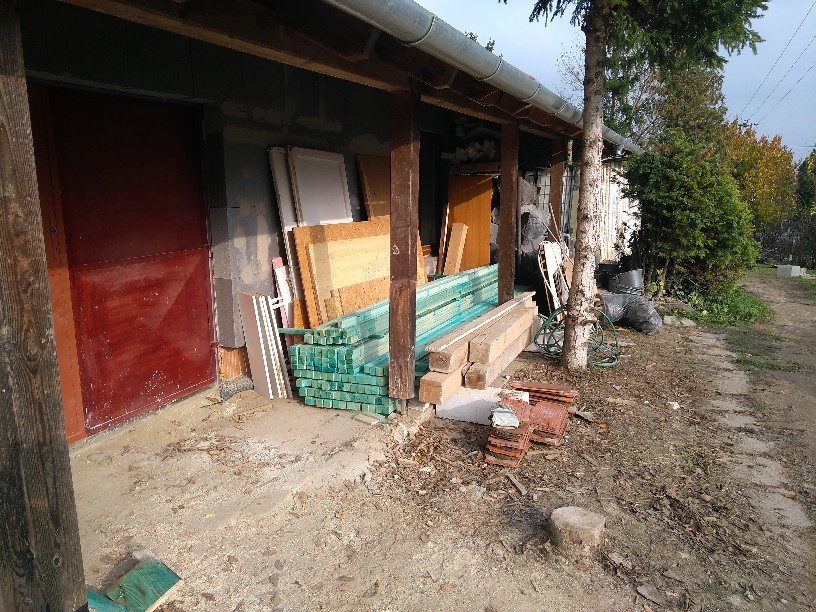
The remaining stafni trees and slats will then go to the ceiling of the bathroom, hallway, pantry...
In any case, they were loaded into a well-ventilated place protected from rain under the porch.
Since the rockwool insulation is already laid over the workshop, this can be planked.
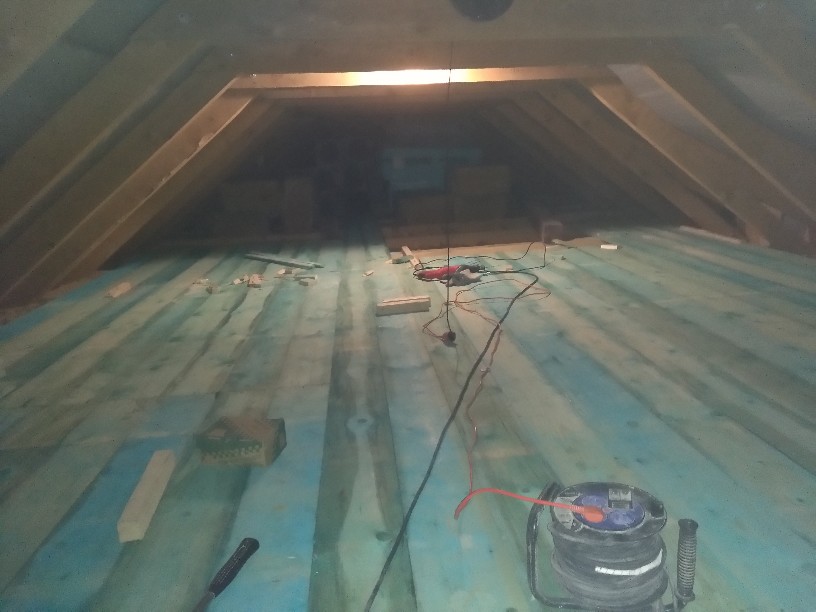
One of the pictures will only be good. Oh no, because the light is not enough...
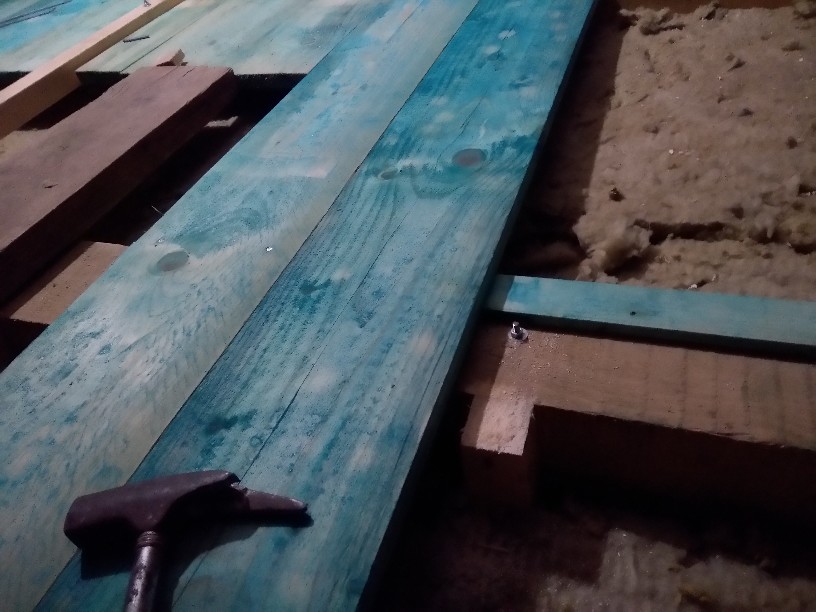
I drilled the board at the protruding screws where necessary. Here, for example, a washer slat had to be made, because the beams are not very the same ...
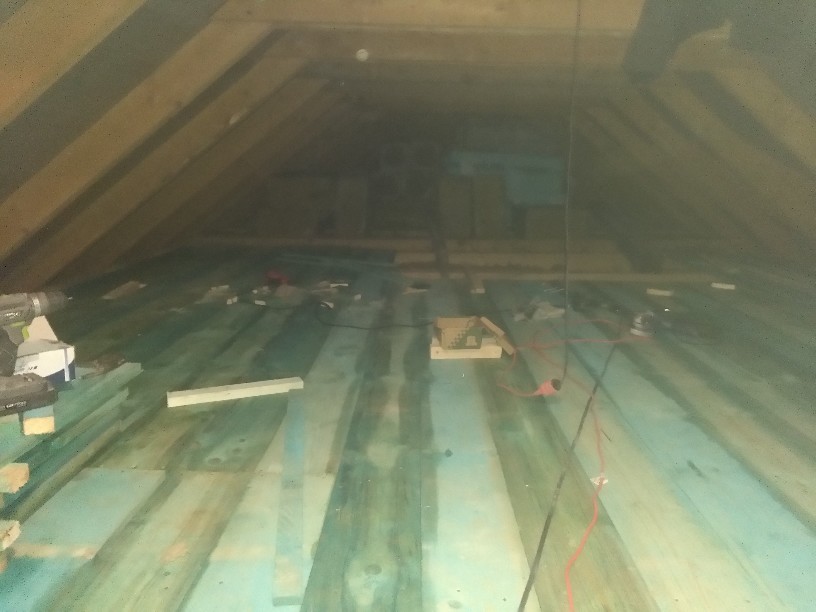
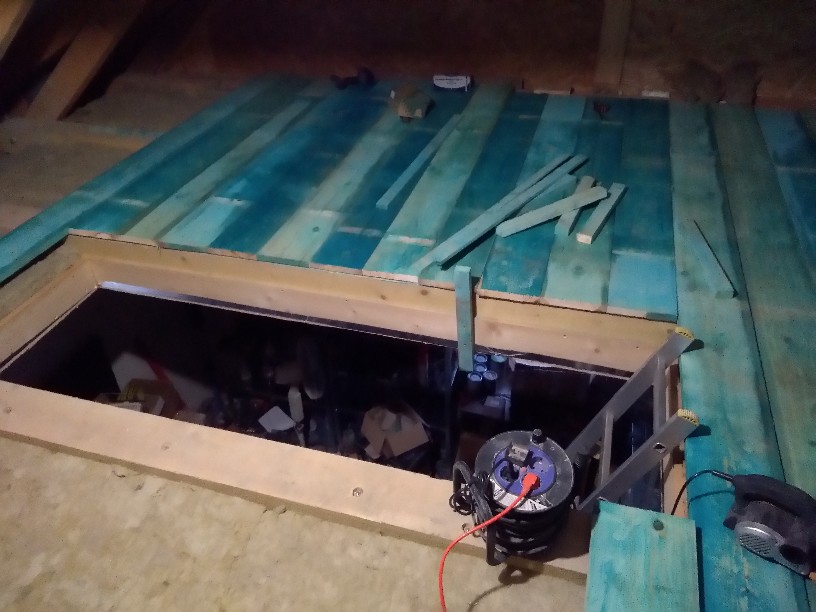
Of course, it darkened on me again by the time I used up half a box of 80’s nails and some wood screws.
At least you can pack here. Unfortunately, the ceiling height is quite low, so you have to keep leaning, but you don’t walk around the attic every day.
I also loaded the remaining boards here. Then, as the roof is insulated, so will the pavement.

In the meantime, it's time to dry.
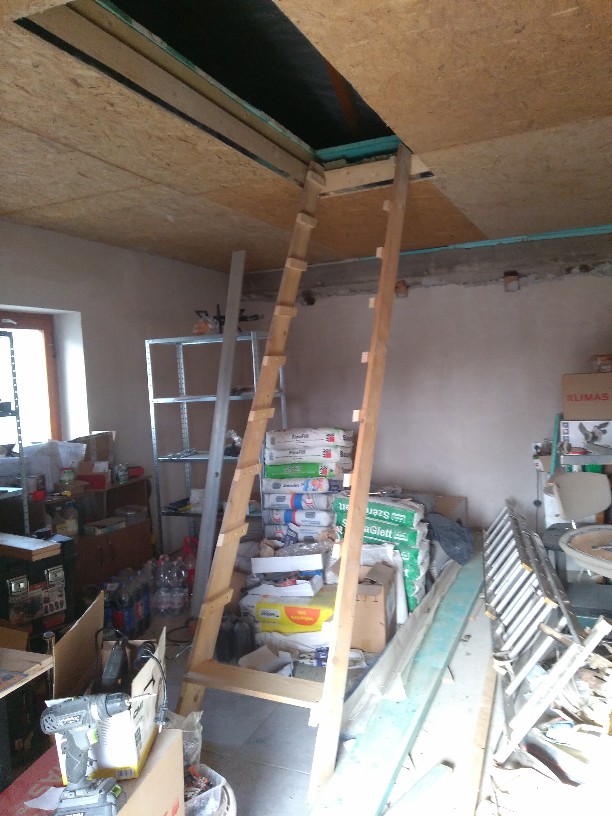
I wasn’t happy with the ladder, so I made a staircase out of some leftover material (it’s at least dry).
With these 15cm planks, the foundation of the workshop was laid out anno. Then I wrapped them around with foil so they weren’t ruined.
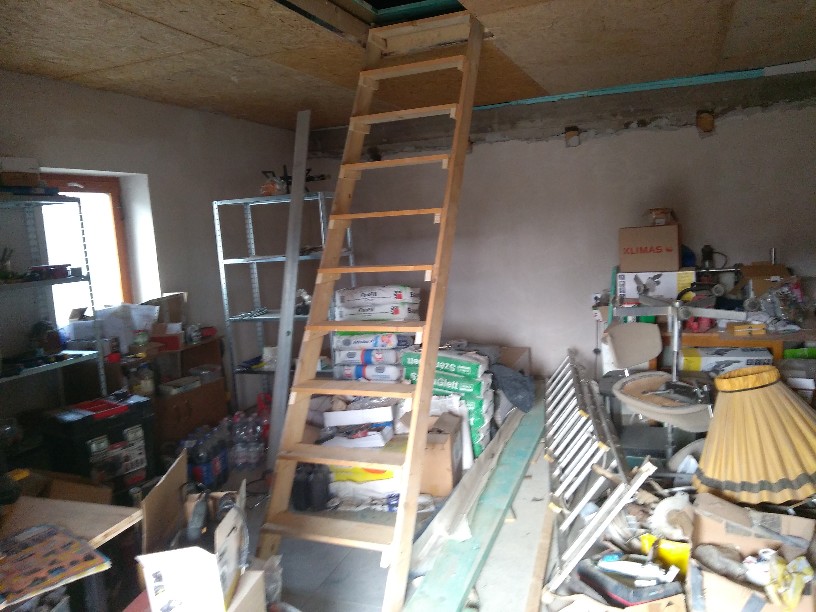
The finished work. I finally don’t have to bother with the ladder.
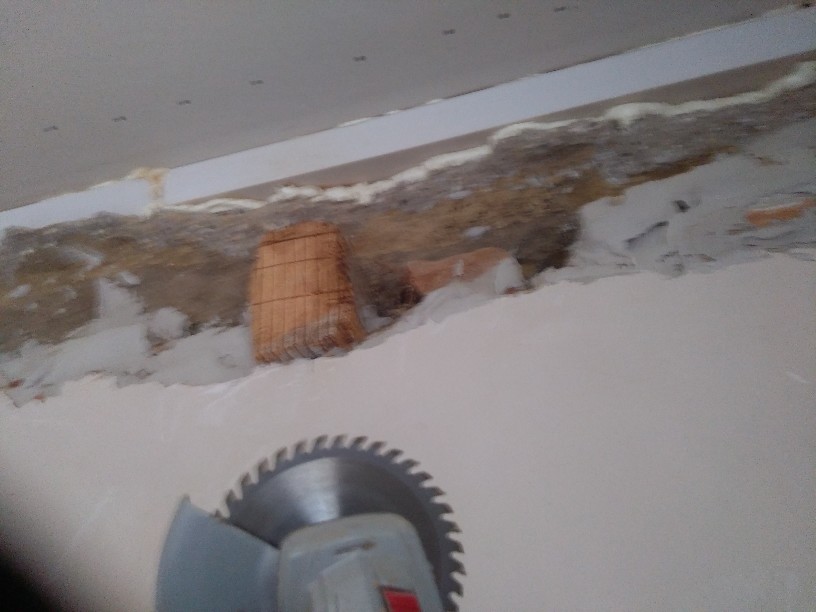
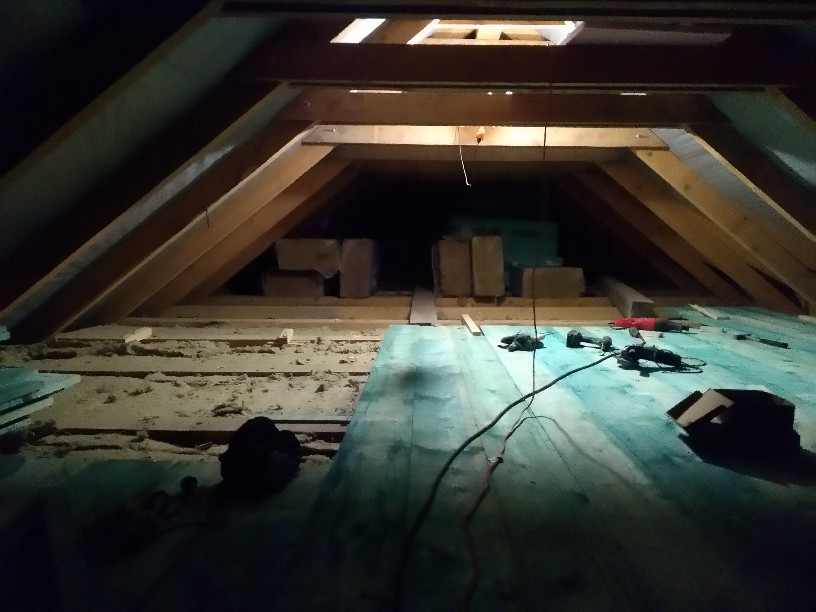
There were still many things stretching on top of the wall in the great room. Exactly the remnants of the old cut-out beams.
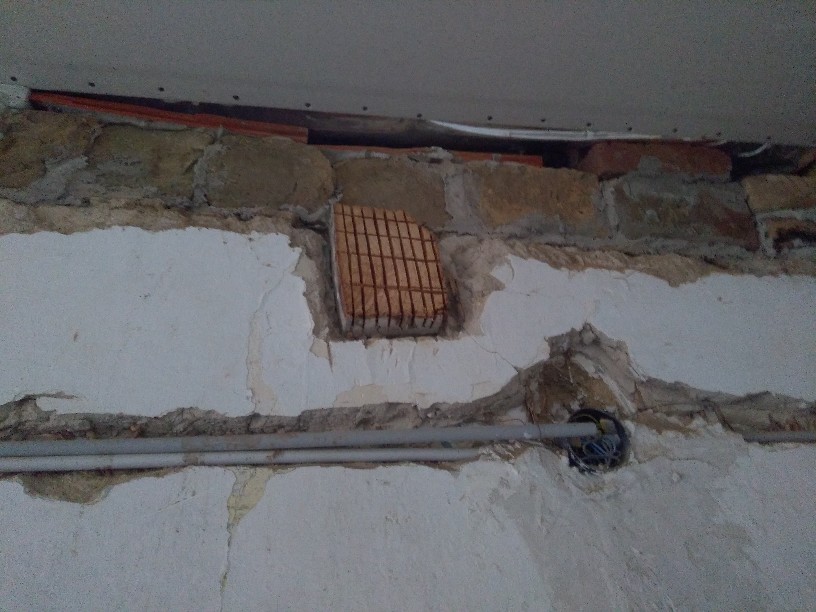
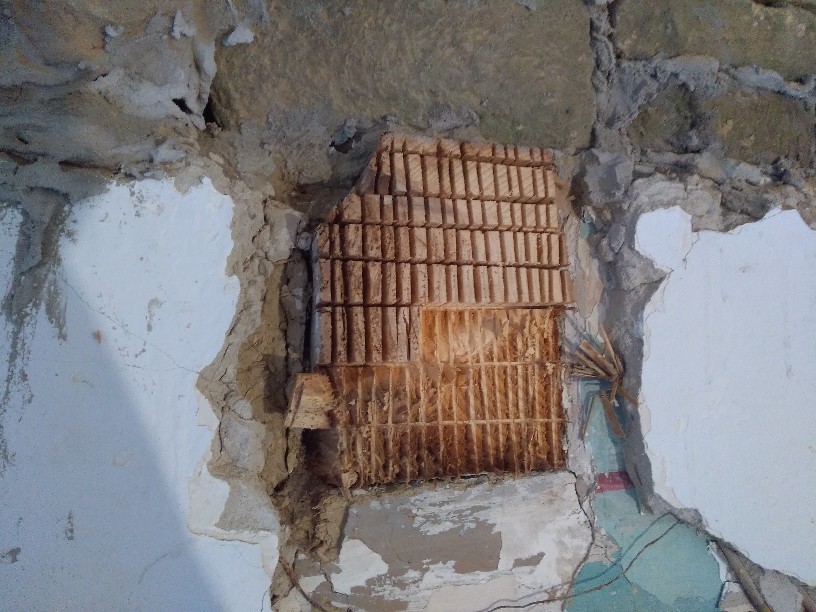
I diced them with a circular saw blade with an angle grinder and then broke the pieces one by one with a hammer.
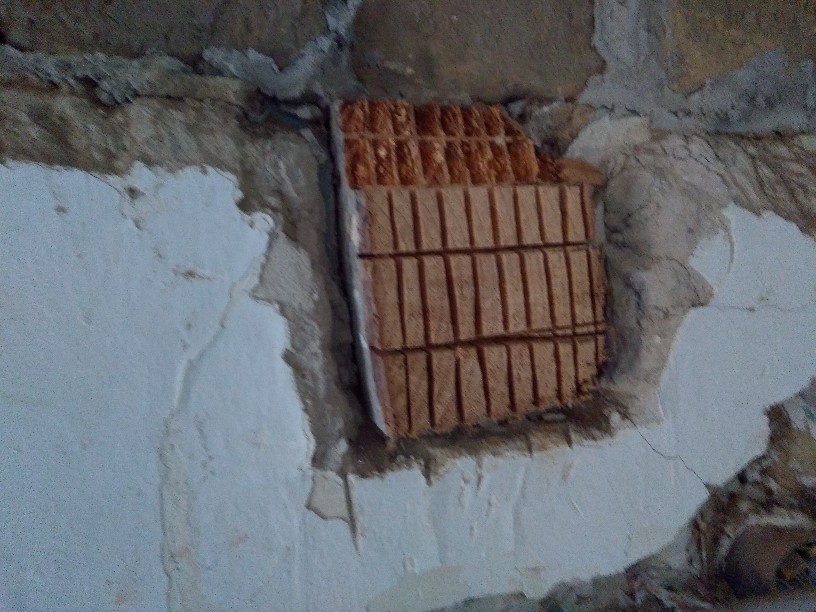
Here you can see the cut and broken part. It’s not a clean job because it comes with a lot of shavings and of course smoke.
Due to the proximity of the plaster, inevitably sometimes a person touches the cutting disc and the edge goes out at that moment.
From here the smoke :D.
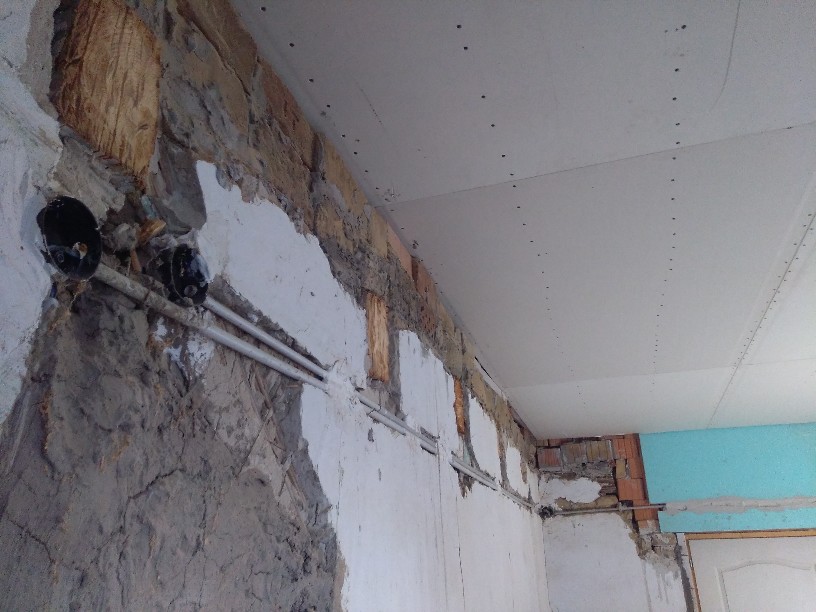
To dice the 5 beams, I had to sharpen the reel 3 times. For this, I used a cutting disc for plain thin metal.
Not a very elegant solution, but it works. It just takes some dexterity and a good dose of patience.