Adobe house renovation - Bathroom / toilet partition reconstruction
Where
the king is on foot II …
It was the last time that the
bathroom wall was rebuilt but only an animated GIF was
provided.
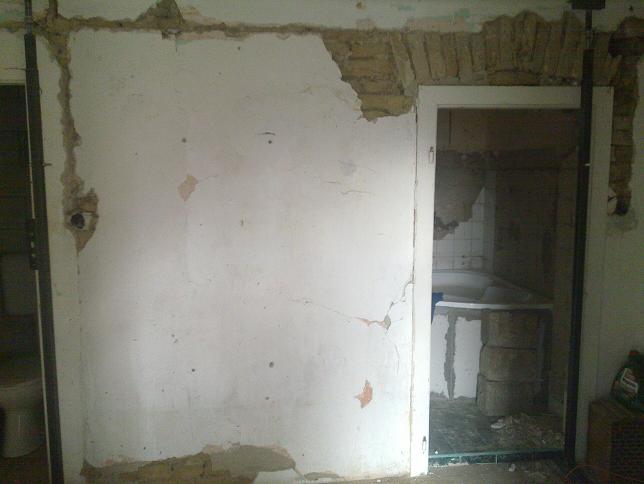
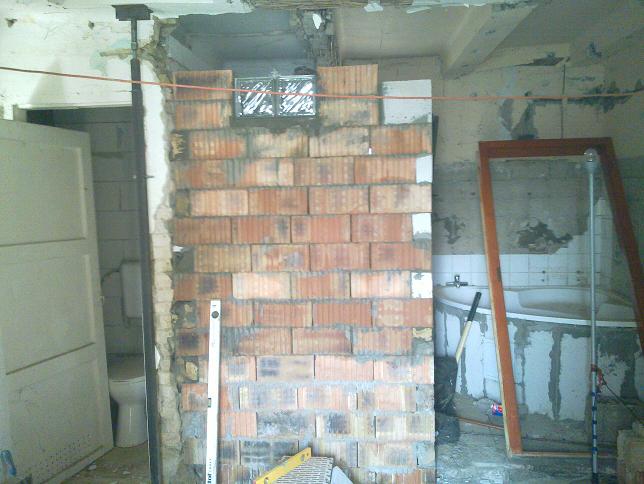
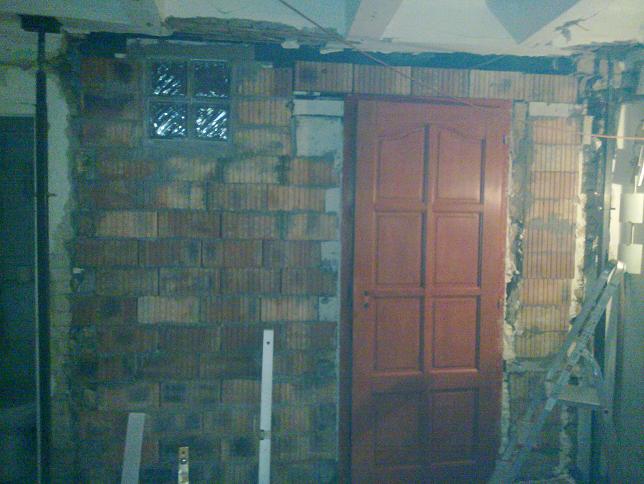
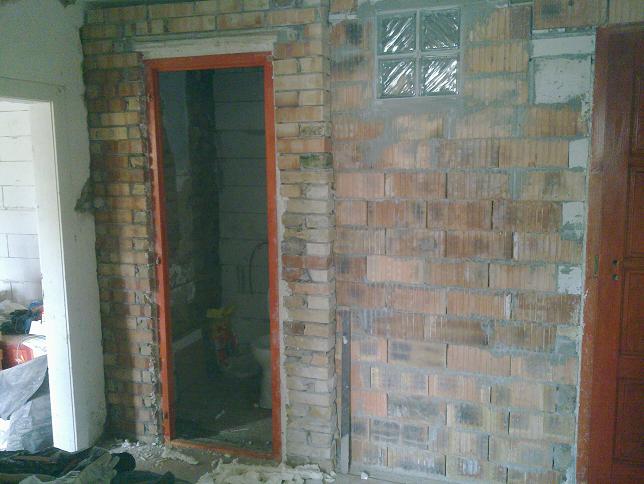
Since then, so much has happened that it was finished,
and when the toilet door was changed, everything was torn, so
everything was re-built there.
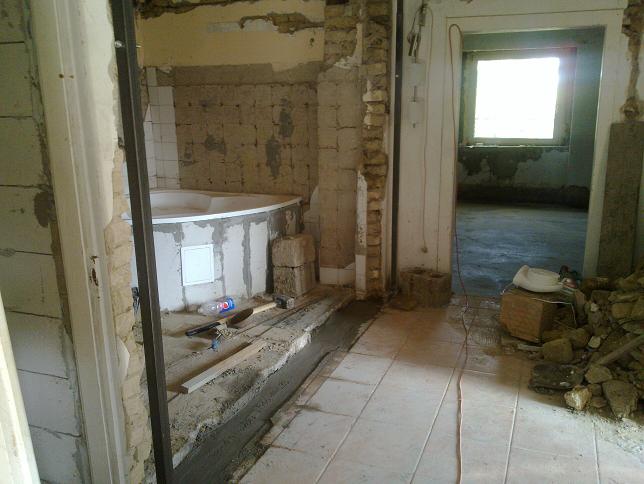
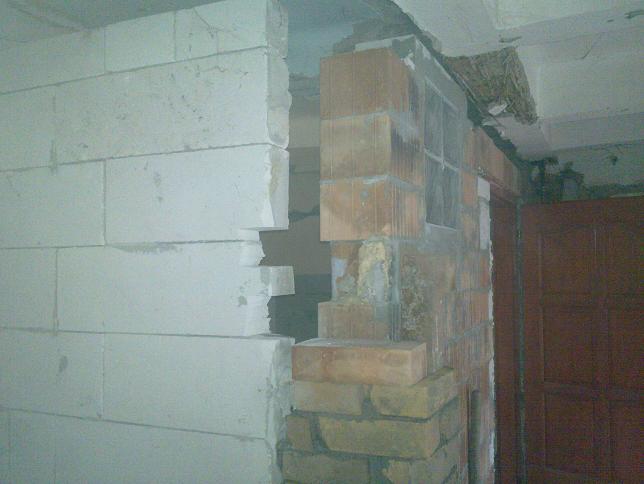
Unfortunately, it was not bridging
over the door, so as the new door was higher, it had to be dismantled
upwards, causing it to fall apart … Those who did this were
not too forward-looking. A slim line without a base …
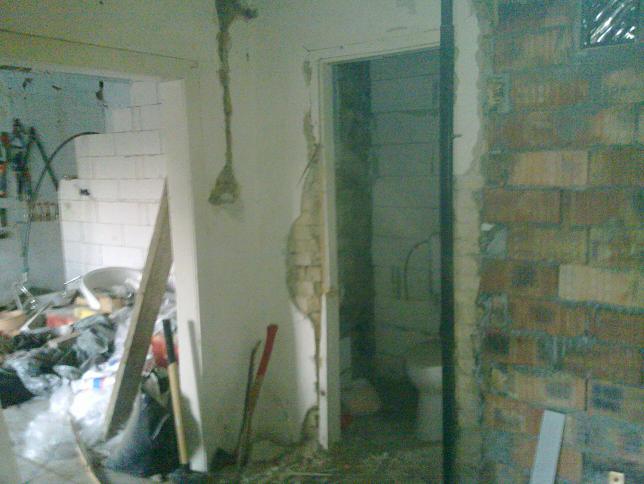
Of
course, he leaned and did not want to stop at his "feet"
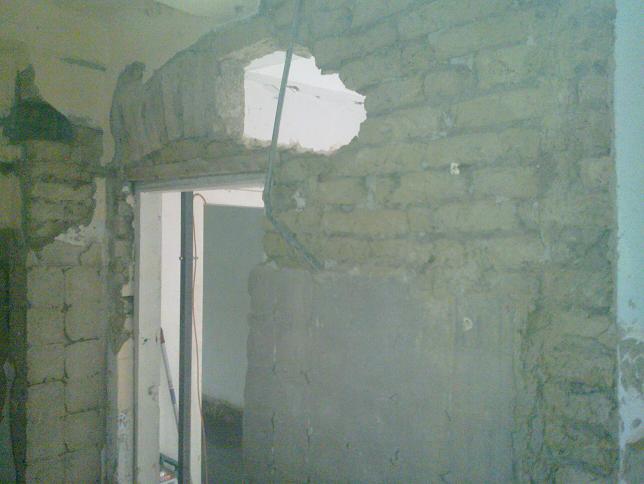
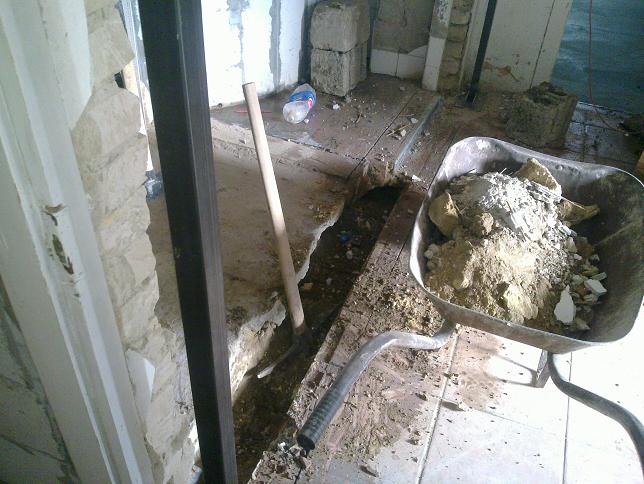
So
unfortunately I had to break it down. The 5-pound hammer is back ...
Practically,
the outside grungy net kept the whole wall ...
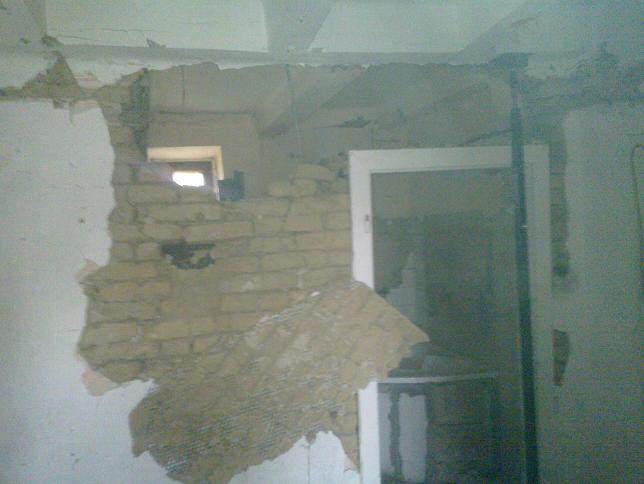
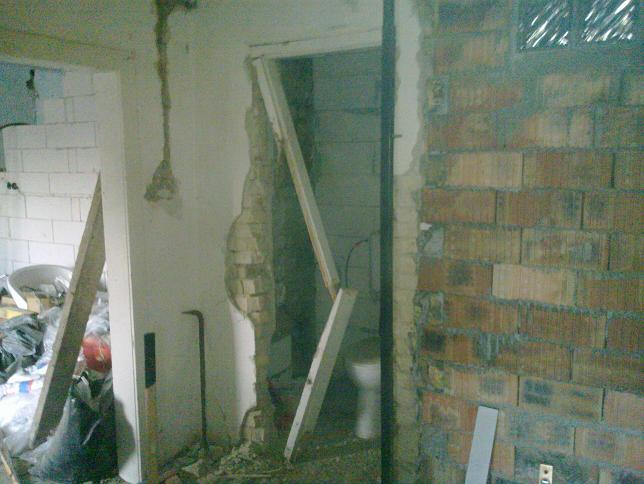
It
was not hard for me to do it after it was removed from it ...
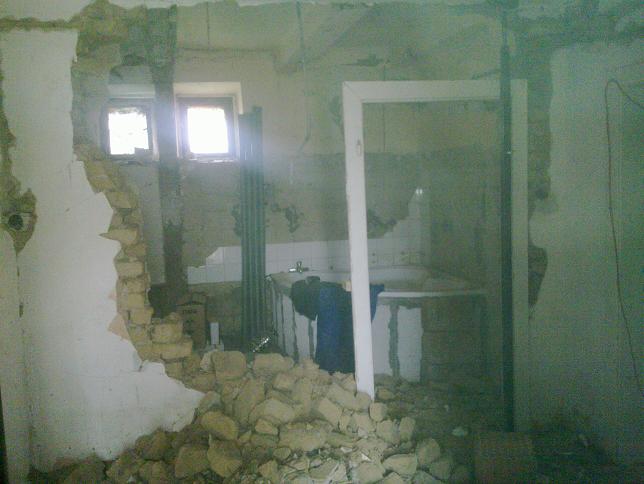
Of
course, again, what will you do away with ...
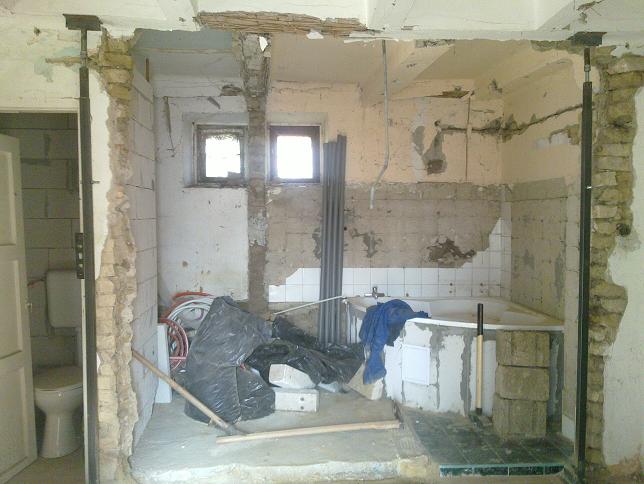
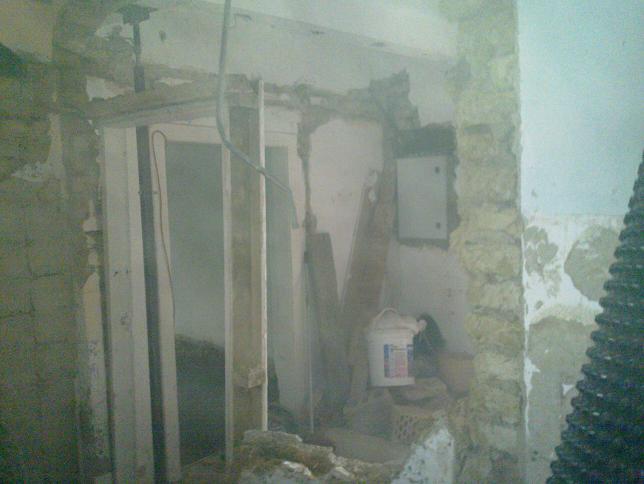
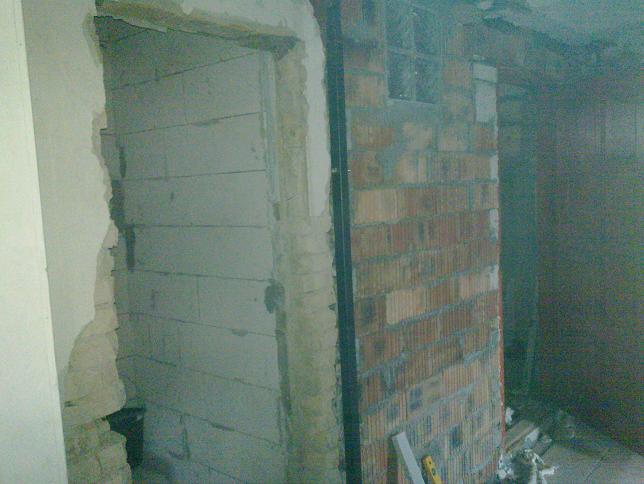
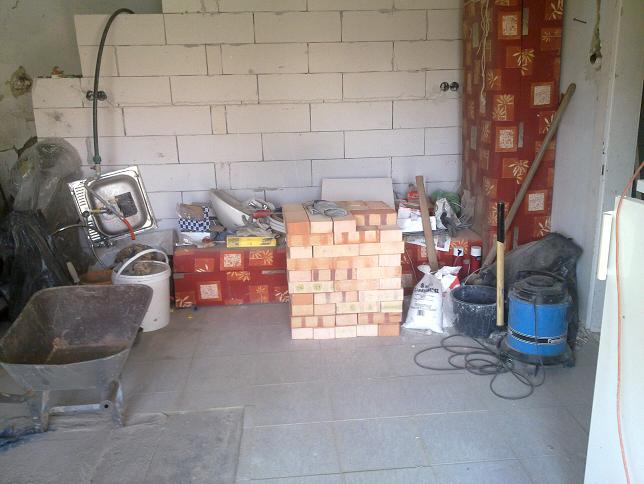
Here
the ruins are already cleaned.
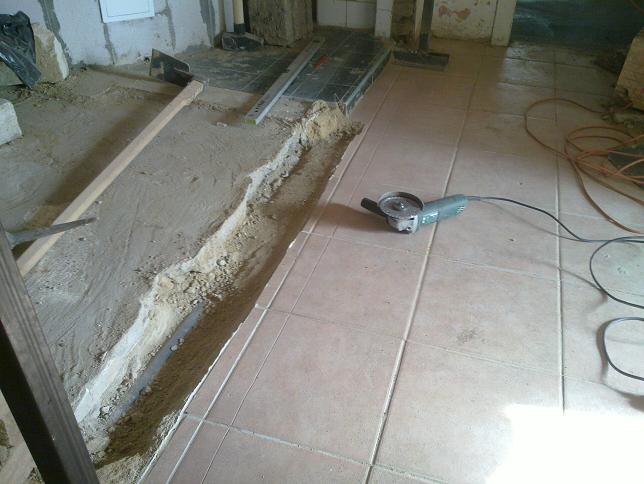
First
I cut the placement of the new base on the pile because it would not
be nice,
If the edge of the sheet breaks.
A
little water can never hurt the diamond cutter :).
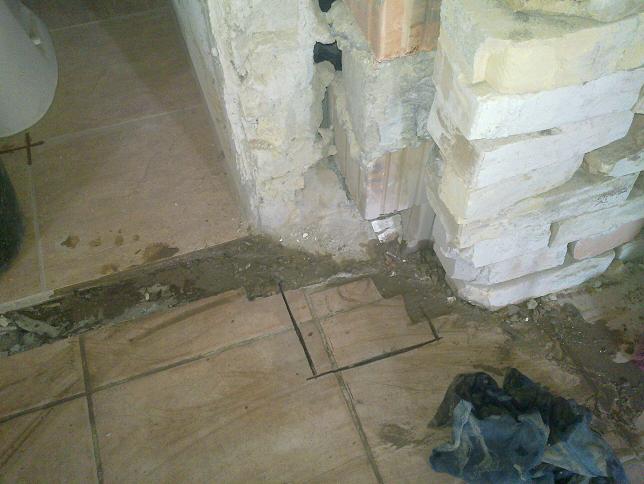
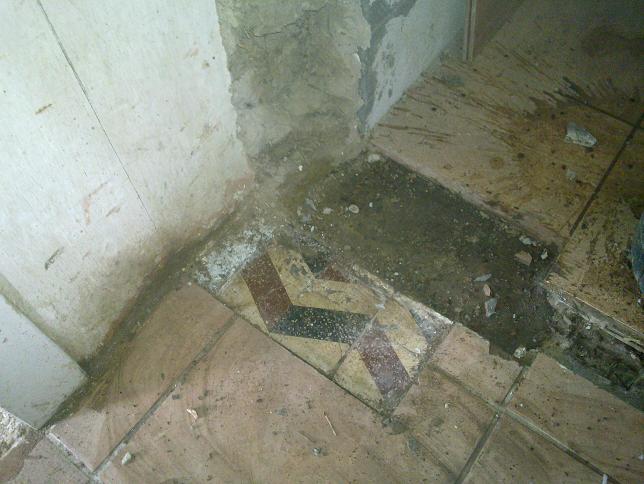
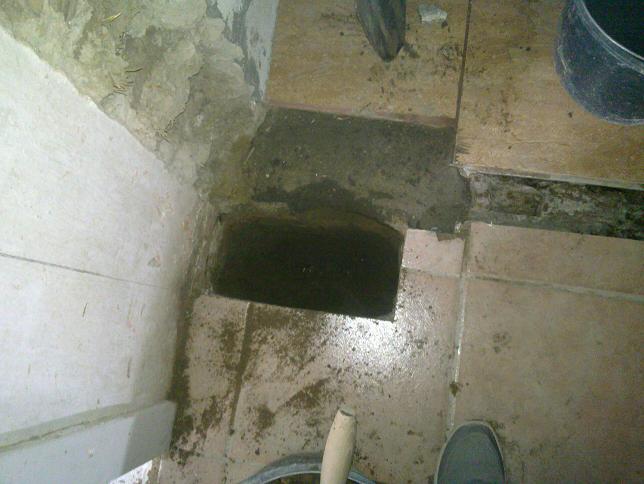
Archeological
work follows because
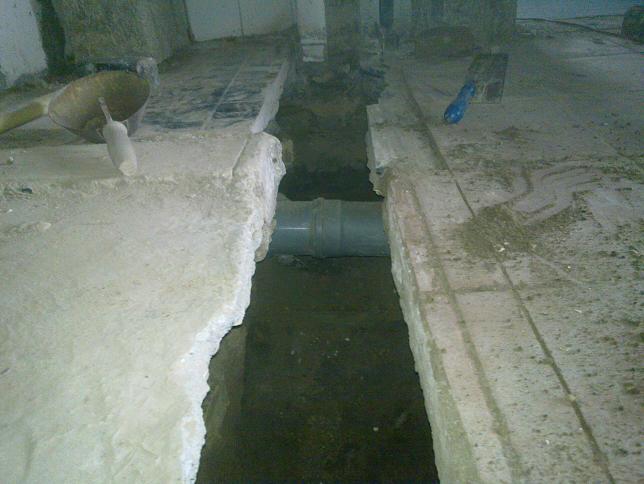
This
is where the sewer pipe goes, which would not be good to break,
because then everything could be applied.
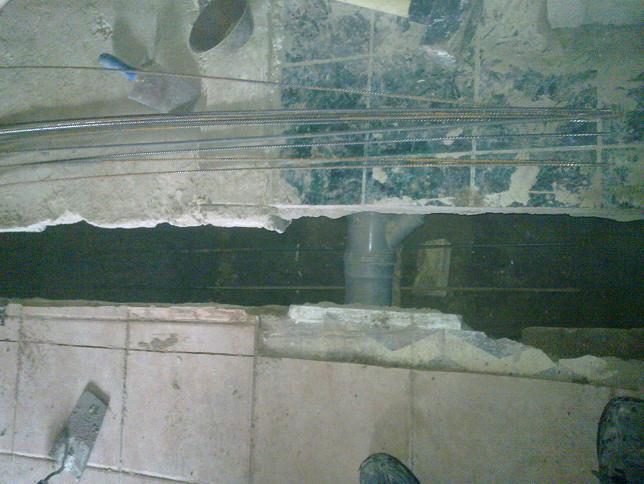
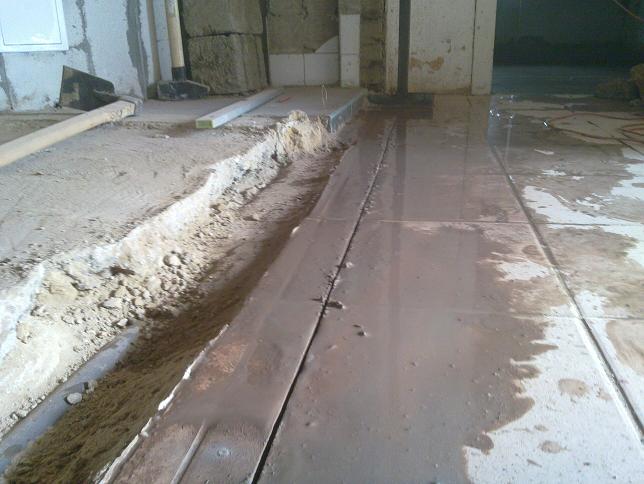
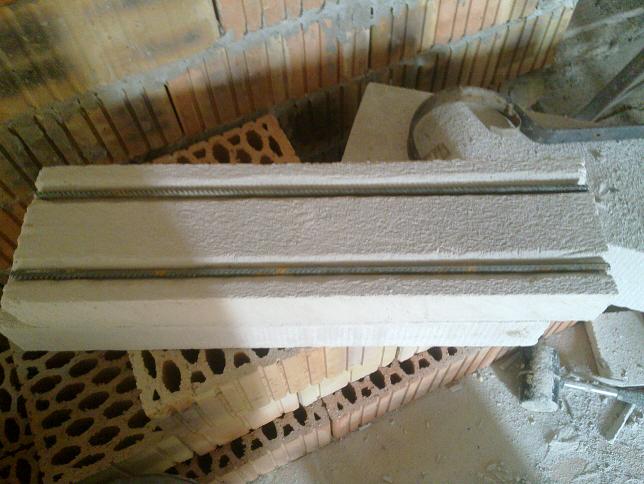
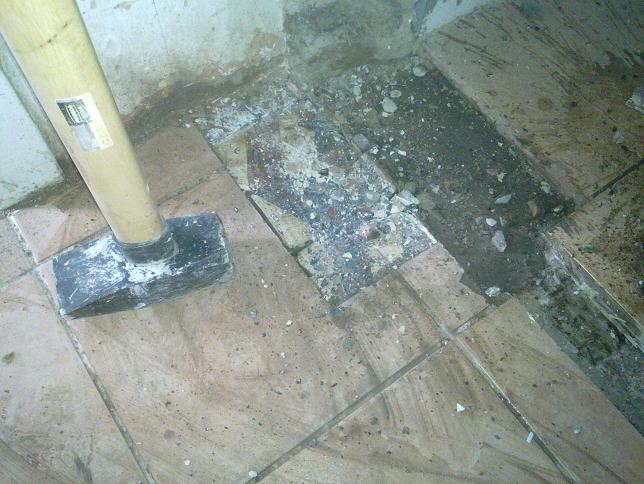
I
have already aligned the iron with its small washers ...
You
must also have iron on top (you can see it here before lowering).
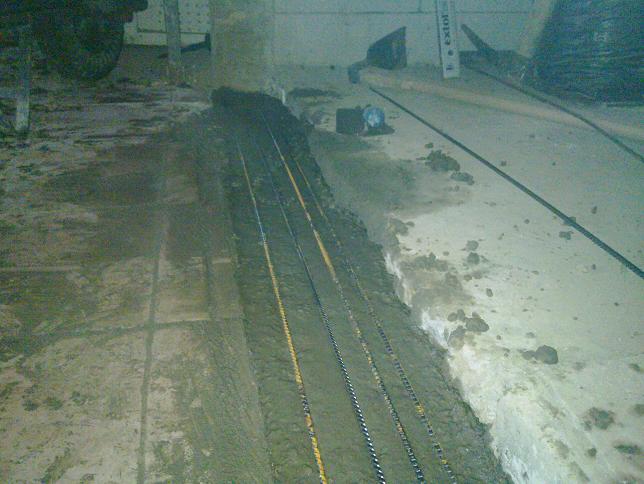
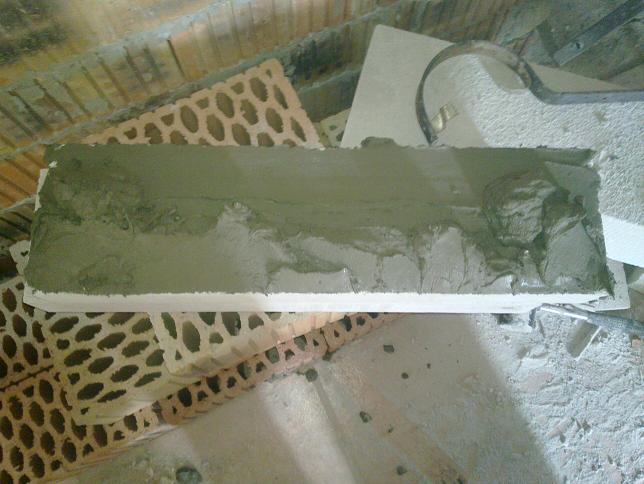
The
finished base:
I
left the door slightly to the left to keep a little space on the
right
For future floor heating fittings ...
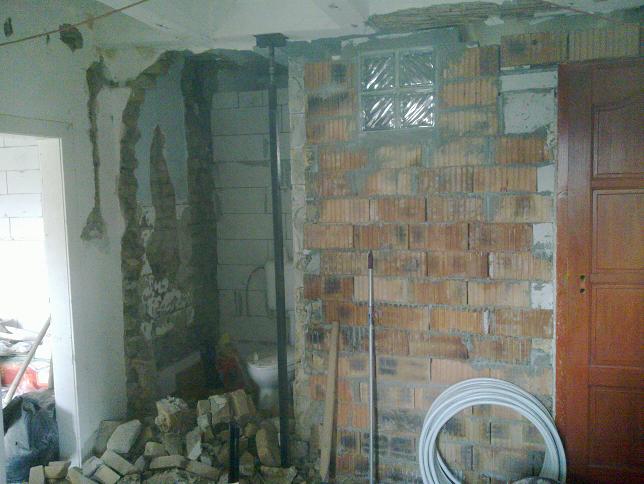
The
wall is built ... There was a couple of months' rest from the cold
weather.
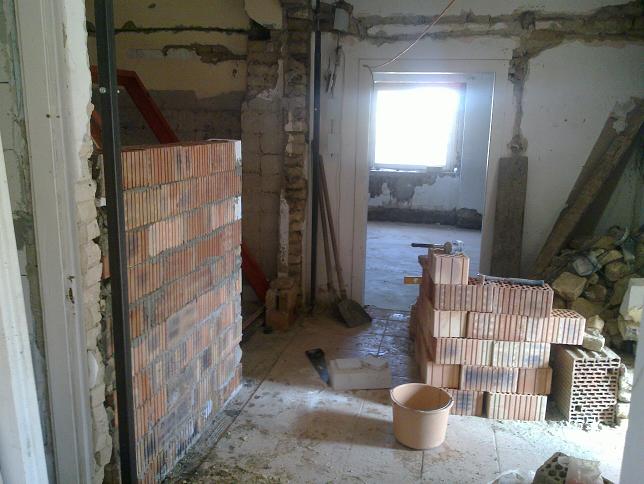
It's
springtime. I got some more bricks.
I
thought the bathroom and the hall were dark enough, so I built some
glass bricks.
I
was doing the jumper above it from Ytong, after eating it ...
A
little tile adhesive for this.
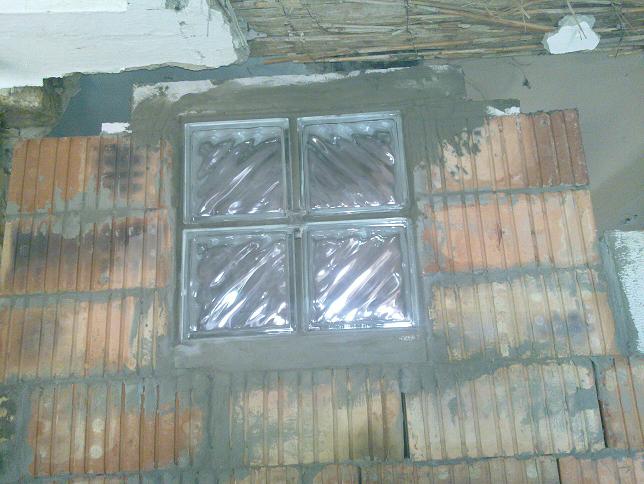
It
was a pleasure to wipe the glass surface continually before it was
dry ...
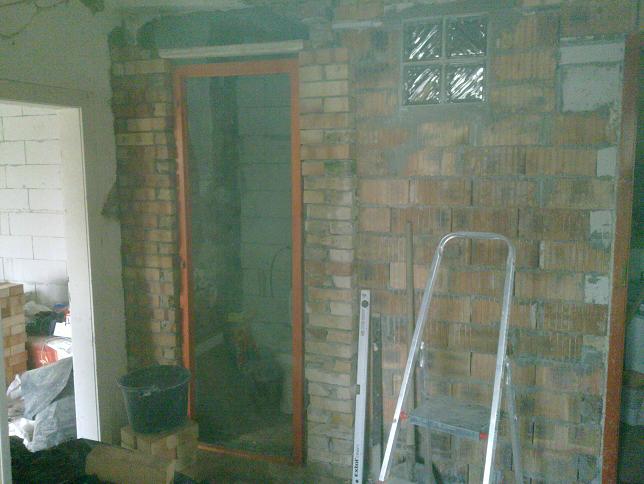
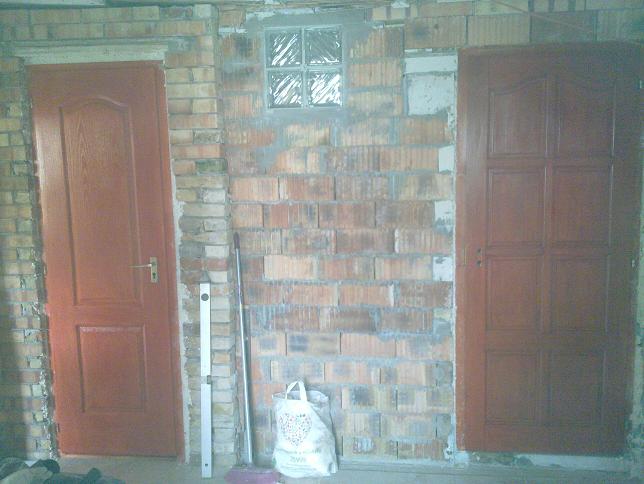
The
almost finished wall ...
Then
I thought I would buy a door to the toilet, because it would be
nice,
If you did not see the thoughts of the newspaper while
reading the half house ...
The
old door frame was difficult to sell.
Already the big ax, the
5-pound hammer and the tension bar have been found :).
Of
course I won. But the new door I bought was higher, so we had to
break up 2 rows ...
I
should not have ... It was all over (of course I counted it).
Anyway,
at least this will be new.
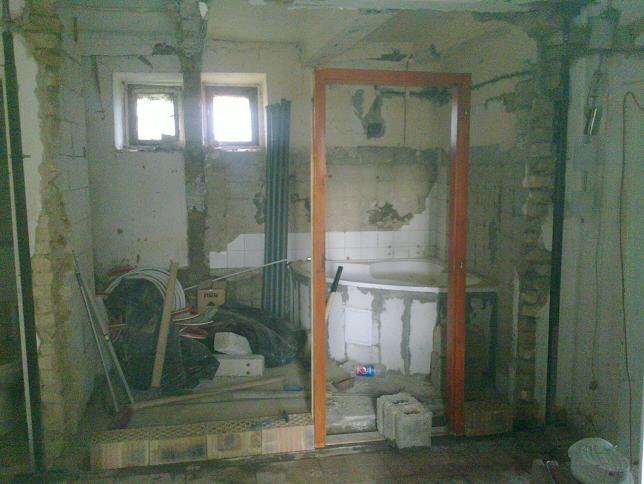
The
baseline lines ...
The
old wall location...
I
brought the new wall a little further, because it was at least under
the roof beam
There will be a wall and a little more space in the
toilet.
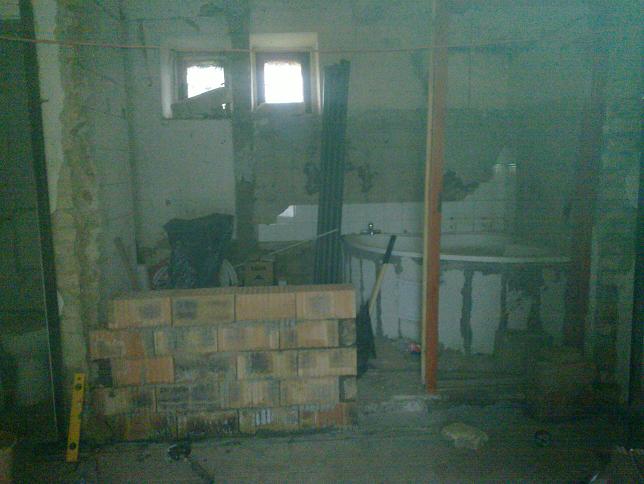
I
drank a good 60cm deep pit with circus in 2 hours
(There was brick
and all kinds of undesirable obstacles).
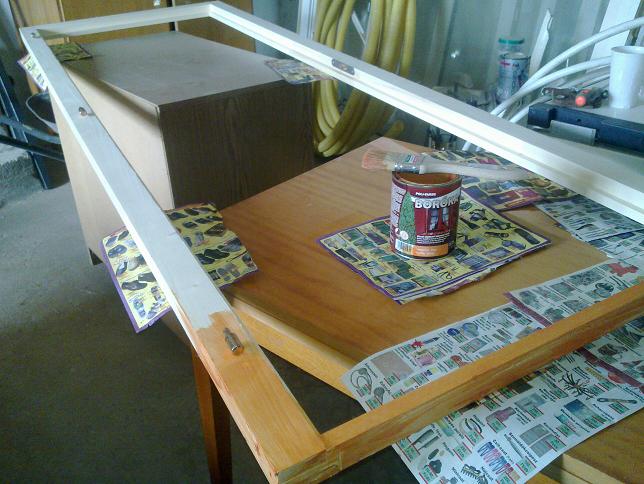
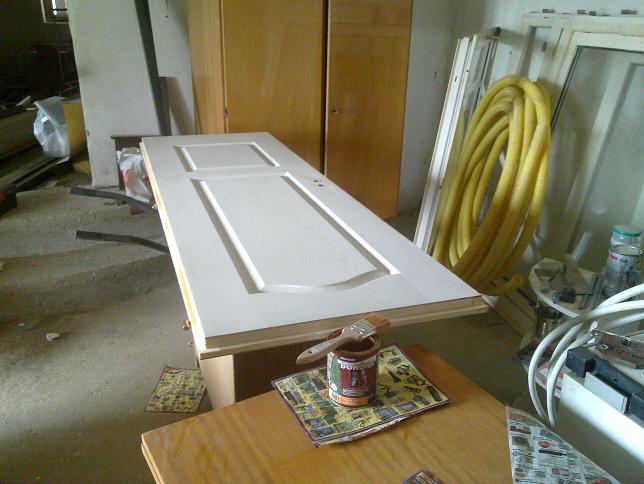
The
new door, of course white ...
Before
painting:

Concrete
works: The small hole on the left has eaten a garbage concrete with
his cheek ... :)
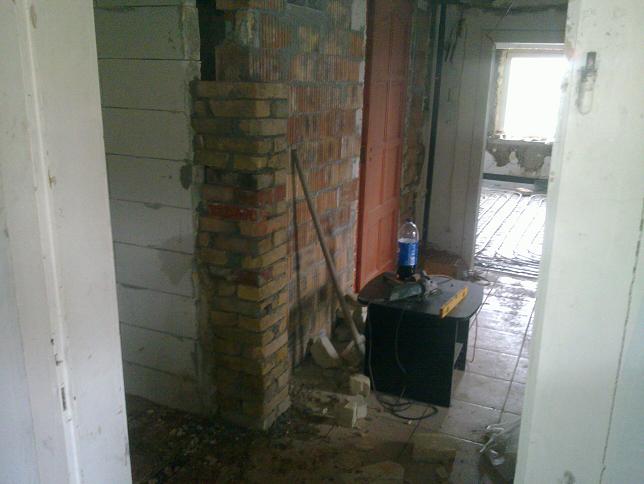
Here
is the wall ... The bricks are reincarnations of the fallen wall :).
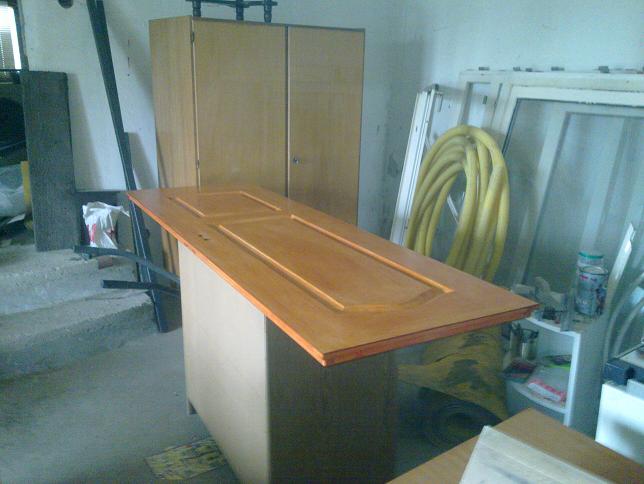
And
the door, just wood paint on the plastic coating does not feed too
well ...
A
little knitting in the wall (I also shot nails in some places, but I
cut it in shape). :)
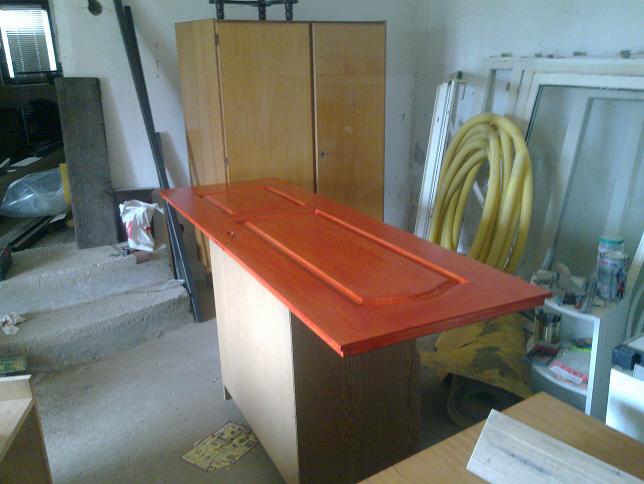
The
other color tint was more like me.
Finally, it took 4-5 strings
per side ...
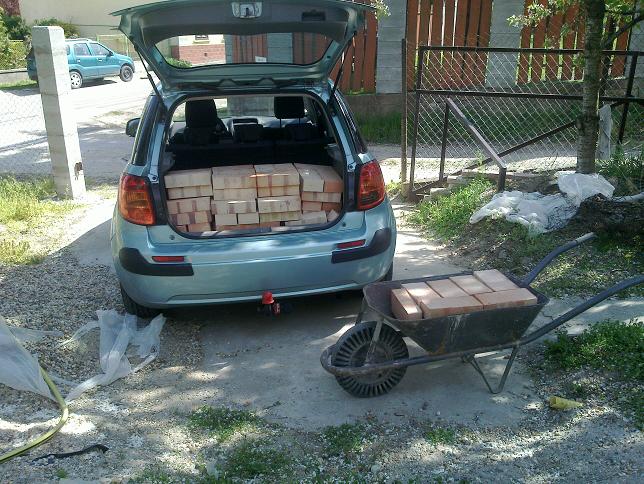
I've
filled the car again with bricks ...
99pcs.
Last one I got from the fireworks to sample, so there are a total of
100.

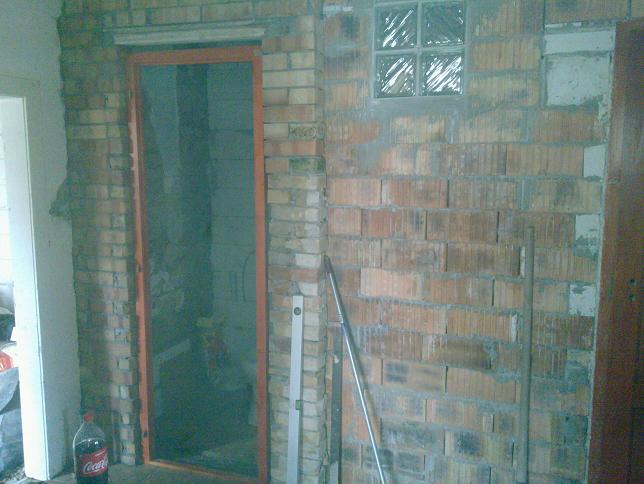
I
finished the row over the bathroom door.


Behind
the door rebuilt (2-3 days a day, because it can not be loaded at one
time)
As a template, I frame the frame occasionally
(fortunately)
So you do not get caught in the end :).
As
a gangway I used the upper part of the old door frame.
(You know,
protect the trees, eat the beard :))
The
frame was set with wooden wedges. Of course I did not find the
wedges, so I had to carve it :).
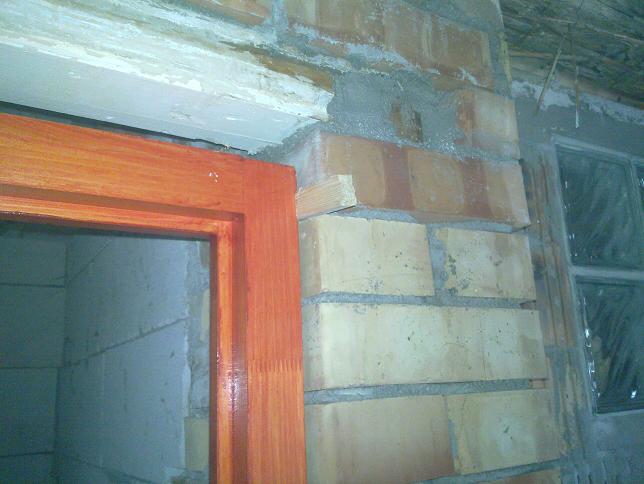
Here
the wall is already over the bridge. I do not say it's perfect, but
it goes away.
I've
already printed it here with PUR foam and the excess was cut off the
next day.
The
door was also hard pressed in place and the door was in place.