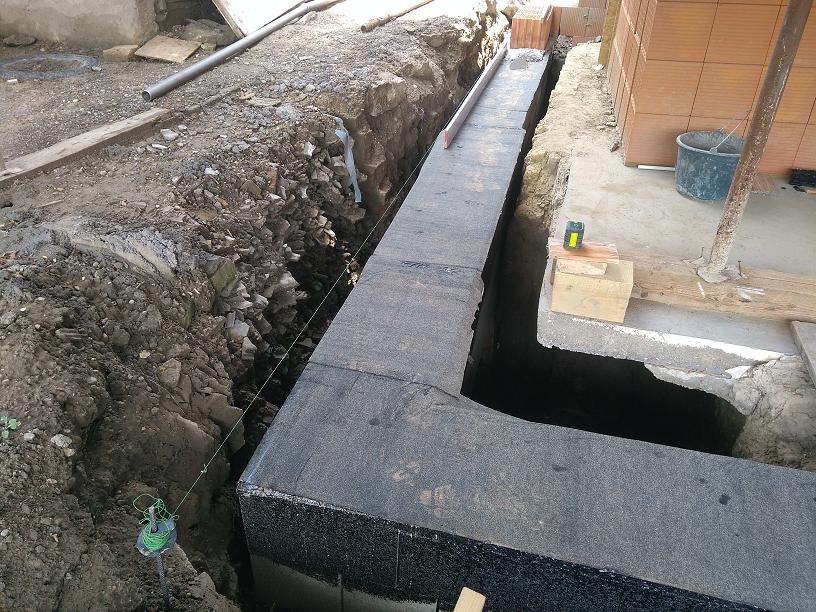
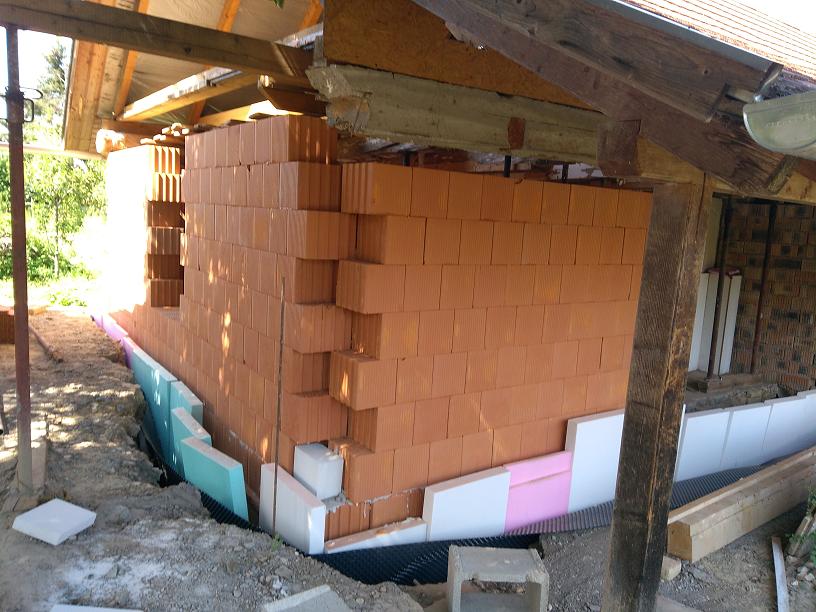
The tar was added to the base and one day after drying, I melted the tar paper.
Main page – Adobe house - 2019
Adobe house renovation – Workshop masonry
After the foundation was set up bitterly from the cellar, the bricklaying of the workshop could finally begin.
It is true that it is 2-3 months with a slip, but luckily, the old cellar under the main wall was discovered.
An old resident of the house visited me because he saw the big renovations and he said it was a nice little cellar back then
and it was always cool. The back room (which I also convert to a workshop) used to be a workshop back in the 40's.
This part was already in 1942, and at that time there was a cellar expiring in the room.
According to these, the house must be older, as the last two rooms were apparently added to the original part of the house much later.
In the past, a farmhouse looked like the entrance on the south side of the center of the porch, which led to a hallway.
It often served as a kitchen, and from here a room opened to the right and left.
There was no bathroom at the time because people were bathing in the lavatories and the toilet was outside in the yard.
The back (room to the left) was a clean room reserved for guests and not staying anyway (this will be the kitchen).
It was the right room and the right room. In today's parlance, living room, though not true, is because they preferred to be in the kitchen during the day.
Let's go back to rebuilding the wall:
The
tar was added to the base and one day after drying, I melted the tar
paper.
Of course, every time I take out the gas bottle, the wind rises ... It's just done.
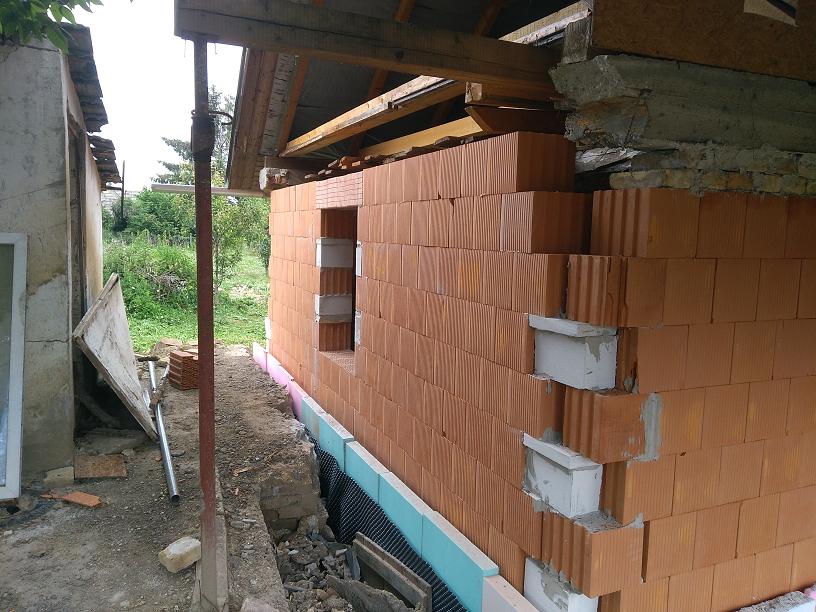
As usual, the exact location of the wall was measured with a hanging zone.
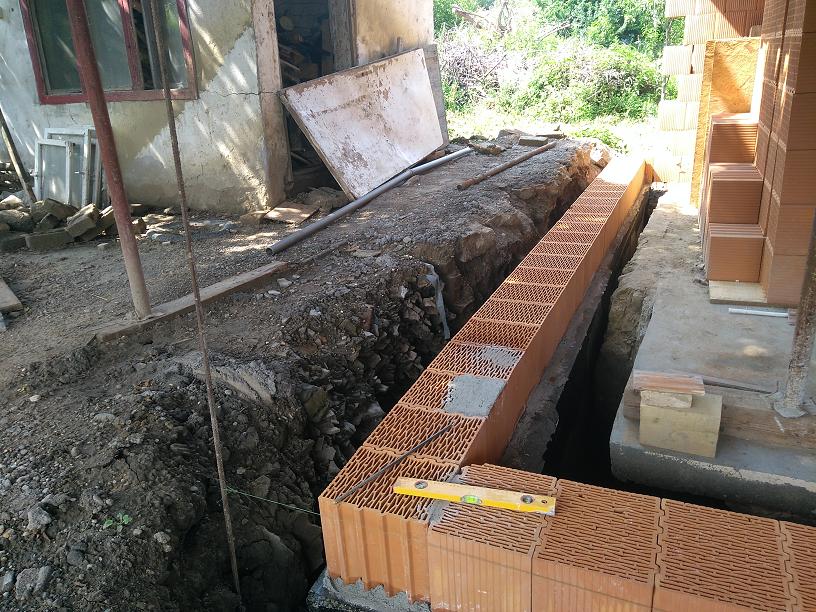
Then
a line was used to define the edge of the bricks.

The
mortar bed was used to set a perfectly horizontal surface.
The
wall only lasts because the workshop door will be 2.2m wide and needs
space.
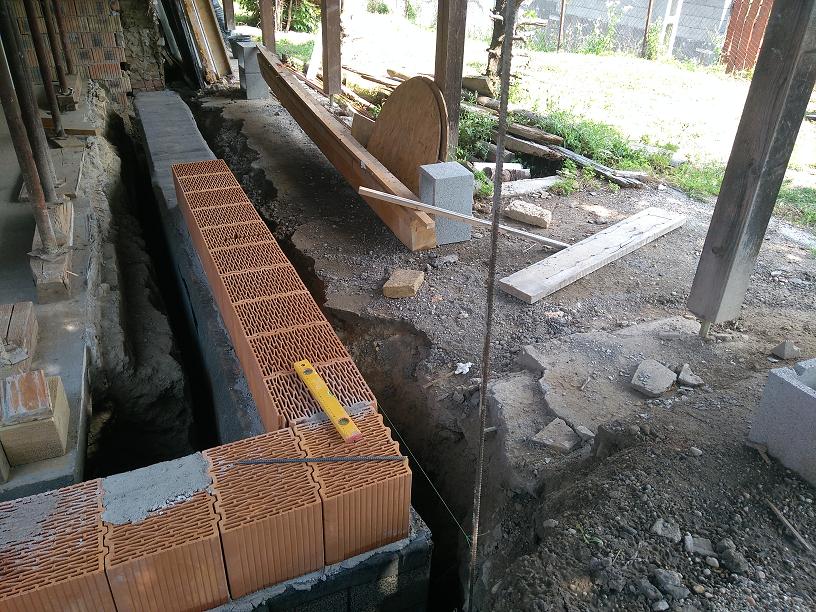
Connecting
to the back wall was a challenge because these mm-accurate bricks did
not fit into place.
However,
grinding the bricks helped.
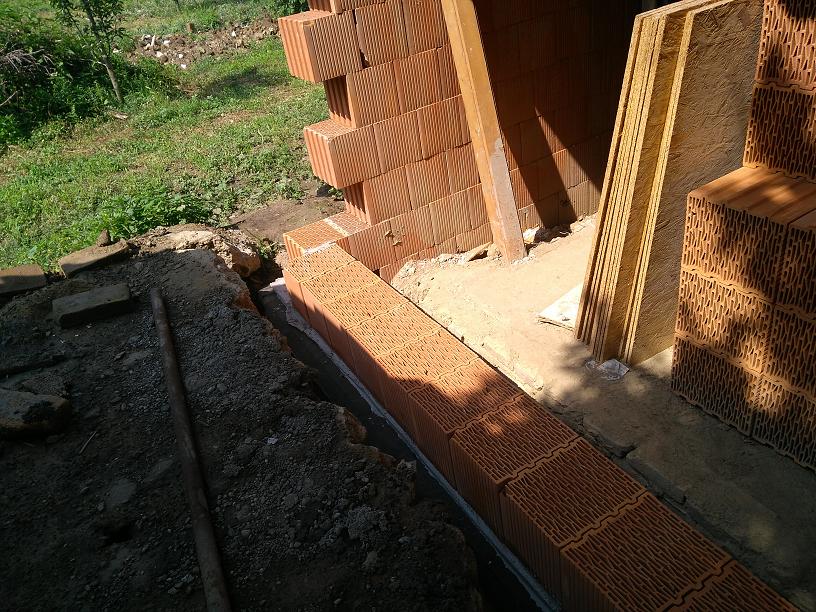
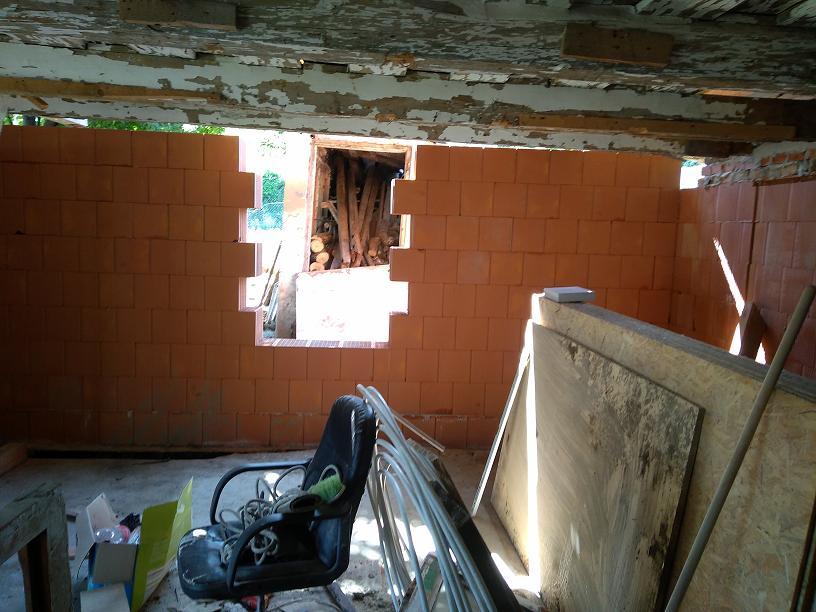
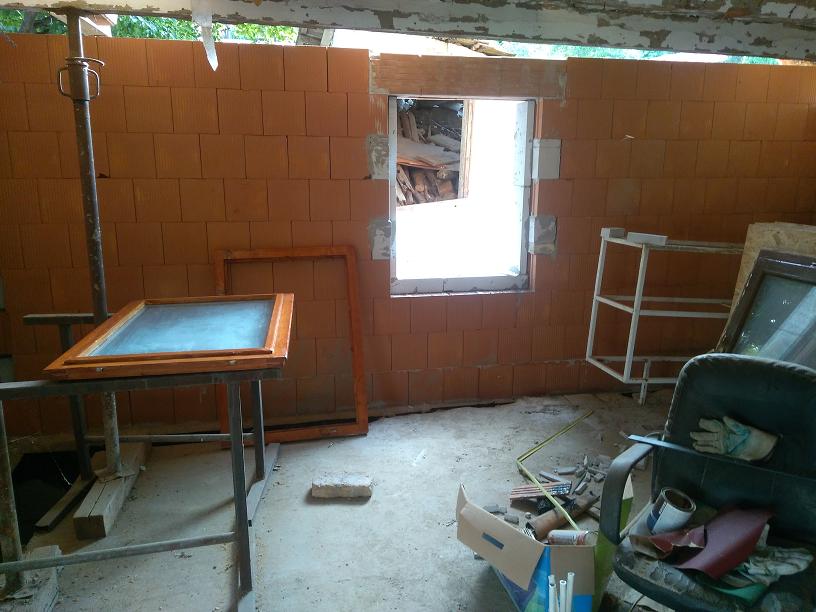
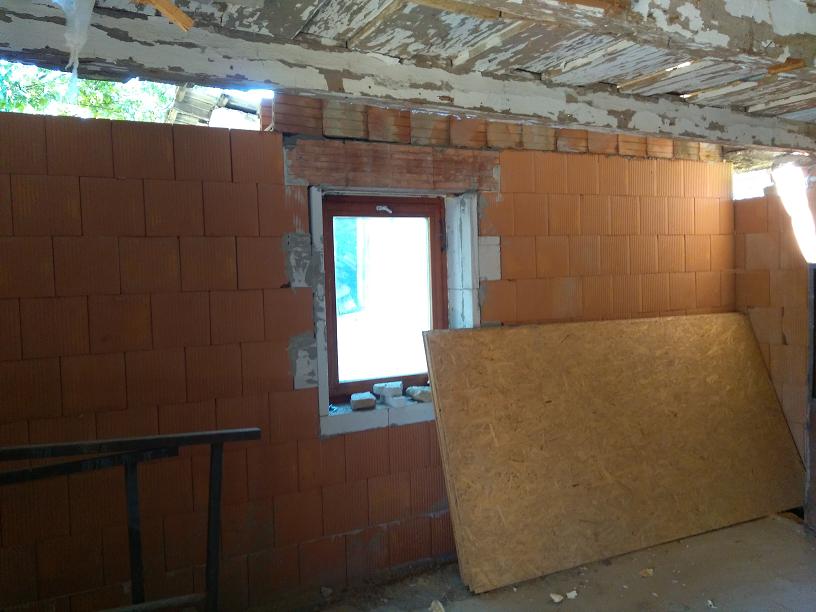
Window
and bypass location ready. Here it is very important that the bridge
should be in good order!
The
edge here is a bit old on the mouse, but it will be combined with
Ytong brick and flexible glue.
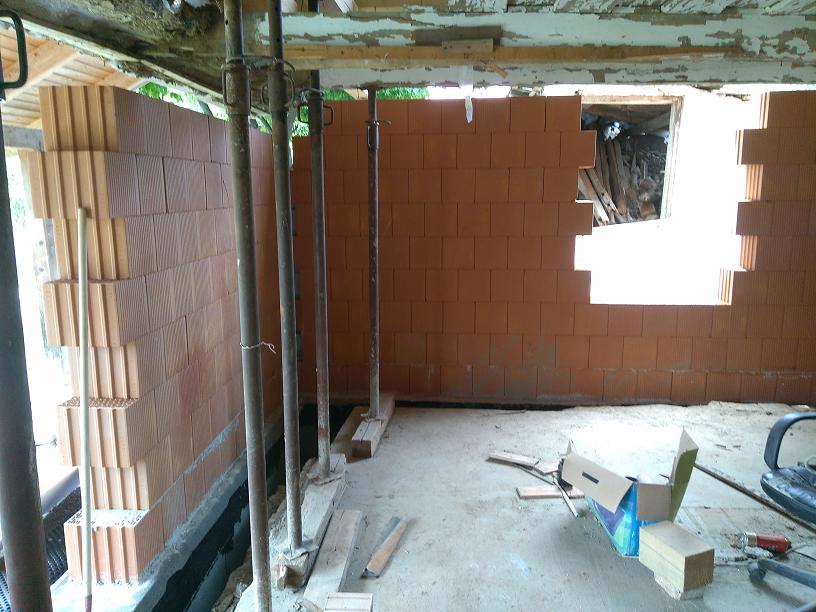
Unfortunately,
the 30 bricks do not get half the size, so here I install Ytong
bricks.
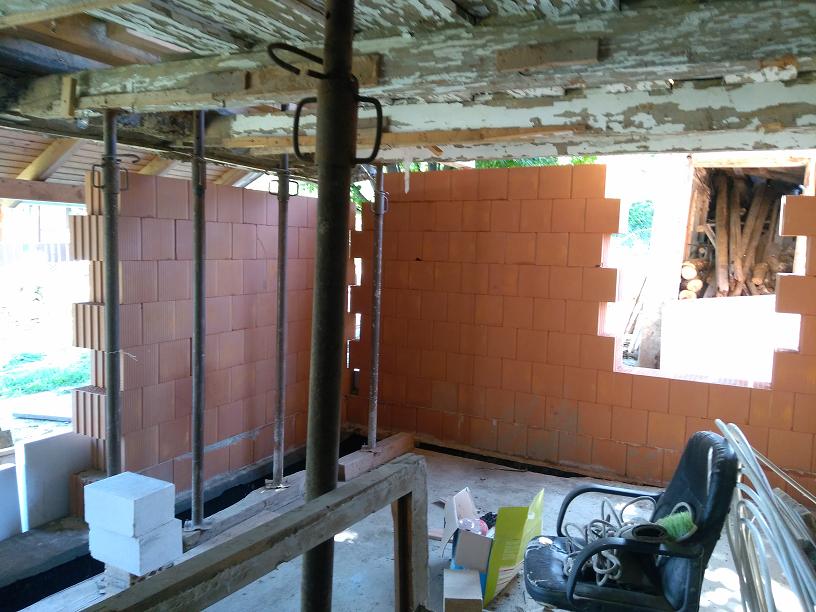
It
is beginning to take shape

There
is still a gap in the shield :).
Here
it is already loaded with large bricks above the wall (due to the
load distribution).
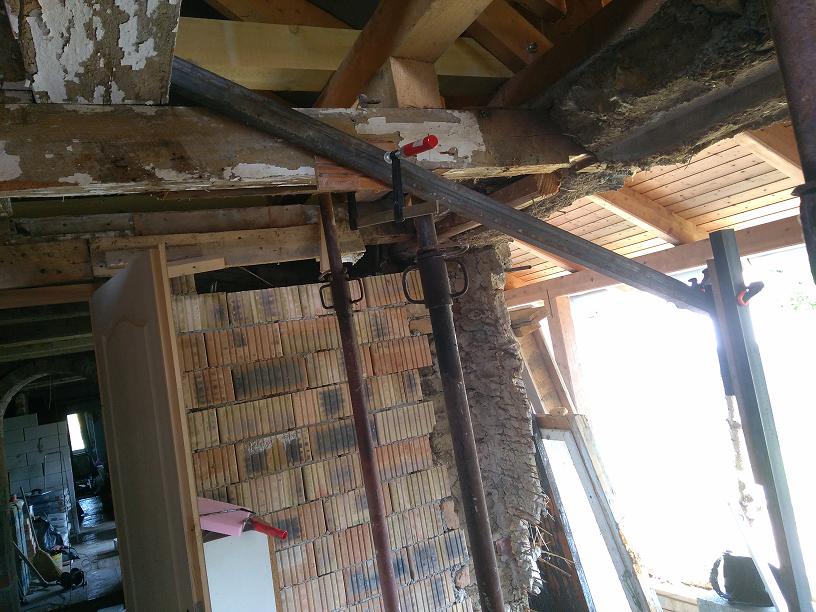
Meanwhile, the jumper was replaced. He has such a testicle weight. Approximately 40kg each.
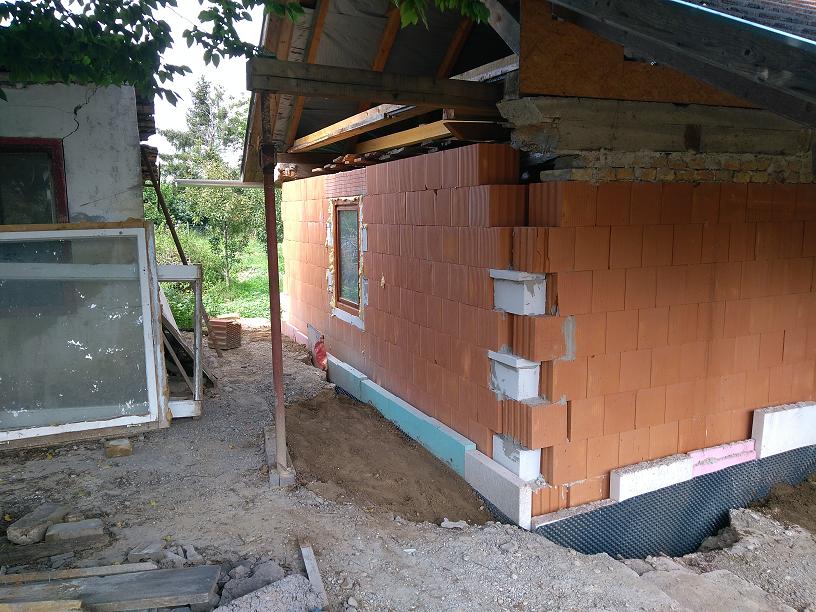
After
installing the window, things are nicer ...
(This picture is not in chronological order. The section next to the wall is already uploaded here).
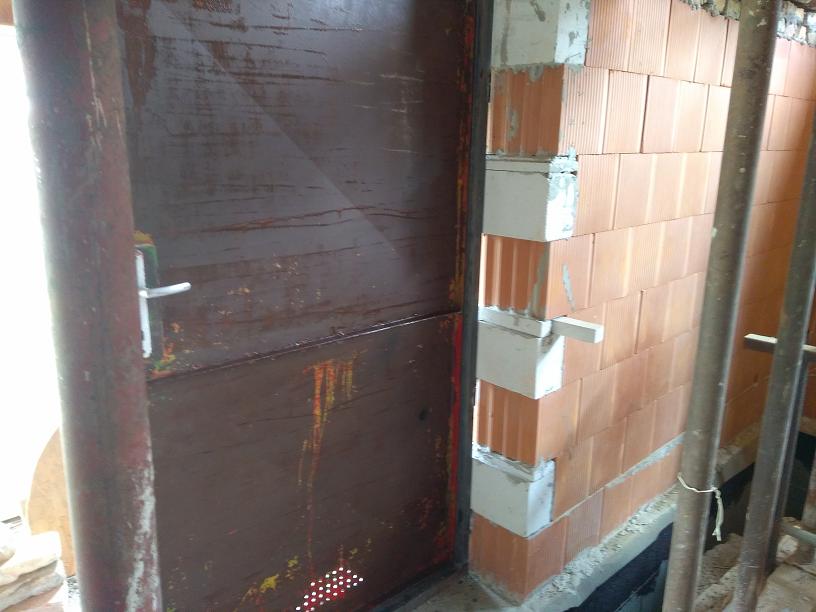
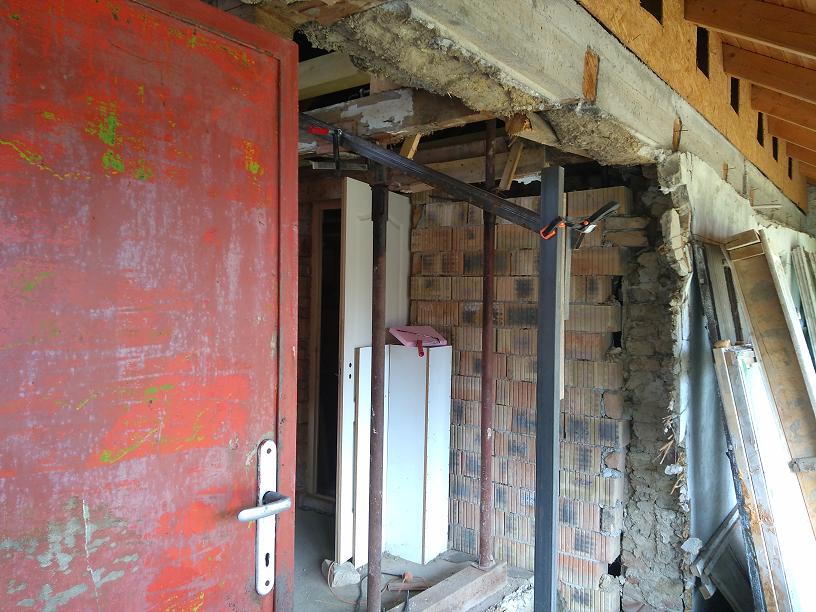
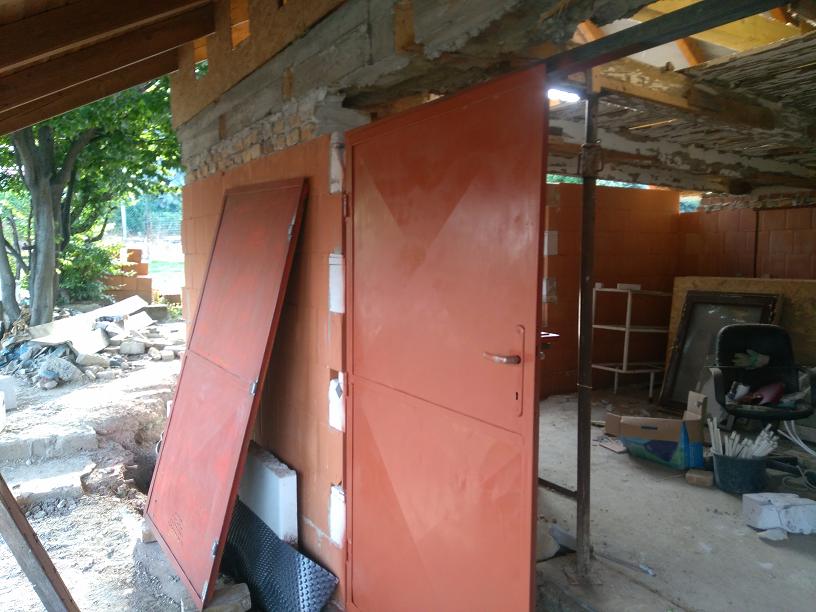
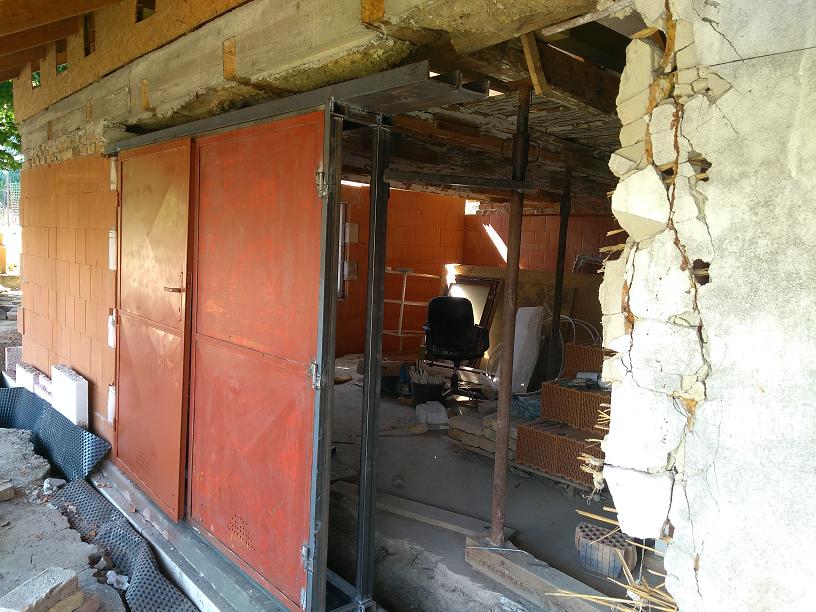
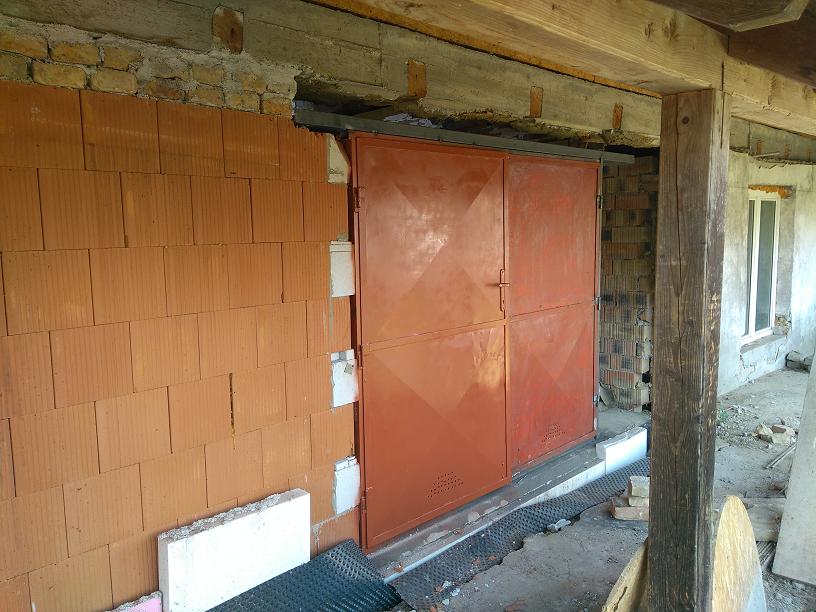
The
frame for the workshop door is being prepared.
My
brothers had a rusty workshop door lying down so I brought it.
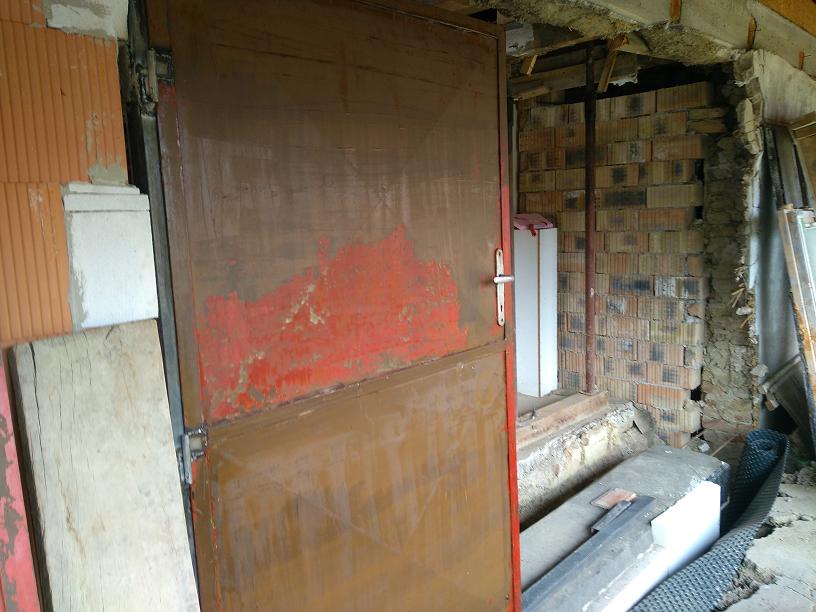
It'll be good here, just scratch the paint residue off it. There were no more than 4 layers :).

The
hyper-super toner only got a fraction of it, though I was eagerly
scrubbing and scratching.
Finally, the high pressure washer was found. She got what she could get.
Too bad I did not remember the expired DOT4 brake fluid at home ...
The surely would have gotten it down to metal :).
Meanwhile,
the unique door frame is being made because it was not there.
Somehow
I have to hold it because I have only 2 hands :).
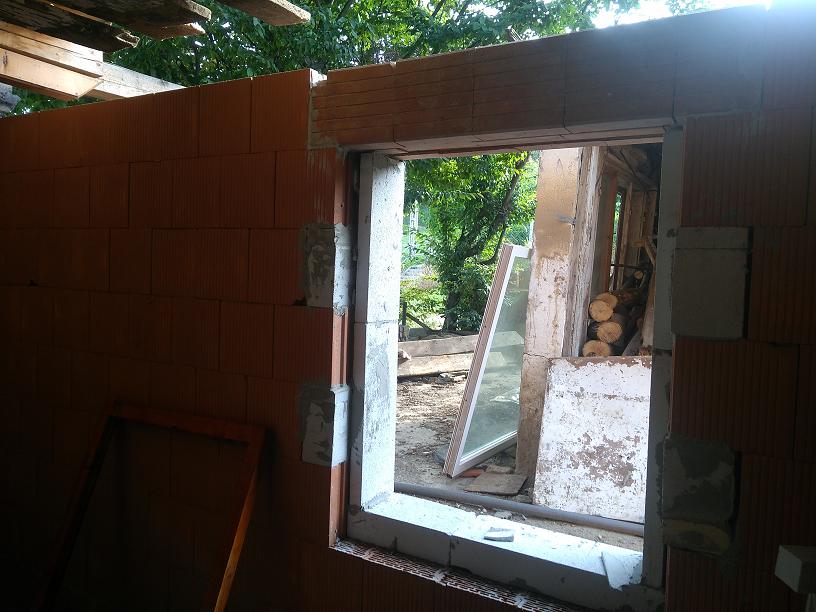
The
window received the Ytong frame to fit the window size.
Meanwhile, an old window was completely sanded and repainted.
Unfortunately, the original has been transformed by the suu into a sponge below.
The
frame:
He
got some painting and new hinges.
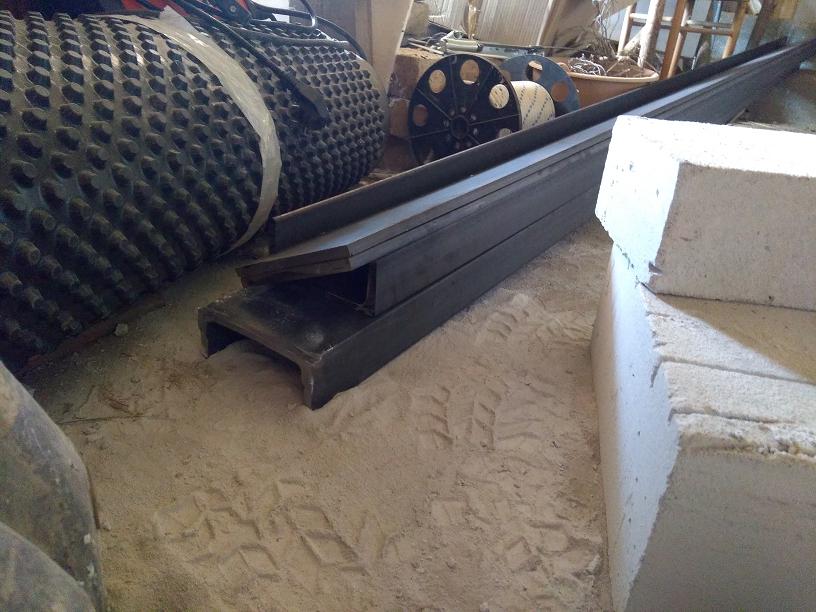
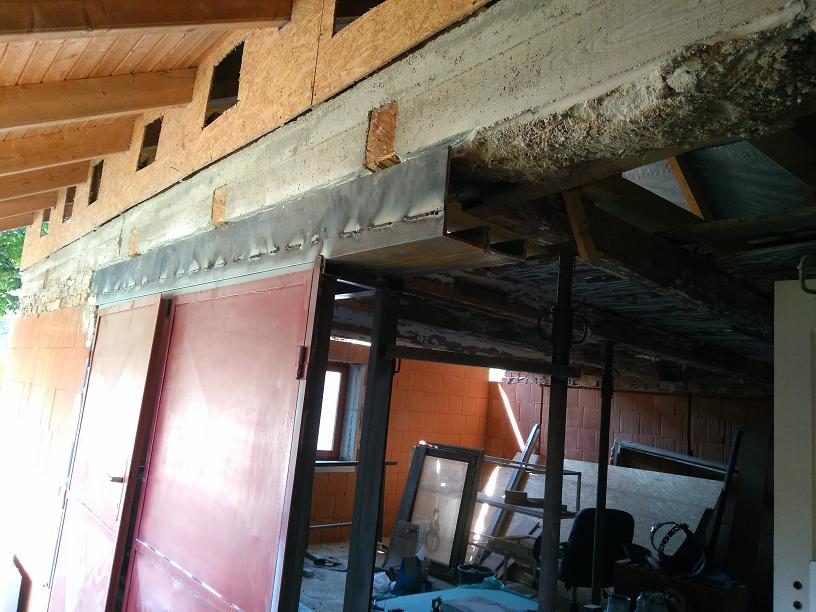
Base
material for the bridge over the door: 2 pieces of 140 U beam and
150x10 flat iron.
The U beams weigh 49kg each.
And
you should put it over the door ...
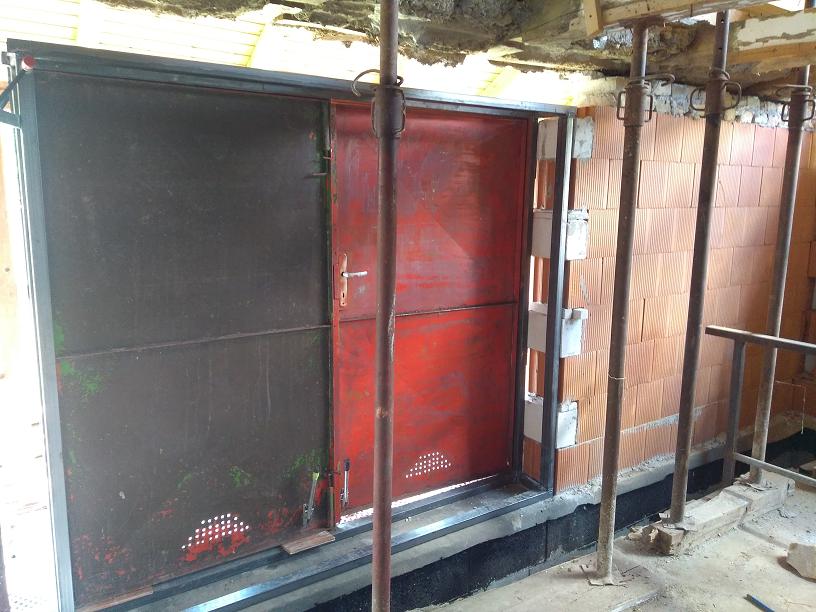
The
frame is already strong enough ...
It
was a 3 man show. Finally it was pushed up from the side :).
I quickly hit it with 100 Amps and a thick wand.
If
the house is gone nowhere, it will still stand and inside the arch
:).
A
small RAL7106 gray is good for him. At least it covers well, not like
the brown ...
Finally,
the 150x10 flat iron was replaced. It's only 35kg, but I needed a few
snapshots,
so that it does not want to fall off before being welded.
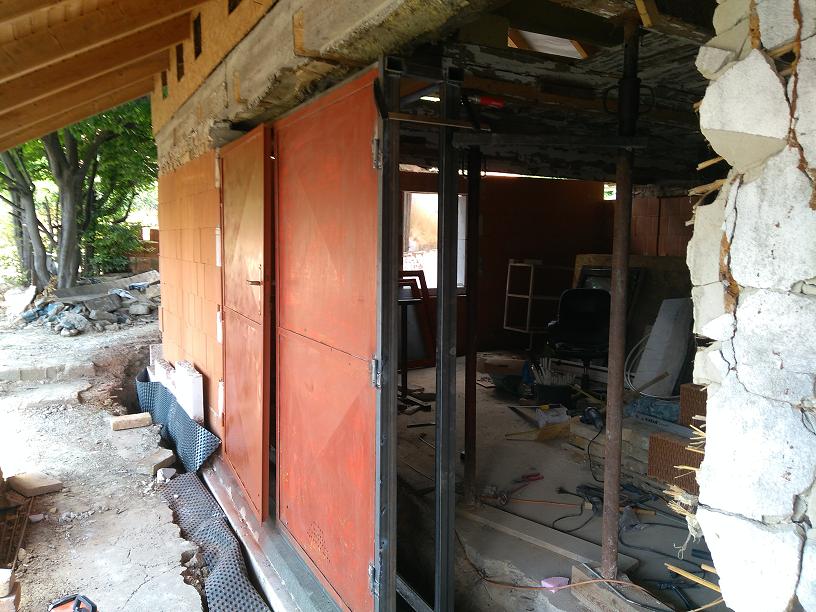
By the way, I built L-shaped steel panels into the wall and the door frame is welded to them,
so you have no chance to move. The other side is temporarily welded to one of the supports.
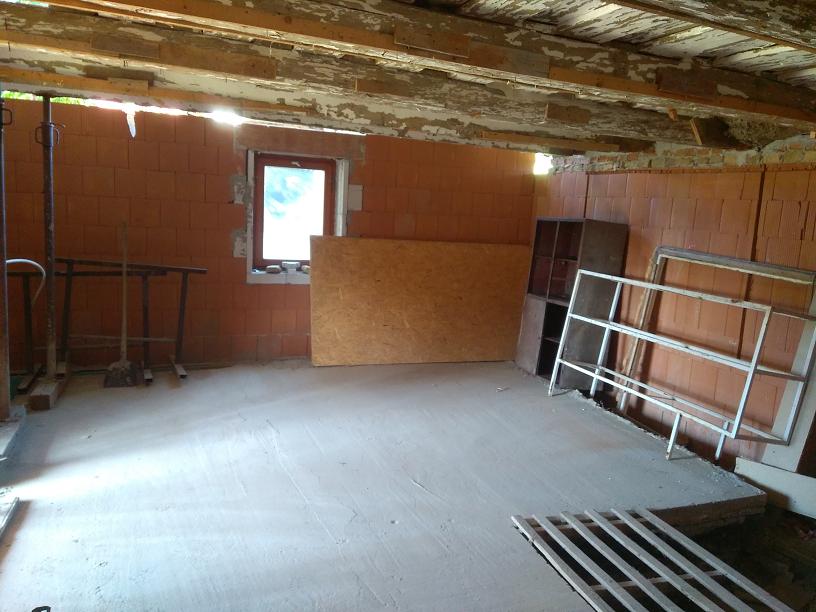
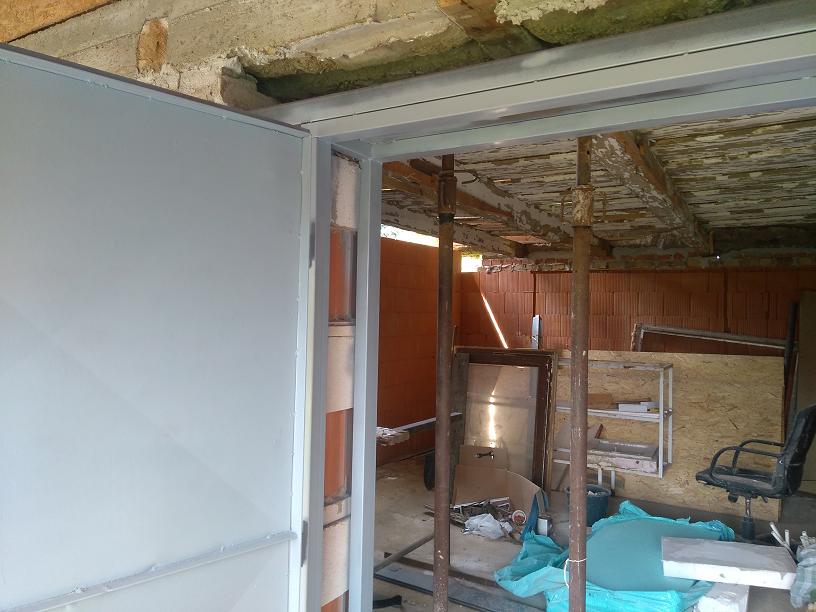
After
some tidying up, it looked like this. I needed a place for thermal
insulation (later on).
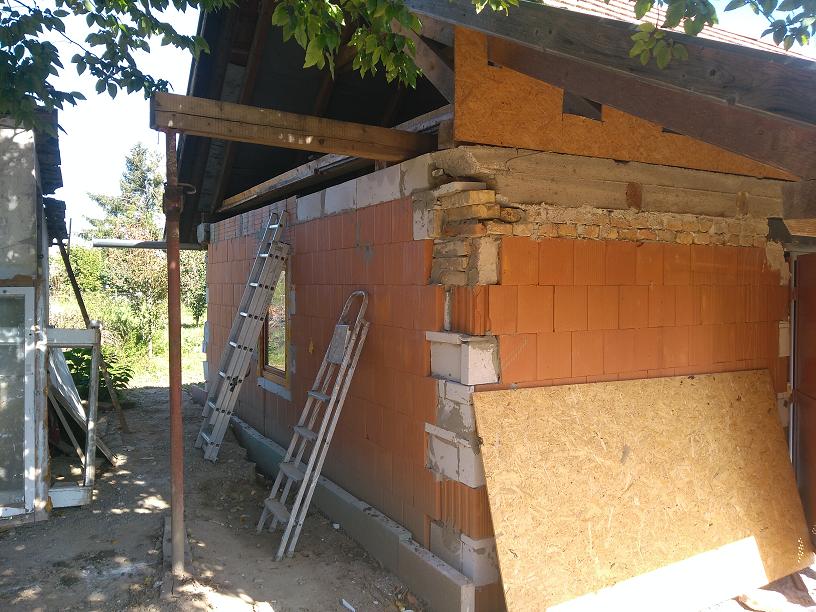
The top of the wall was filled with remaining ceramic shuttering elements and the missing part
Turned
from a 5cm Ytong into a U-shaped shutter. The corner of the wall is
tiled with bricks.
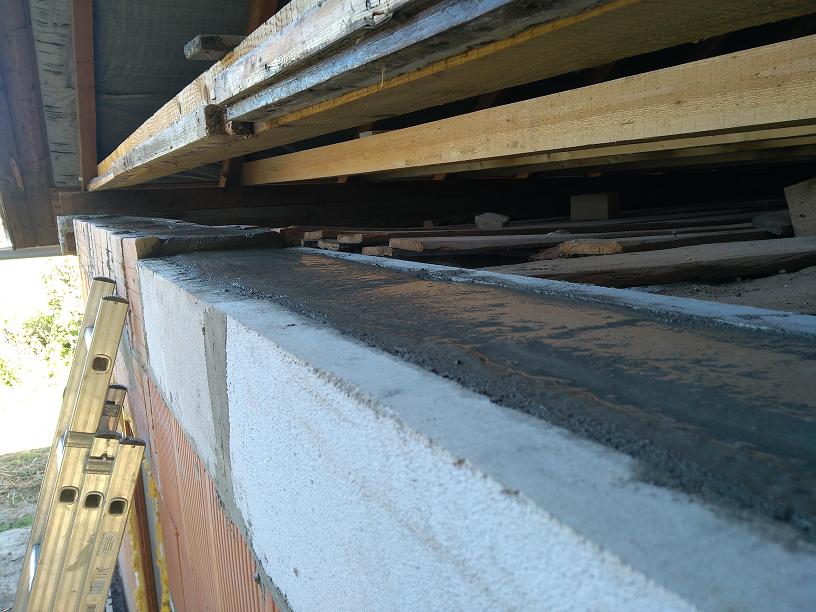
The
top was concreted. Unfortunately, the ceremony is 3-4cm higher, so
the lower part
it will be complemented by a layer of 4cm Ytong.