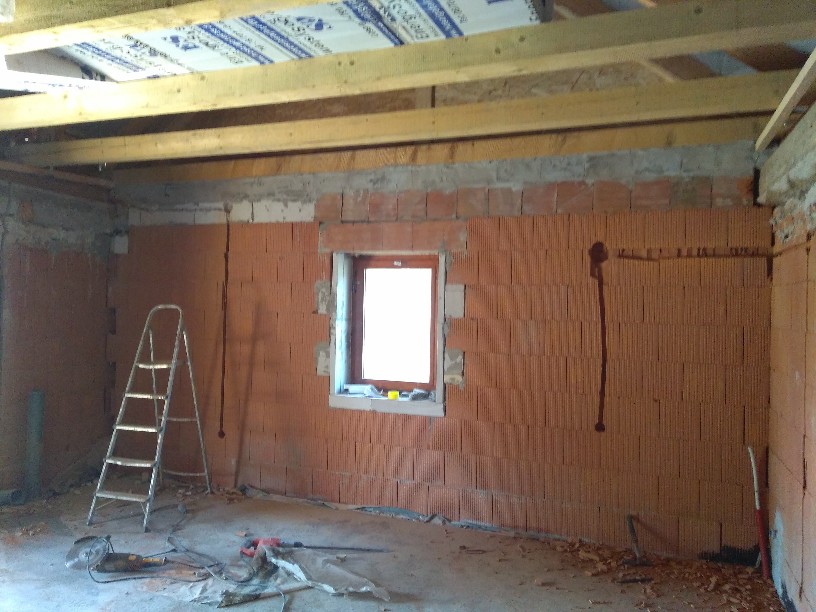
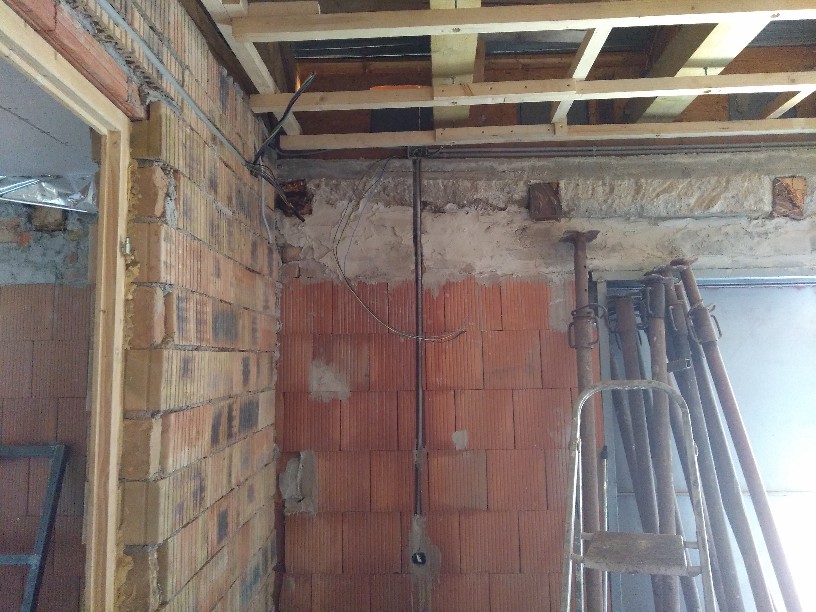
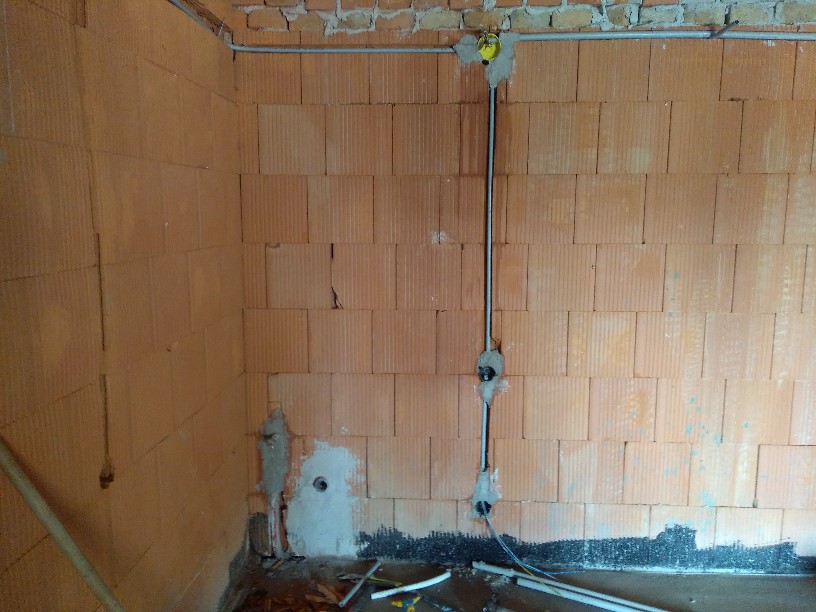
The wide engraved “ditch” on the right is not my work ... The others were made with a groove cutter.
Main page – Adobe house - 2020
Workshop Electrical installation, ceiling making
After a few days of setting the concrete in the workshop, I had already ventured to continue with the electrical installation and construction of the frame structure of the ceiling.
The
wide engraved “ditch” on the right is not my work ... The
others were made with a groove cutter.
There
will be plenty of outlets. I don’t like having little of it,
especially in a workshop.
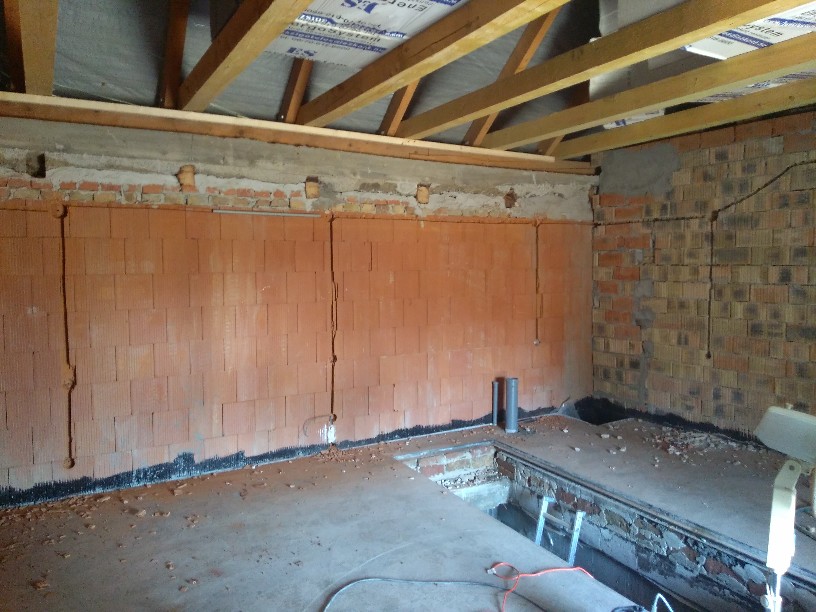
The
concrete also had to be cut out with a diamond disc because there was
a wire going there as well.
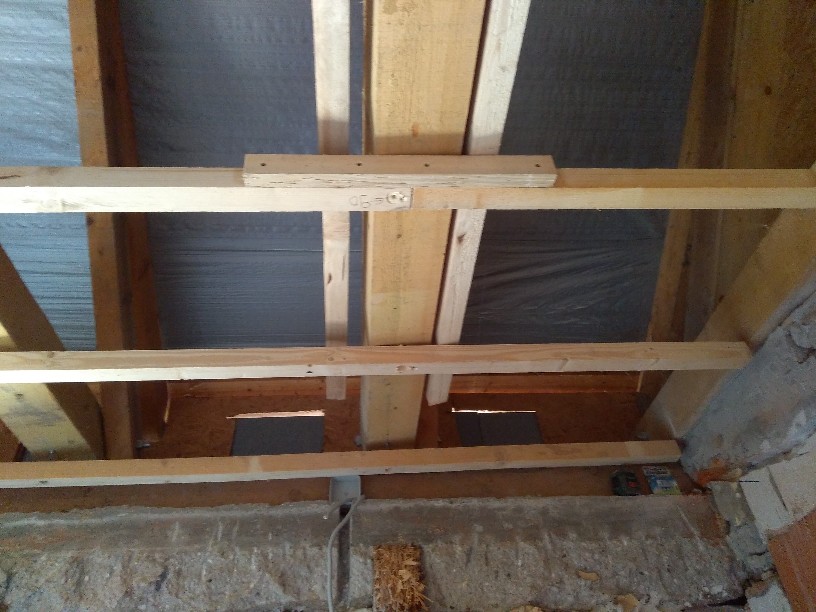
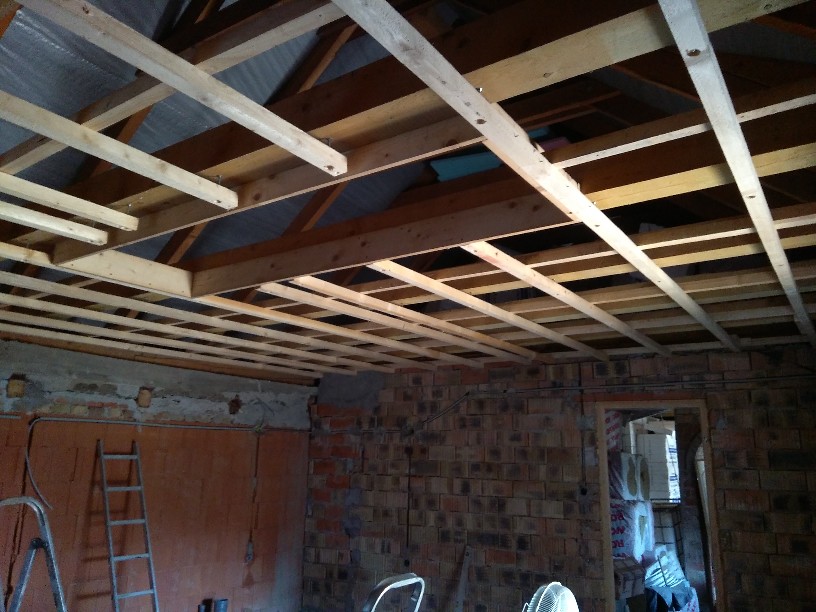
The ceiling slats were screwed up here as detailed in room 2 and adjusted precisely 1-2mm with a laser level.
As the room is longer than the slats, the ends unfortunately had to be extended.

It
can be seen on the concrete that there was something to take off of
it.
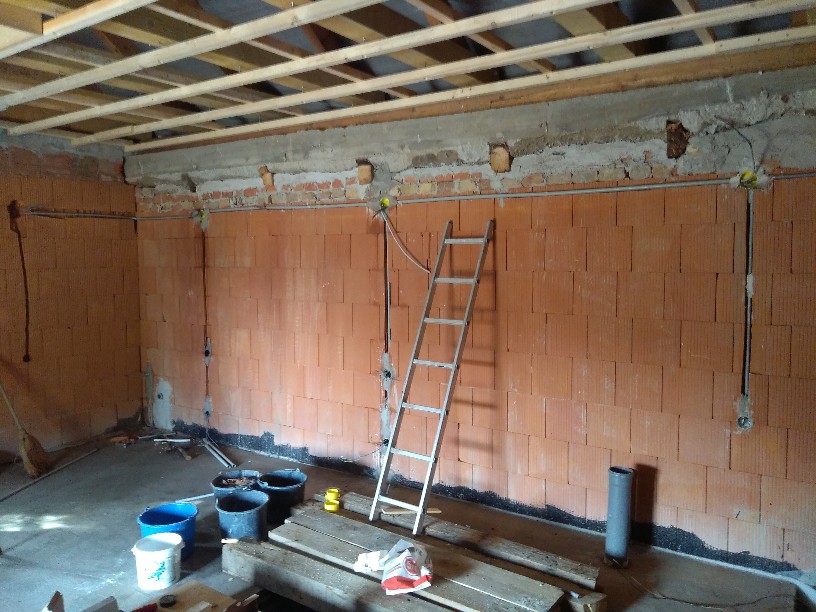
The
black cable is a direct power cable from the main electrical
distributor (5x10mm2).
Piping
is being prepared.
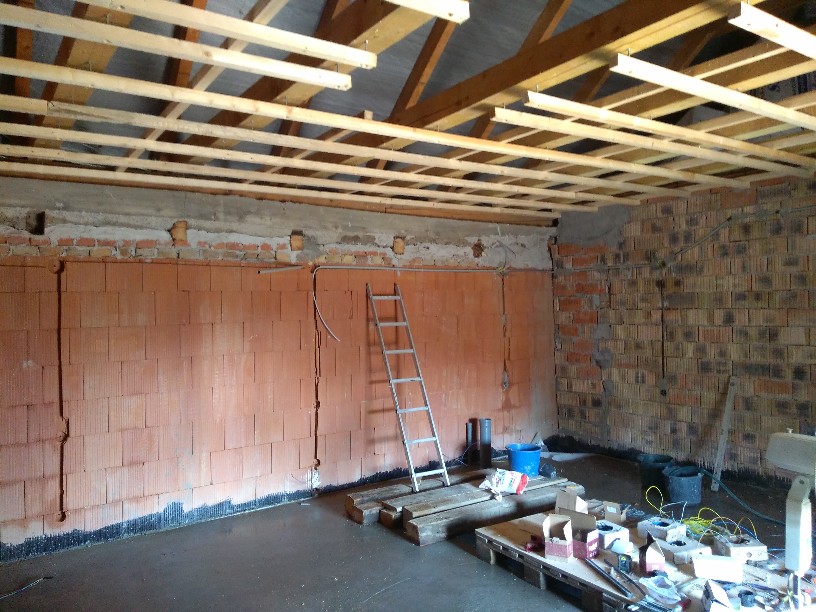
In
the meantime, the battens are also done (I hate to plaster a lot at
once, because I have to do the dishes after each mixing ...)
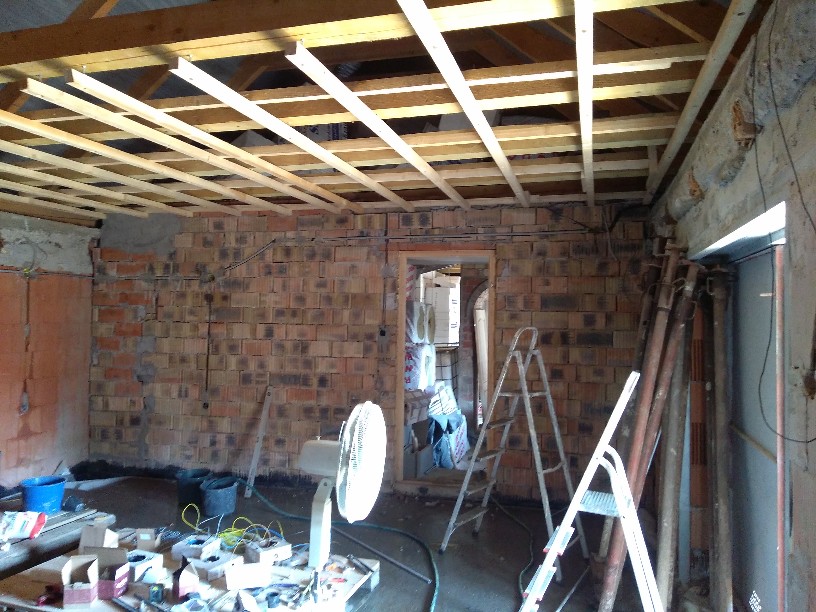
The
cabling is formed.

It's
always rubbish everywhere ... Since I even water the concrete, I also
apply a lot of dirt to the shoes ...
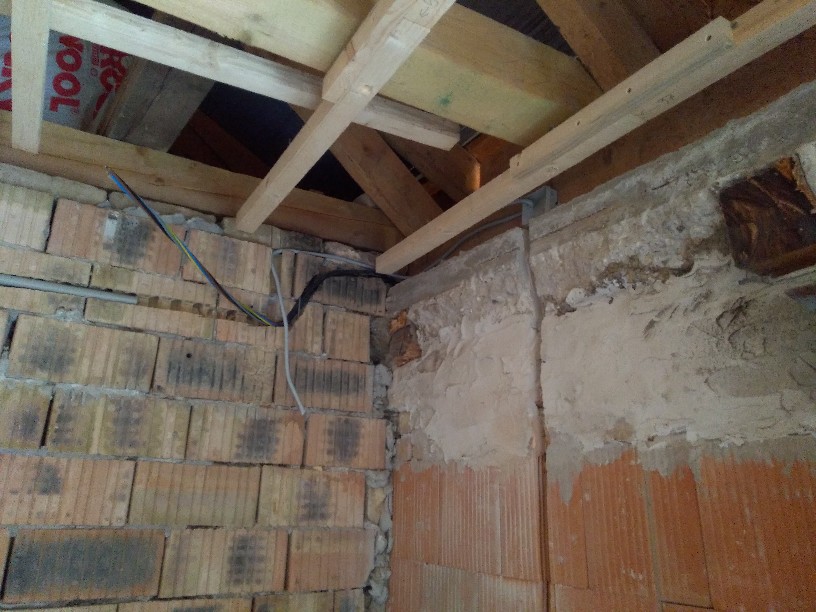
In
the meantime, I also boarded the attic stairs.
It's
going to be a pretty big driveway. If I want to load this and that
into the attic, it doesn't hurt the place.
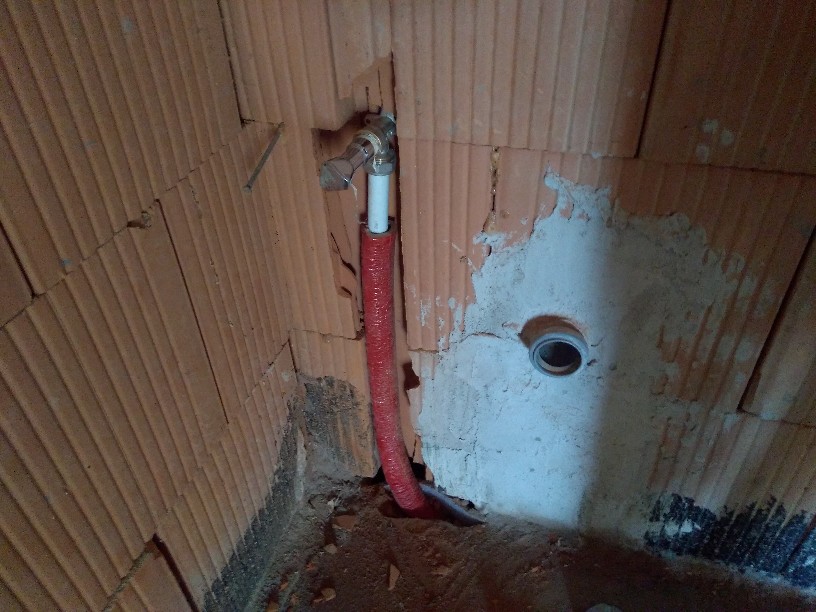
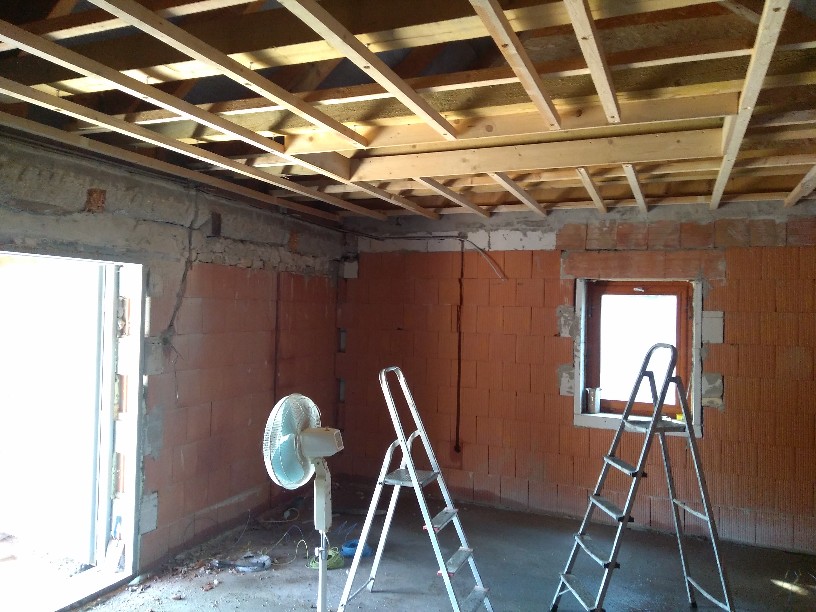
There
will also be a hand basin in the corner. To do this, I had to sink
the pipe into the wall.
The
ladder on a square beam laid crosswise at the end of the cellar shown
in the picture is not a good solution from a safety point of view ...
My wife came to the end when I had to go up to her ... The other parts have 2 pallets and a piece of furniture. This is a much safer solution.
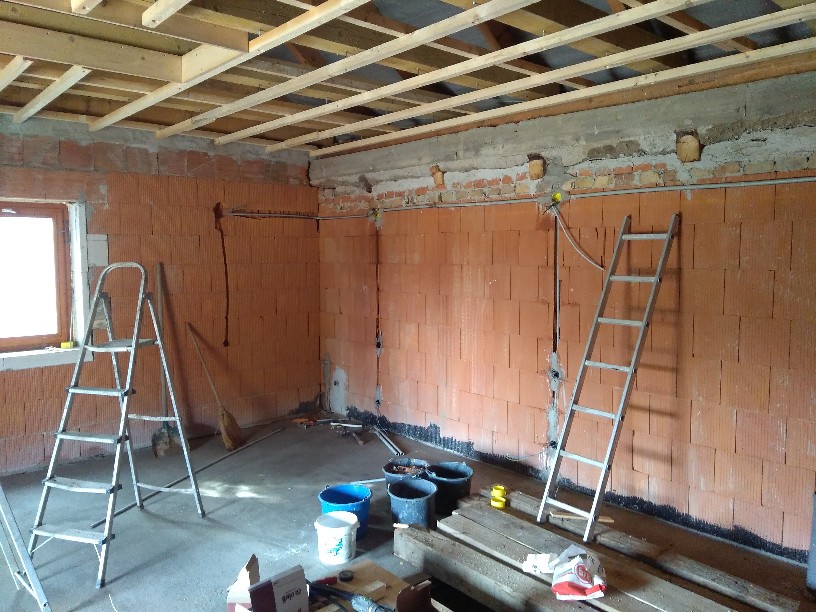
Ladders
everywhere...
The
water pipe and mounting boxes were also plastered into the wall.
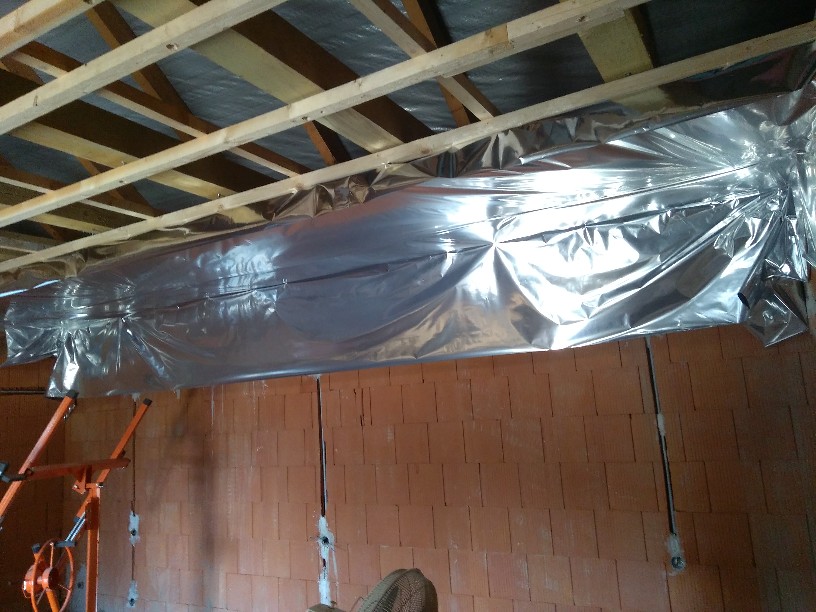
The
foil next to the ceiling follows.
I
fixed the edges to the slats with a stapler. In the end, all the
joints were glued down.
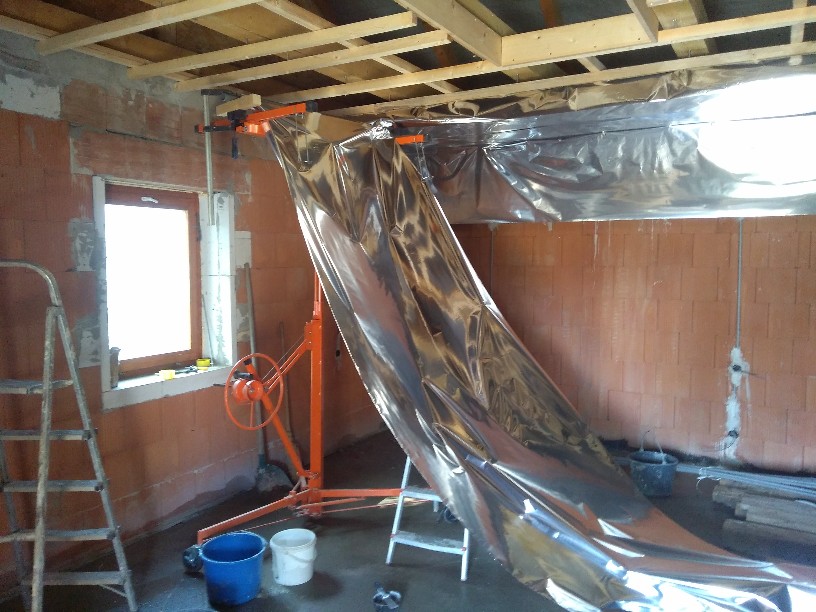
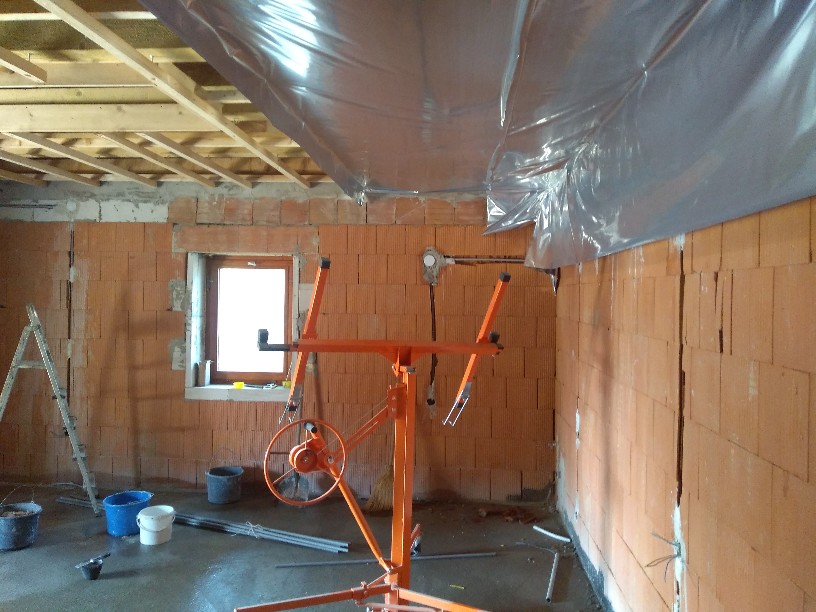
I
attached a 40-inch sewer pipe to the plasterboard elevator with
spacer slats and a moment clamp, on which the guriga foil was
attached.
This is the best helper, because you don't have to deal with it so that you don't tear the staples out of the foil anymore and your hands won't get tired while holding it :).
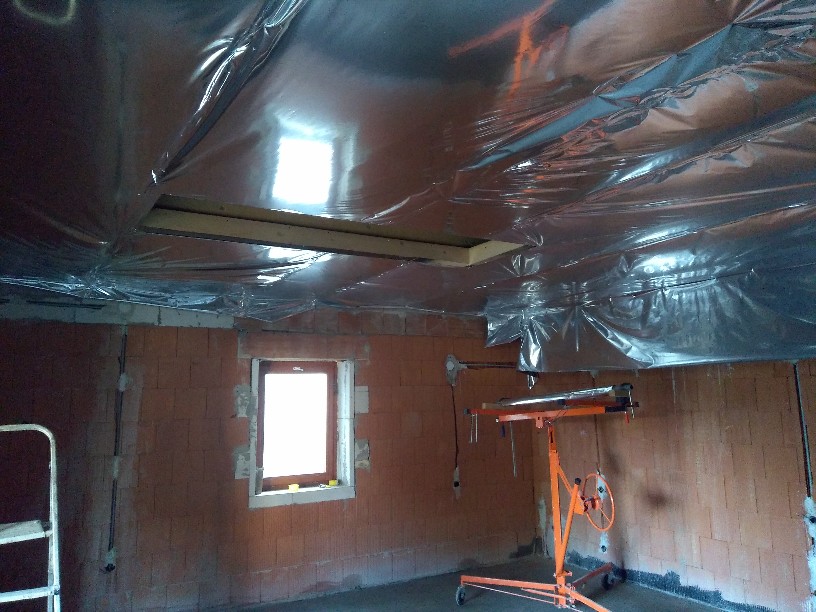
Pure
Christmas mood. It's like the house is packed :).
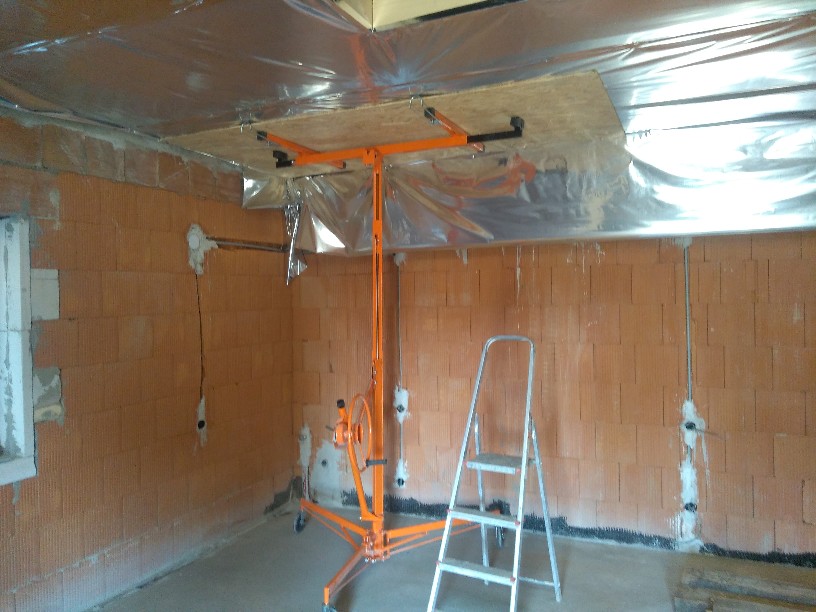
The
OSB boards are coming. Polystyrene ceiling tiles will be used for
this.
The division of the slats here is 50cm, as the OSB is 250cm long and stronger than the drywall.
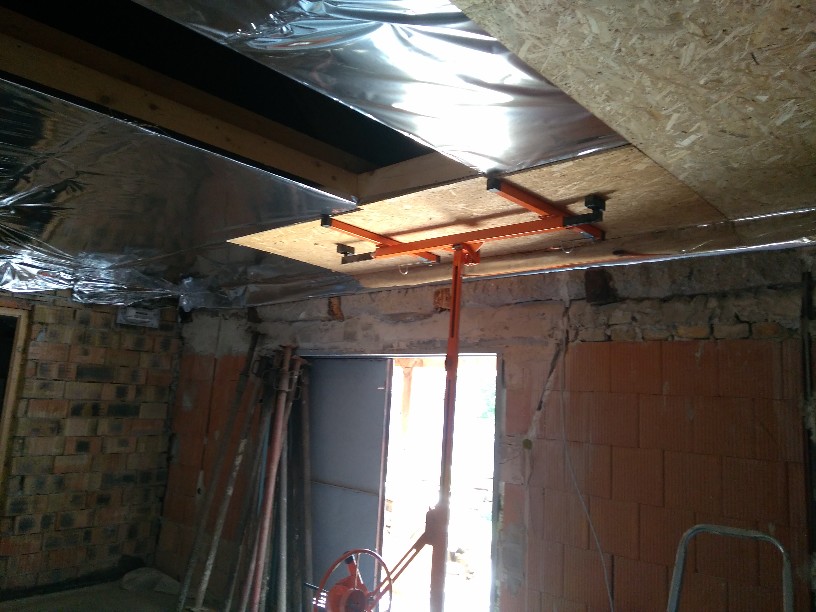
This
elevator is a huge help ... If this had to be held by hand, two more
people would have to run away the next day :).
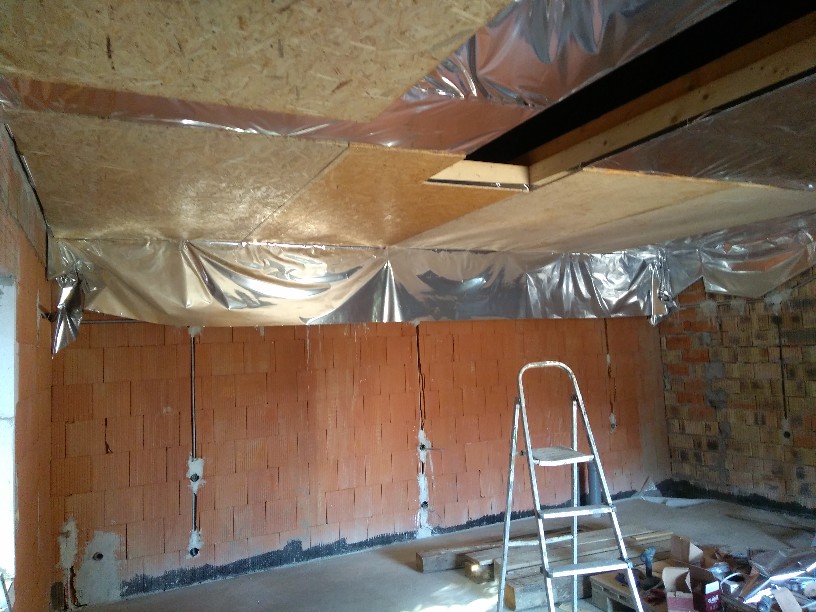
Unfortunately,
half of the elements had to be cut. 2 OSB sheets give out 5m (16ft
4.85in), the room is about 5.3m (17ft 4.66in) wide ... The slats are
made accordingly.
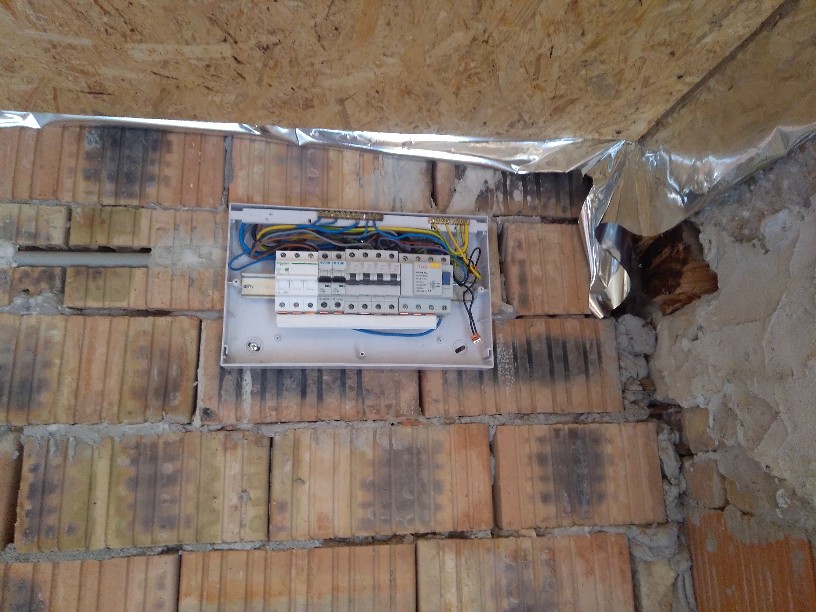
In
the meantime, the distribution cabinet was also installed. Yes, the
workshop has a separate distribution cabinet (professional damage).