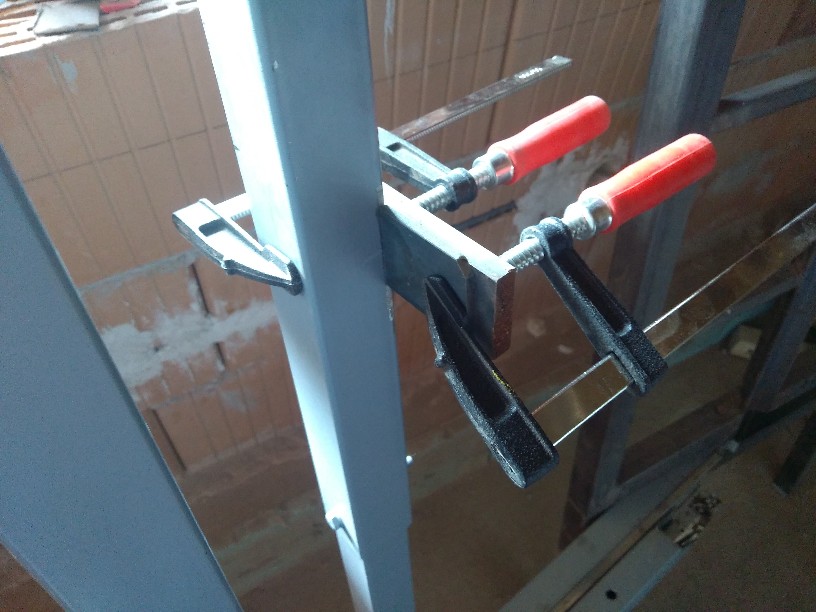
I used other irons and a snap clamp to weld the irons.
Main page – Adobe house - 2020
Workshop underfloor heating concreting
As the workshop installer concrete solidified, the insulation and underfloor heating were laid down.
To do this, I first had to finish the polystyrene cutter.
I
used other irons and a snap clamp to weld the irons.
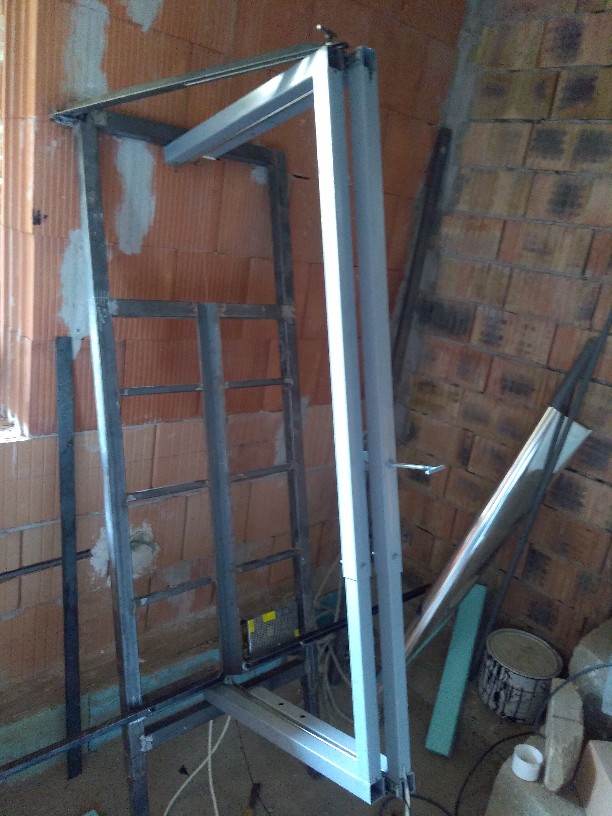
Eventually
it became so. I may have pushed a little, because it weighs about 40
kg and can hardly be put away.
Due to its weight, however, the cutting arm is able to cut through the polystyrene sheets due to its own weight.
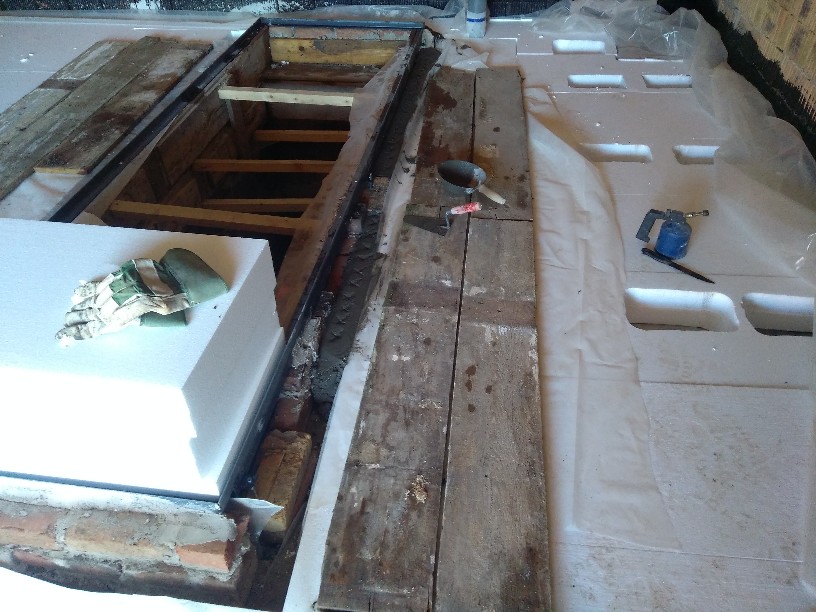
These
have not yet been cut off. The good thing here is the whole board.
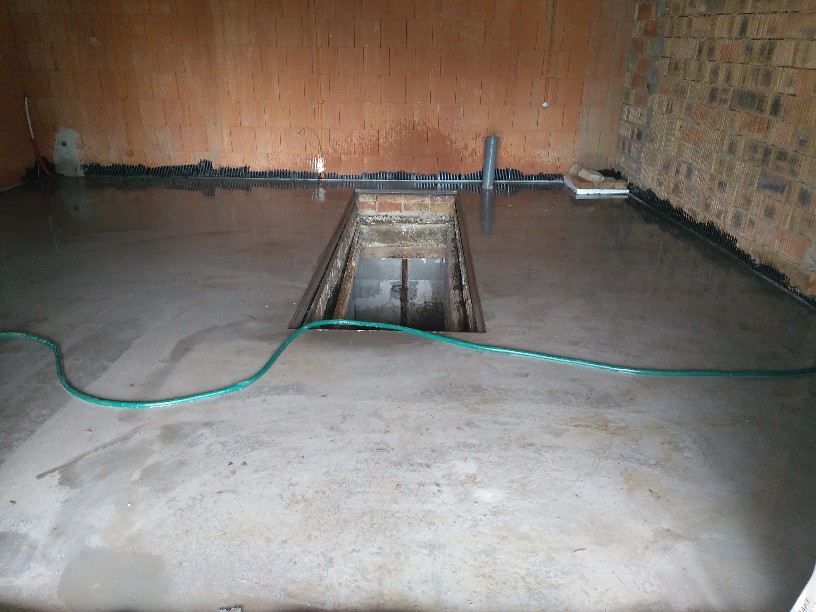
I
left a gap at the end of the cellar because there will be concrete
around.
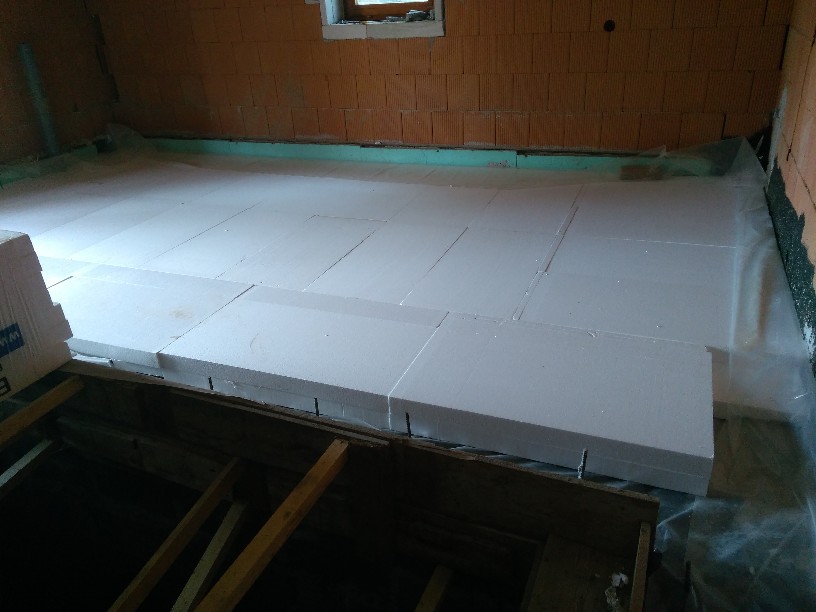
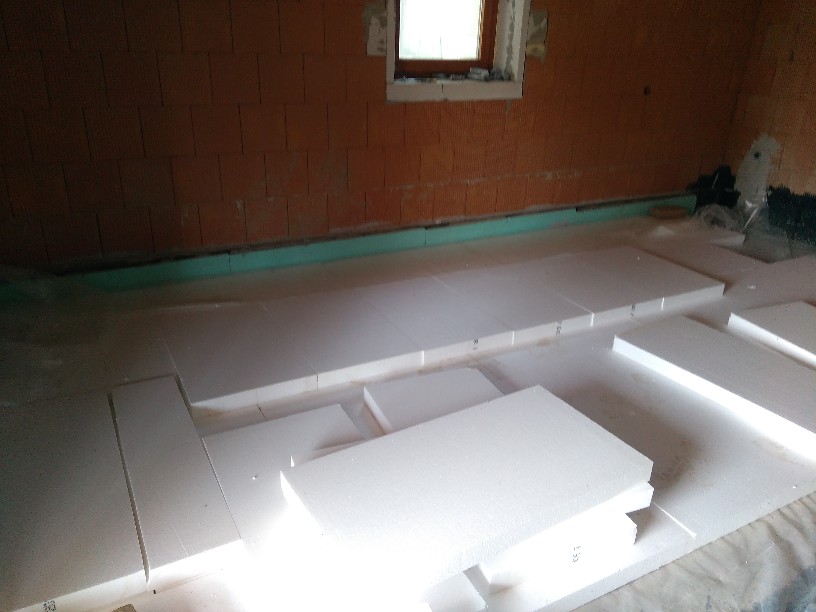
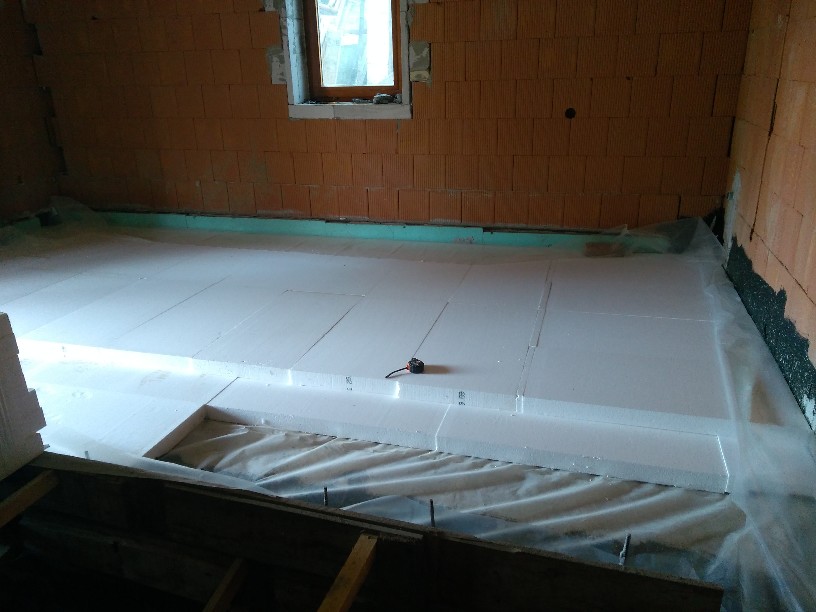
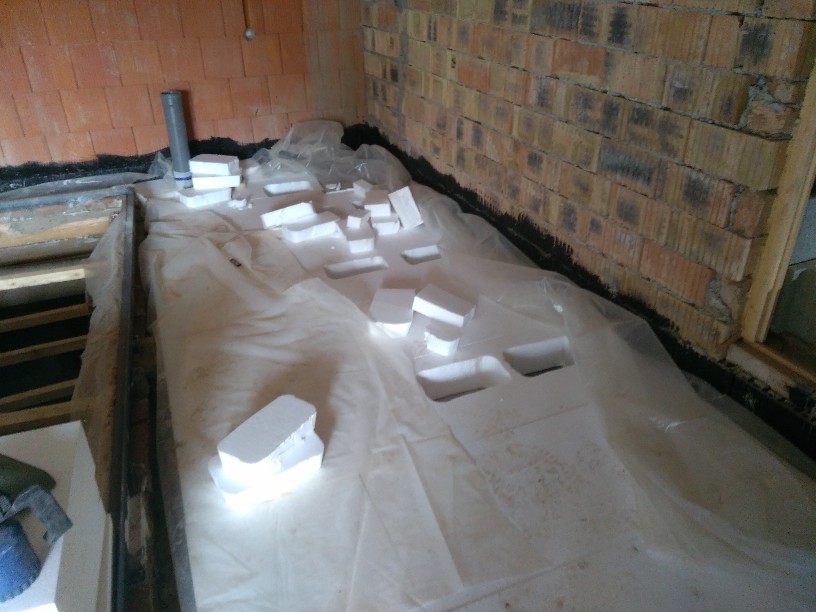
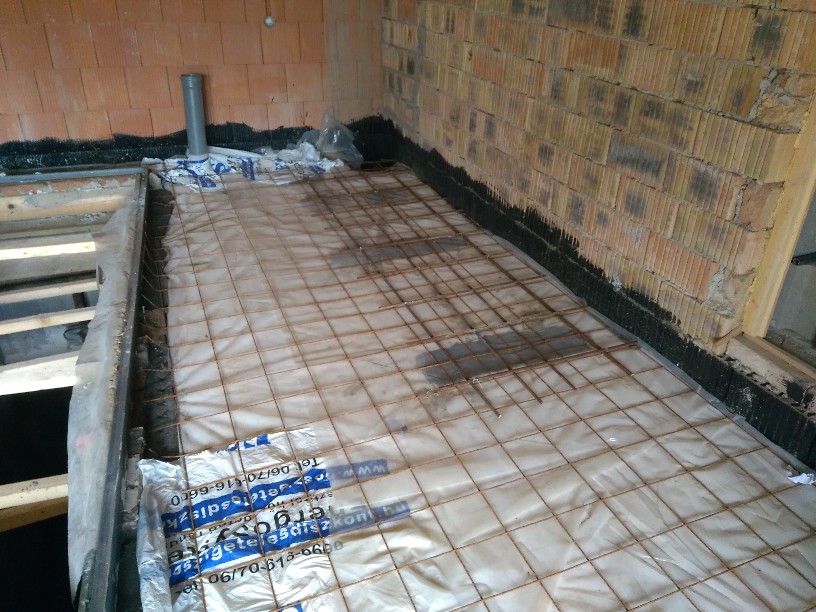
The
2nd layer. It is 2x7cm, ie 14cm step-resistant EPS insulation.
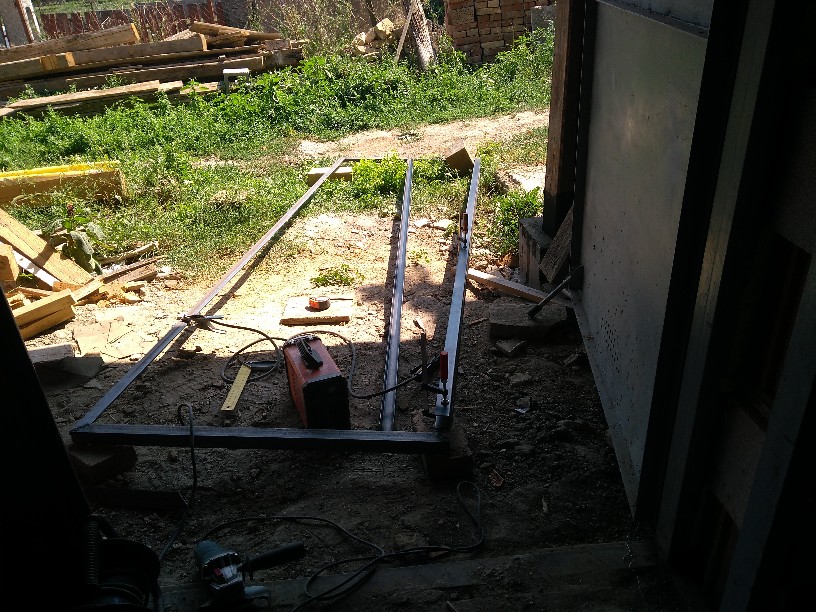
I
welded an exact frame from a 40x40x4 angle iron around the frame.
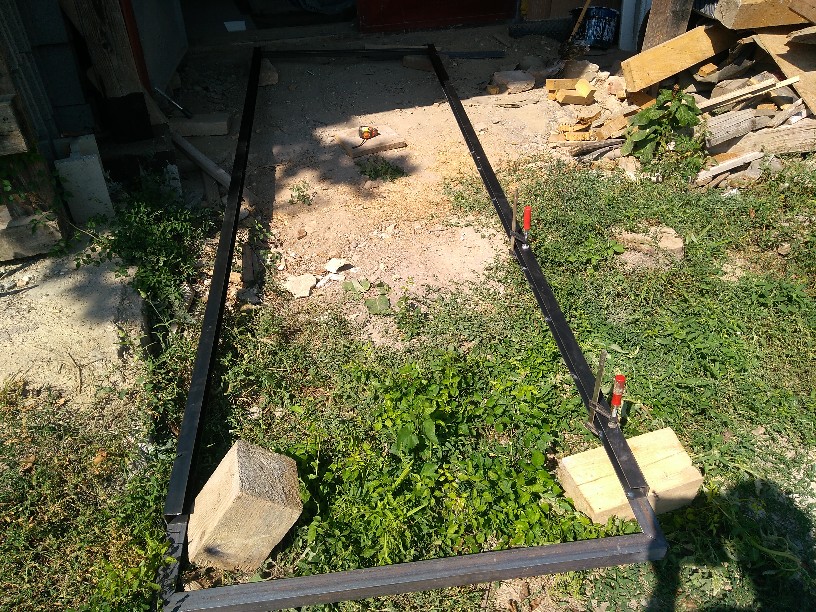
The
inside width is 102cm to make it easy to fit 1m wooden planks.
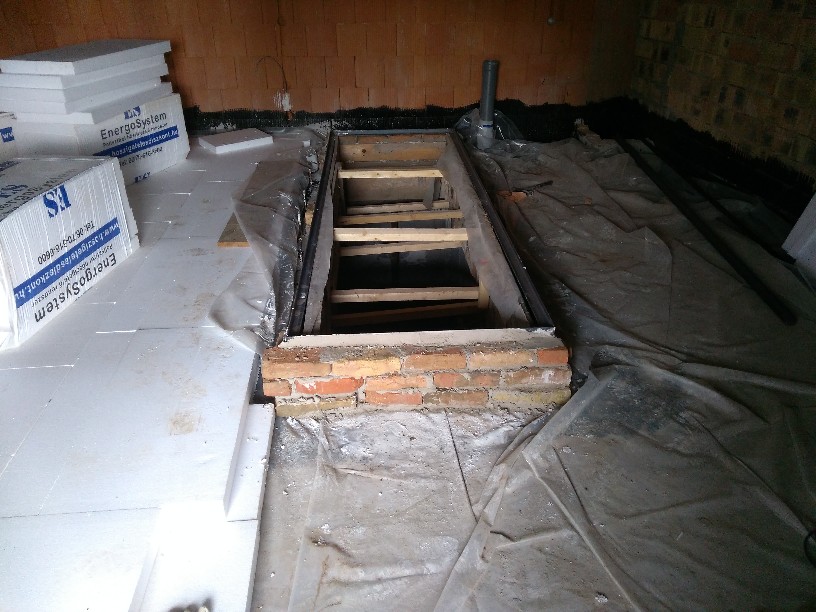
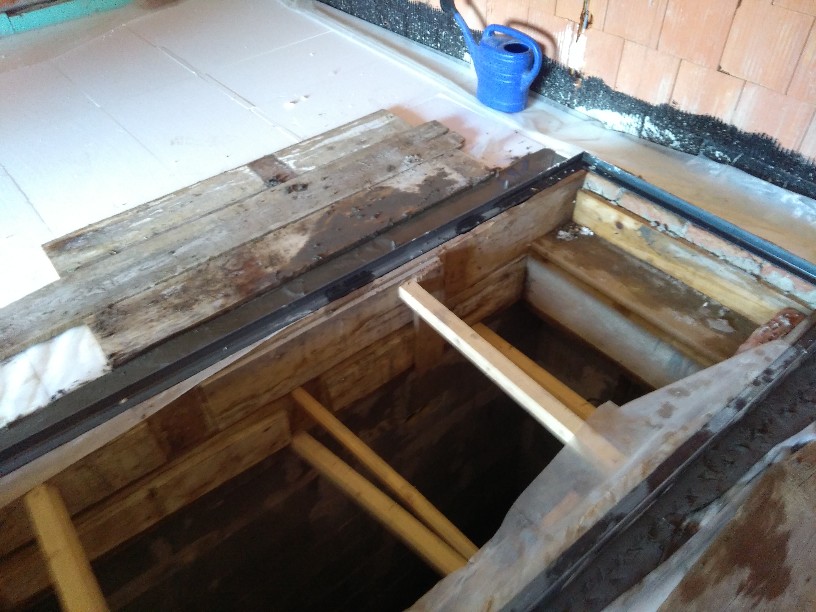
It
was surrounded by bricks, otherwise the height would not smear and
the concrete would flow into the basement ...
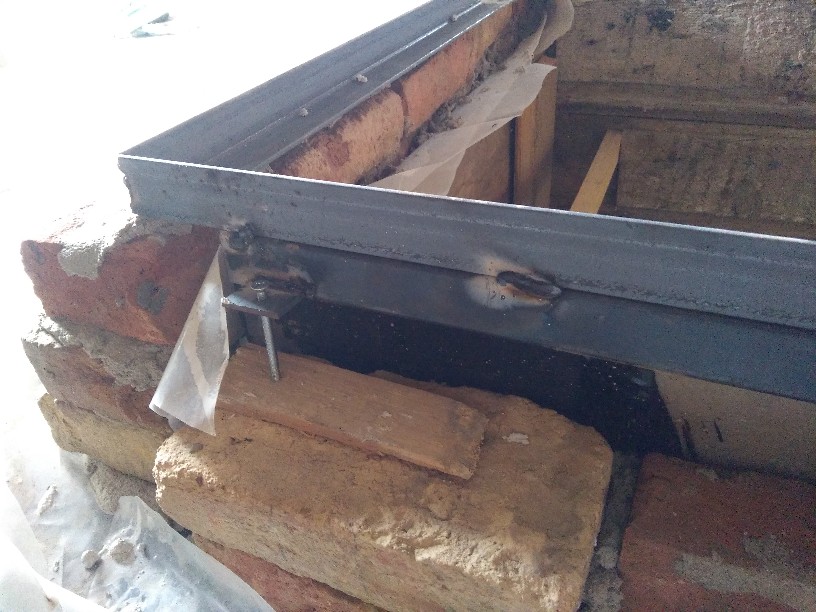
6
steel lugs were welded on. (3-3 on two sides). M6 nuts are welded to
it at the bottom. This allows mm to be precisely leveled.
It
was lined with bricks, smeared with mortar and adjusted with a laser
level.
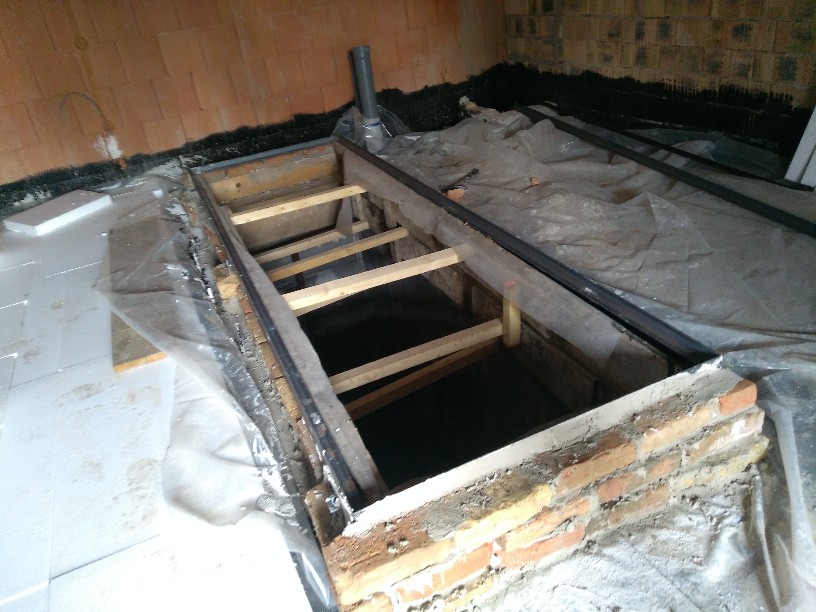
Here
you can see that the 1m wide EPS sheets easily fit into the frame.
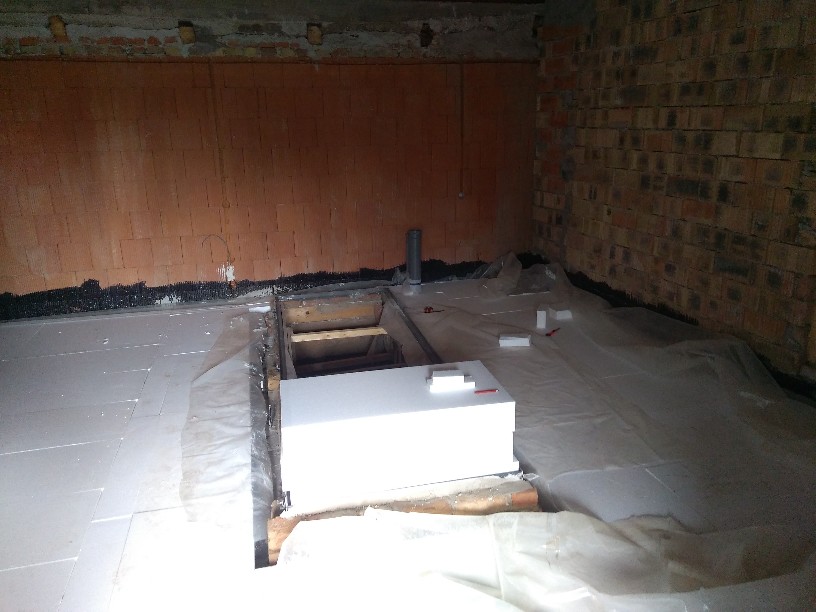
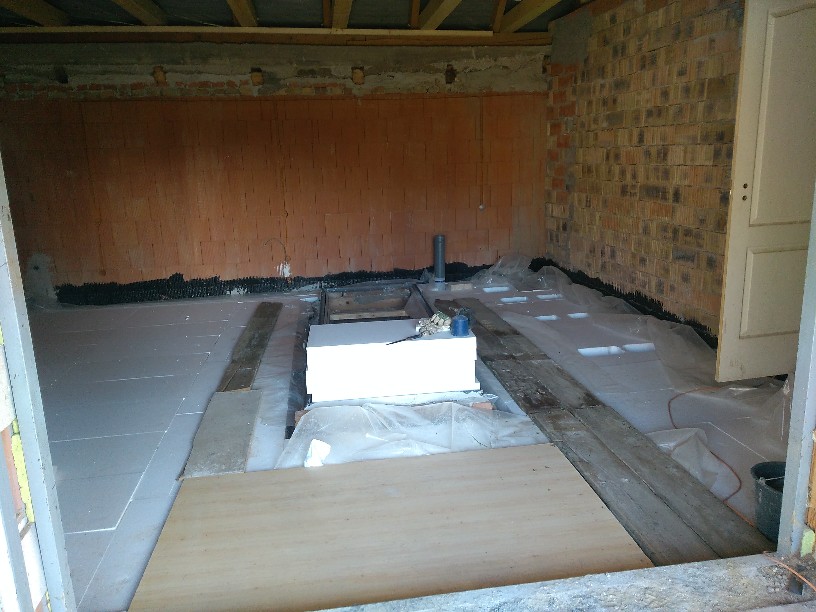
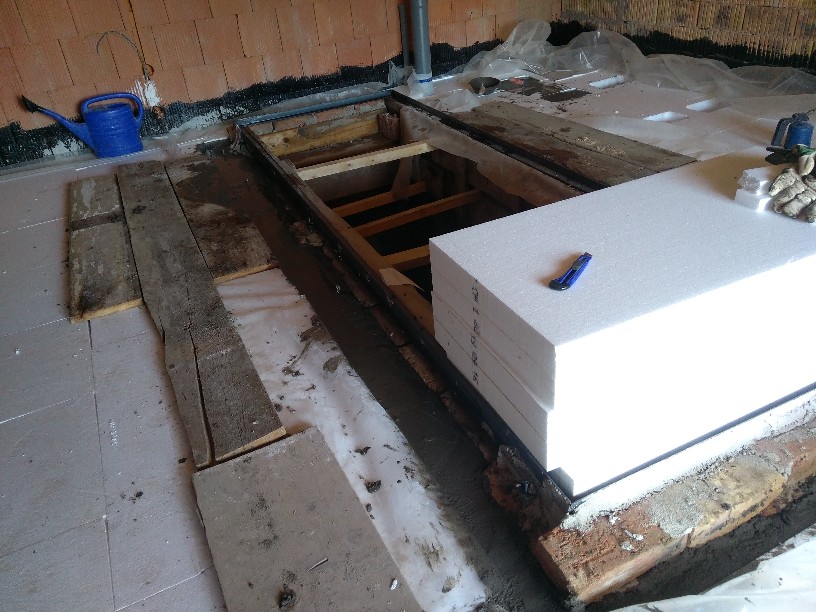
Any
future lathe had to have a reinforced base so that EPS could not be
subjected to a direct load, so the space had to be cut out for the
concrete.
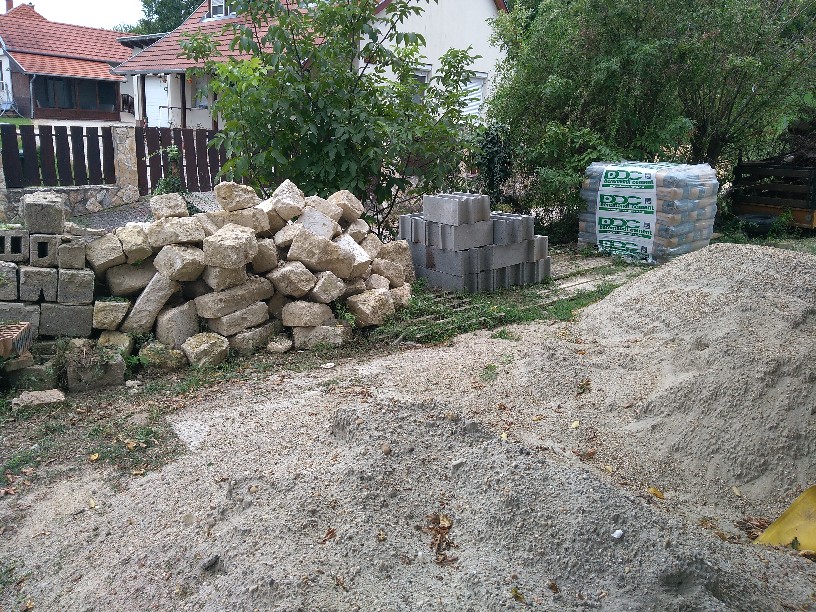
Meanwhile,
cement and gravel have also arrived for concreting.
“Wrecking”
with the wheelbarrow would not be good for EPS boards, so a route had
to be drawn from planks and furniture boards.
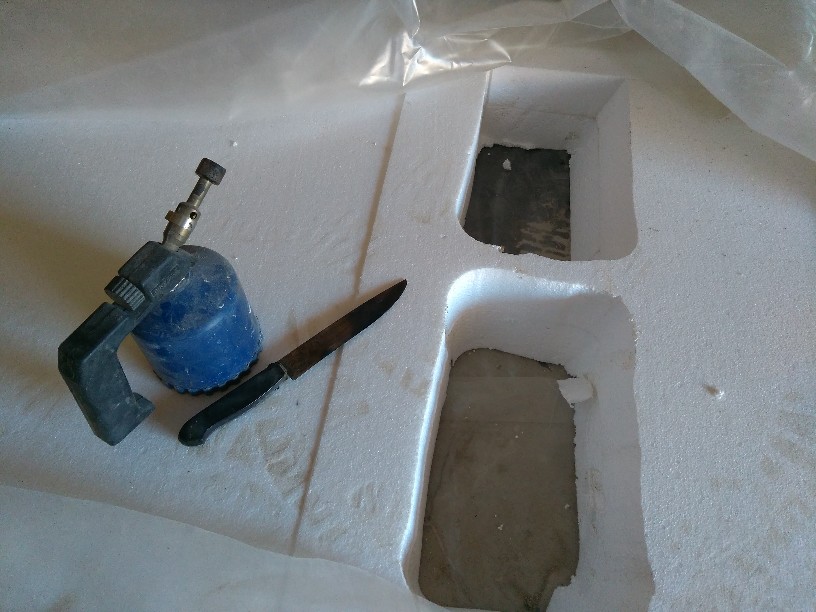
I
cut out the place of the machine base with a knife heated with a gas
lamp.
The
concrete was thoroughly worked around. This will be supported by the
top concrete layer.
I
watered for a few days to keep the concrete from ruining.
It
has been worked on pretty smoothly...
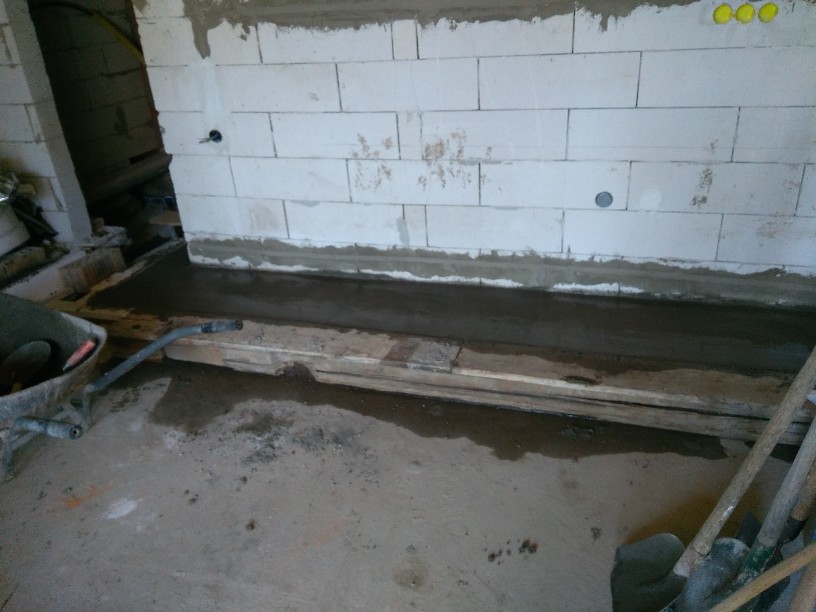
A
little concrete also got to the part under the kitchen counter from
the 0-4mm gravel, because here the unevenness of the edges and the
level had to be leveled.
The partition wall is supported by this concrete, which is why it was left behind. As it is a light partition, it has no base (which is why the bottom was reinforced afterwards).
Unfortunately, this wall already existed when I bought the house. If I had done it, it would have had a good deep foundation.
You don’t really have to carry a burden, so you do it that way. Ytong is not a heavy material anyway and an approx. It can withstand 80cm wide concrete floor.
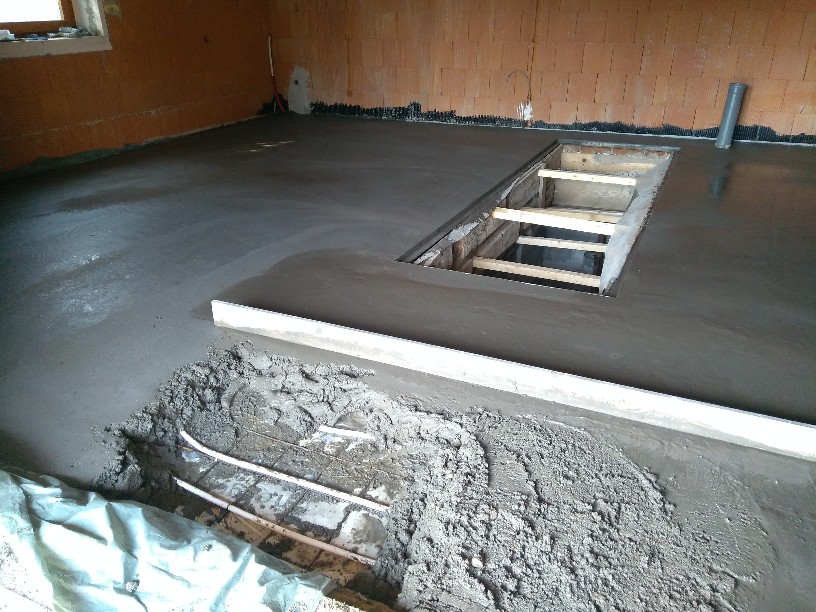
Here,
the machine base is already concreted and thoroughly ironed.
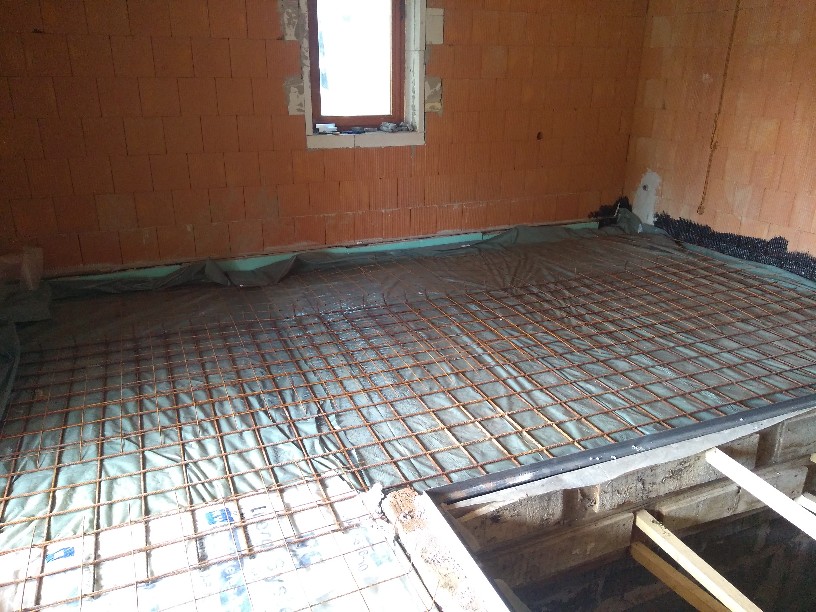
There
are still 1 board 10 mesh left ... It was also built in.
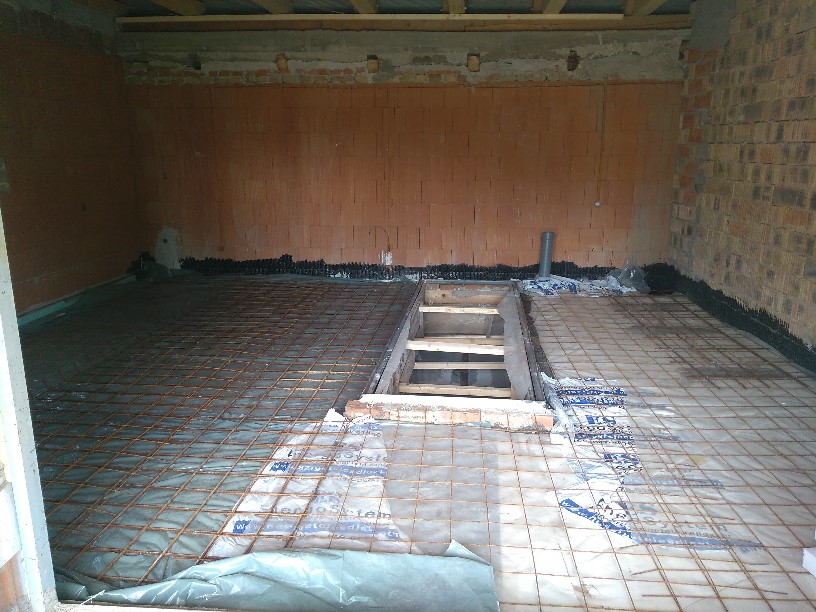
The
final reinforcement.
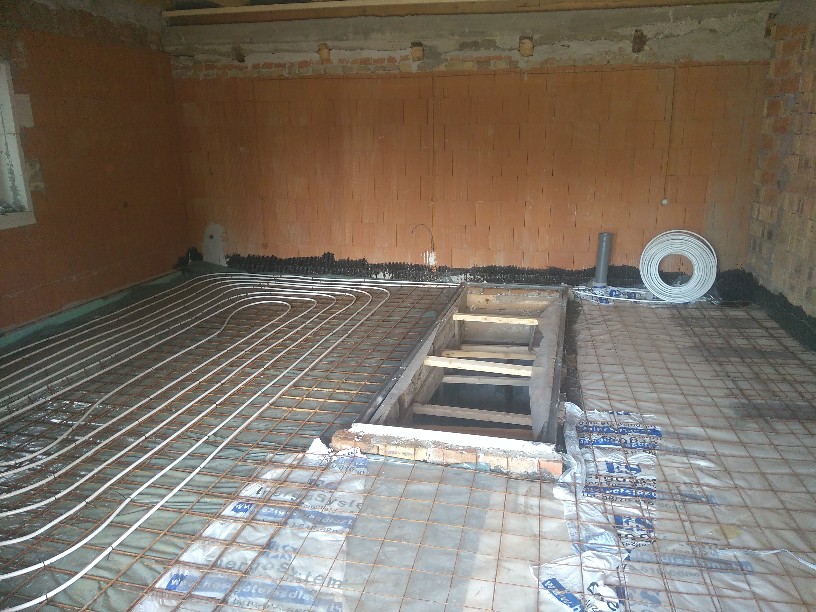
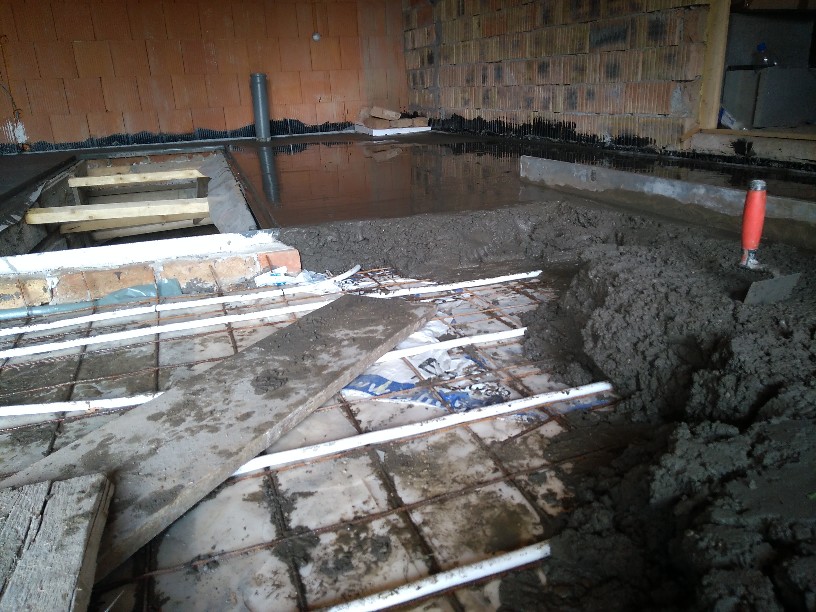
You
may need to lay the underfloor heating pipe. It was secured with a
150mm cable tie, being strictly careful not to protrude its legs!
It must either be cut off or turned down when tightened.
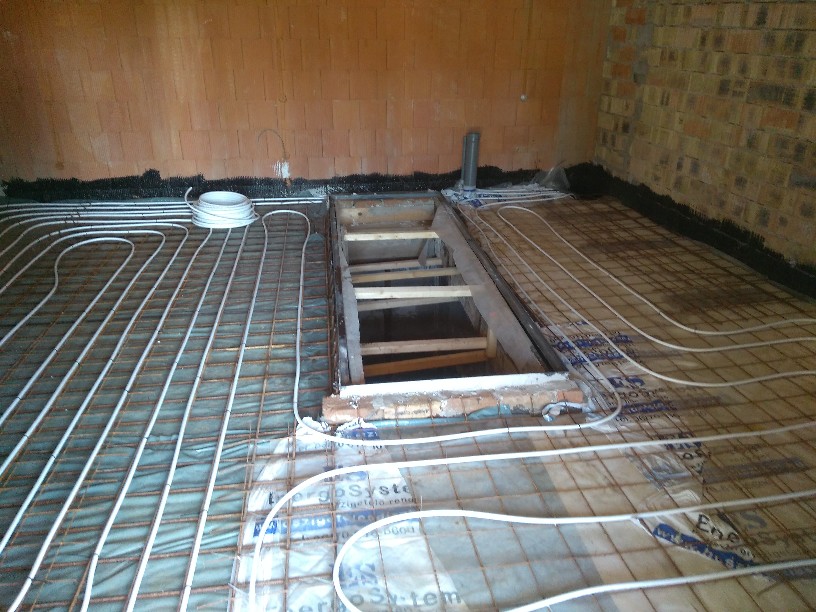
I
bypassed the base of the machine because it is not recommended to
heat it! The use of asymmetric heating circuits should not be
followed !!!
If possible, try to keep the length of the two circles the same!
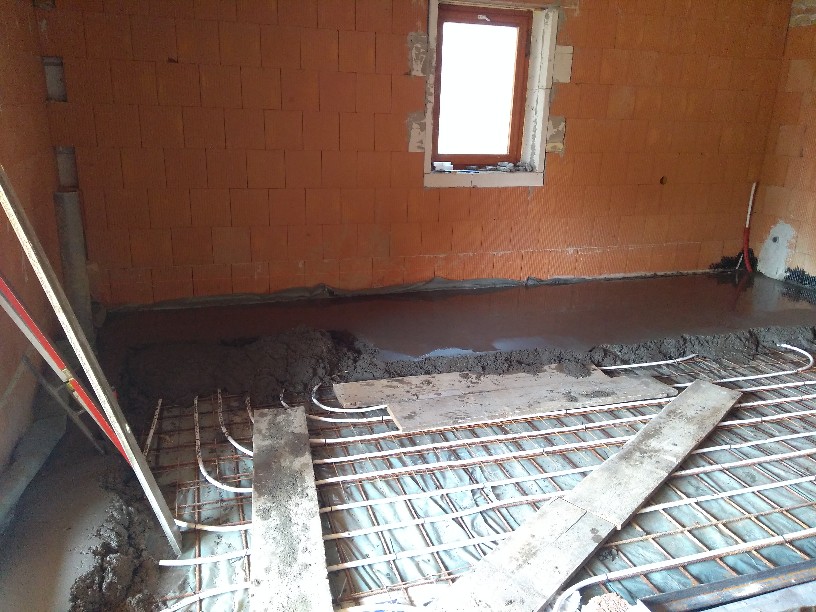
This
is already the process of concreting. Do not push the wheelbarrow on
the underfloor heating pipe! This is what boards are for.
The pipes must first be filled with water and pressurized!
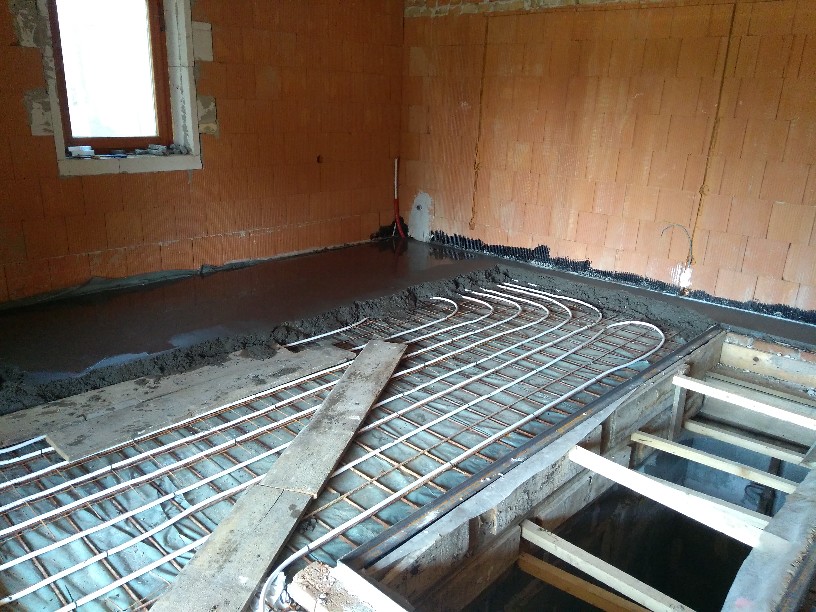
The
guide bar next to the wall gives out the level. To do this, compare
the rest.
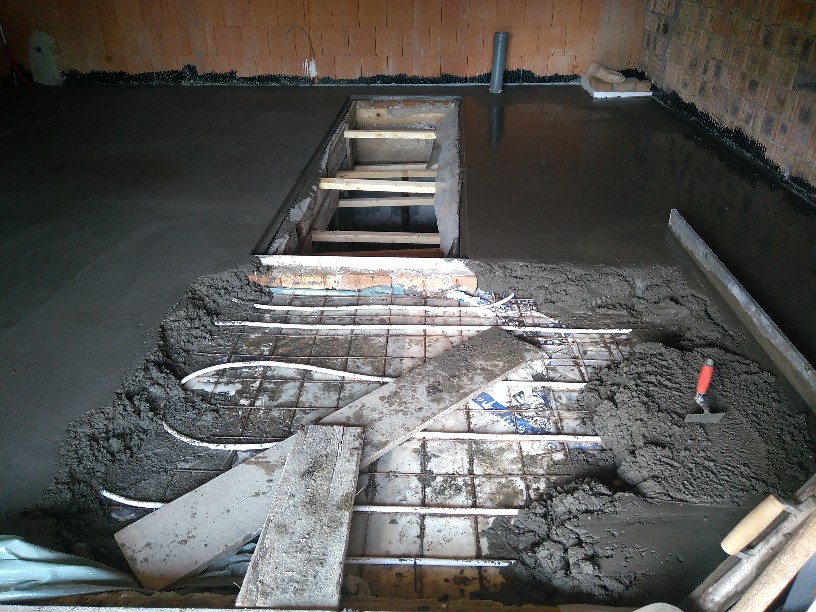
Concrete
has a grain size of 0-8mm due to underfloor heating. Smooth gravel is
not good!
At 2/3 of the concreting, the concrete mixer handed in the key ...
It could not be started due to a capacitor fault and the switch did not stay on (self-holding).
Since I had to be a great master, the switch was switched over (the switch extension was left as an alternative) and the mixer had to be pushed at start-up.
Of course, due to the lack of an auxiliary phase, the power of the engine also decreased, but at least we were able to mix the rest with it.
I
ordered spare parts after the concrete mixer attack. I replaced the
capacitor that still works.
However, there is a spare electric motor capacitor in reserve with +1 V-belt in case you enter the key.
If the motor driven without capacitor burns out, I can still replace it in 10 minutes :).
(It has been used since then, the engine has not been damaged.)
All
that's missing here is a little.
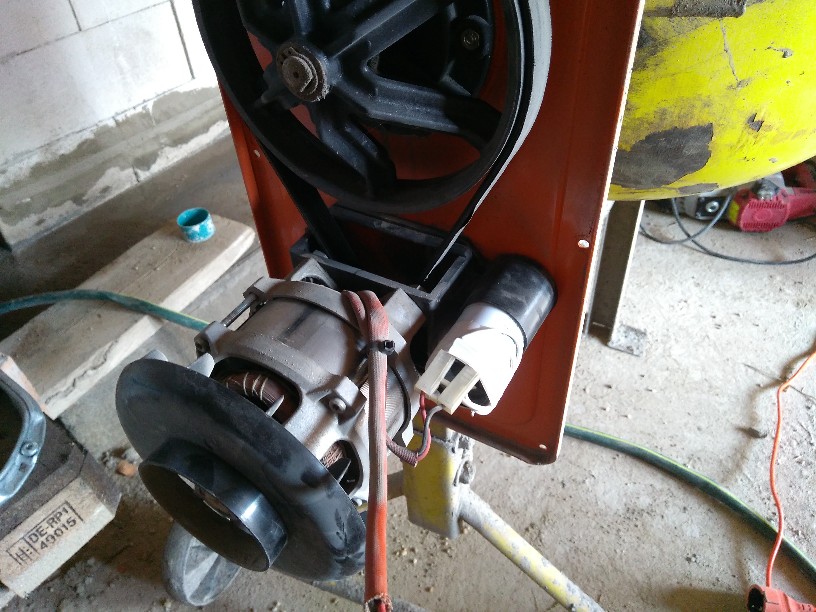
The
white cylindrical part shown in the picture is the capacitor that
caused the problem. In its heyday, the capacity was 10uF, but here it
popped.
The point is, the floor of the workshop is finally finished. This is a huge step forward since finding the semi-collapsed cellar.