A little more gloomy gray, but at least smooth.
Home – Adobe house - 2020
Workshop wall plastering, tiling, cellar expiration boarding
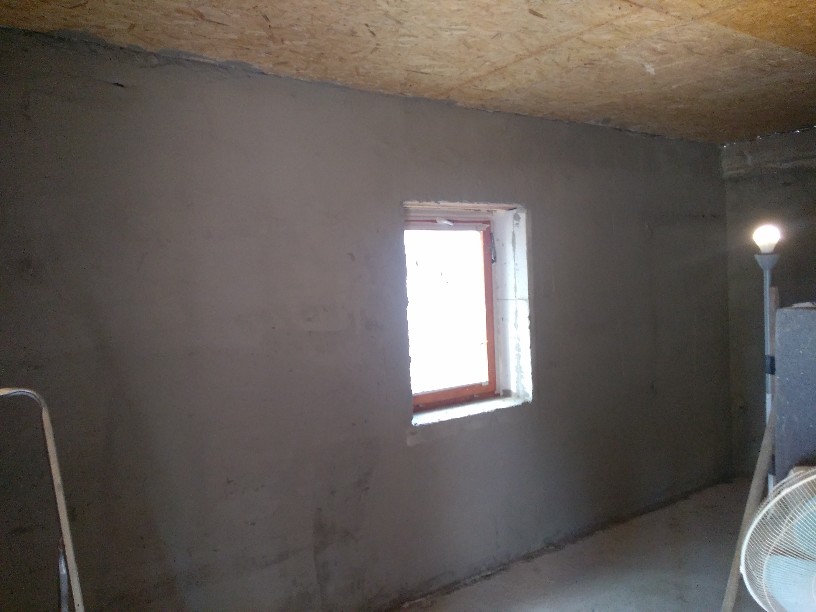
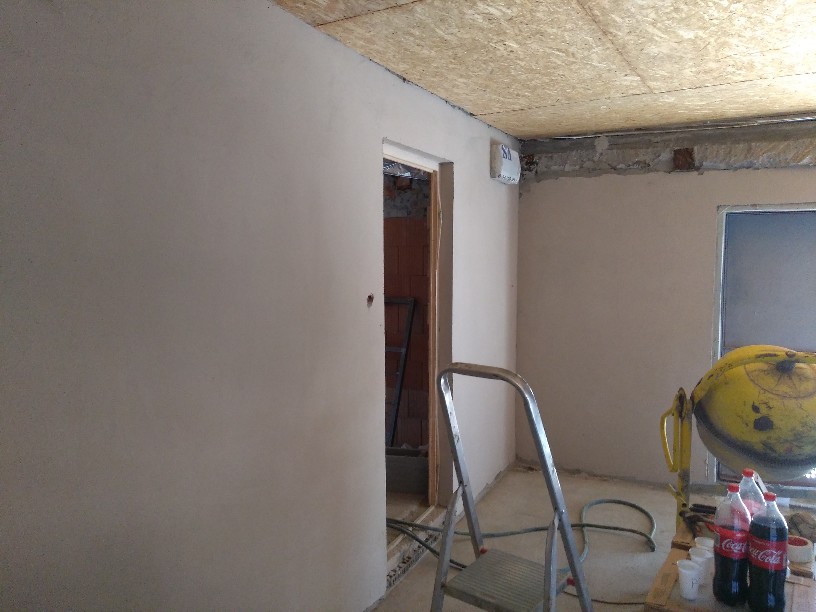
The wall has finally been plastered, so you no longer have to stare at the bricks.
A little more gloomy gray, but at least smooth.
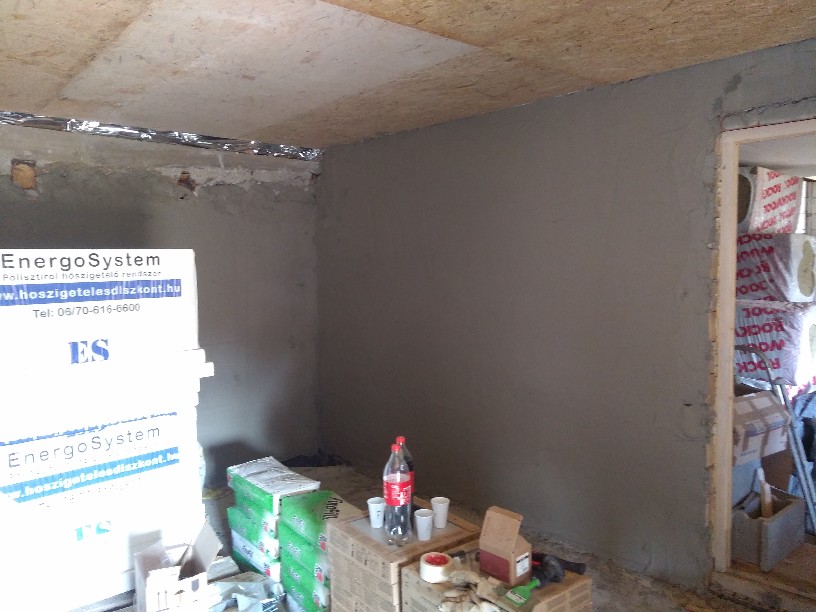
This is the rough plaster.
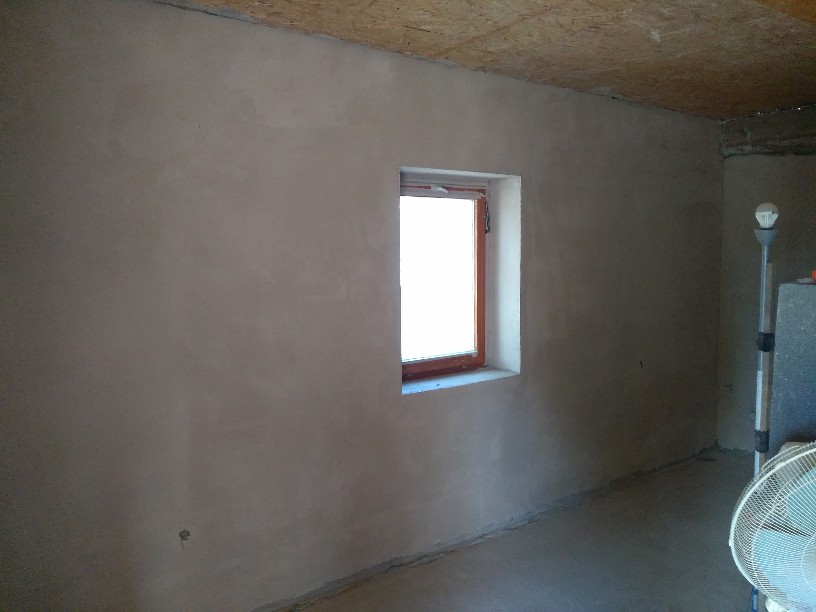
After drying and plastering again, it became even smoother.
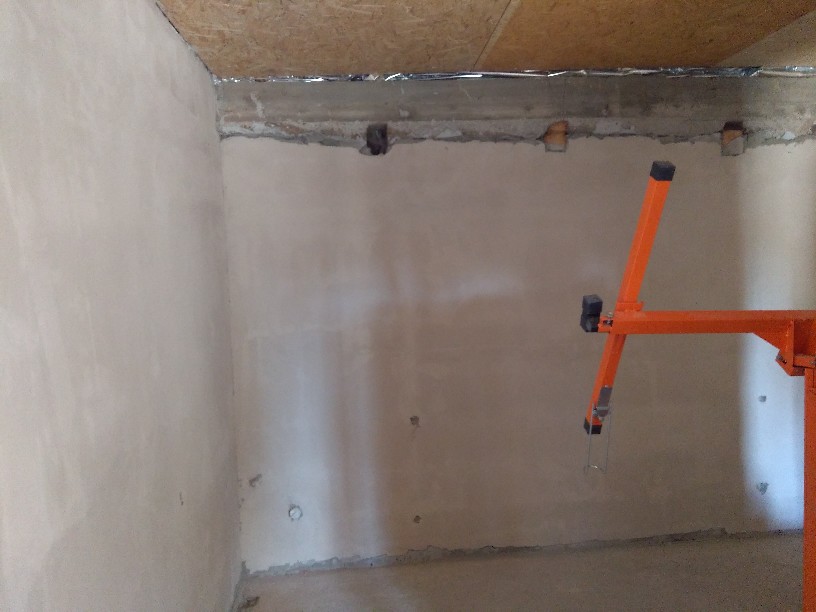
It's more whiter.

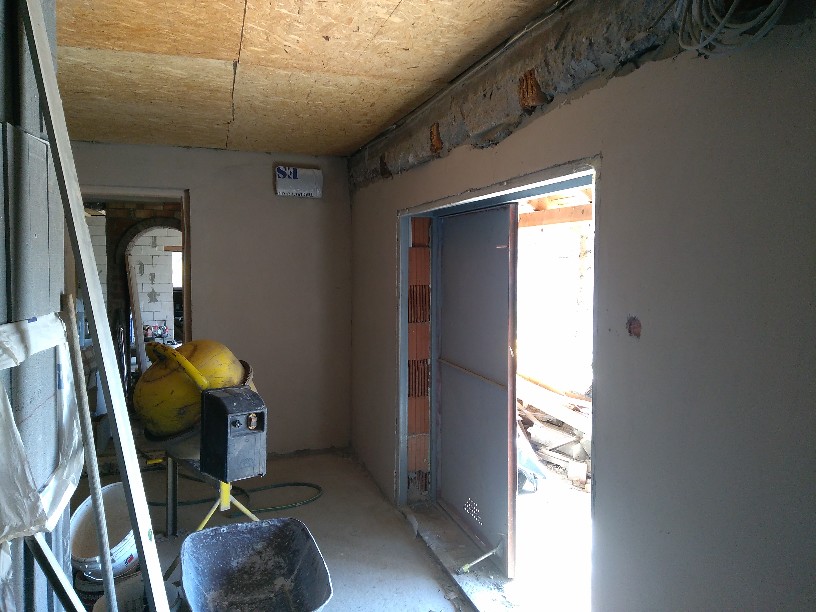
It is already beginning to take the form of some room.
It's getting whiter and smoother.
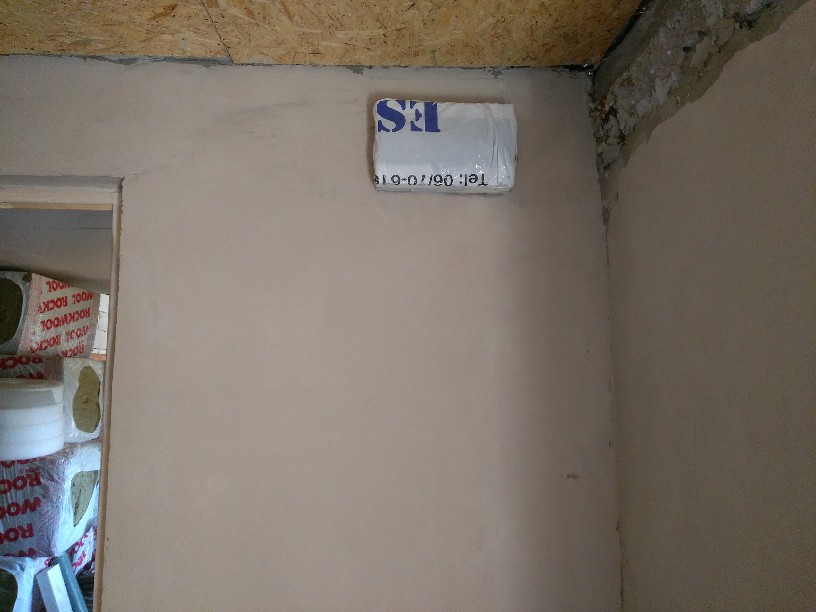
The distribution cabinet is securely packed with tape so it will be easy to clean the edge.
It almost scratches the eyes of the straightness of the wall.
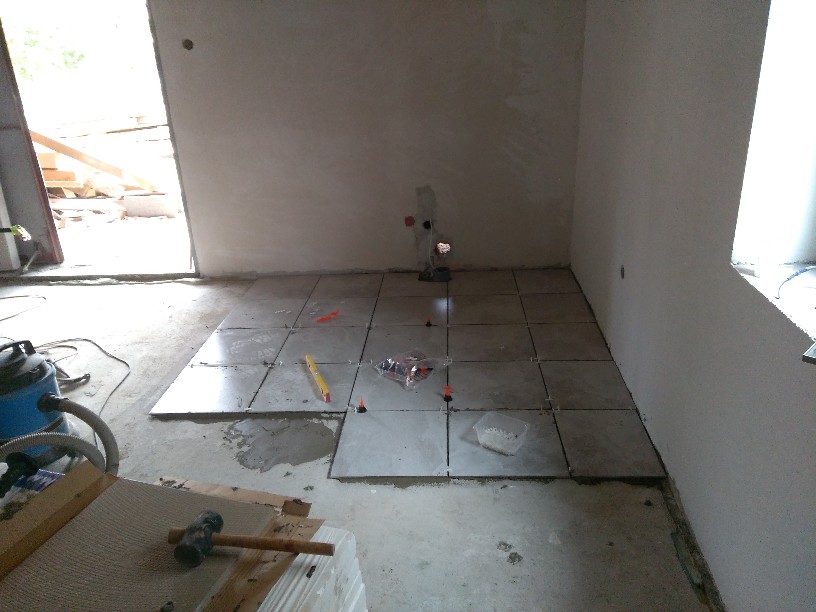
The concrete was already pretty dry, so I started laying down the tiles to have where to pack because I had to pull it out of the
other rooms to get the underfloor heating and the rest of the work done.
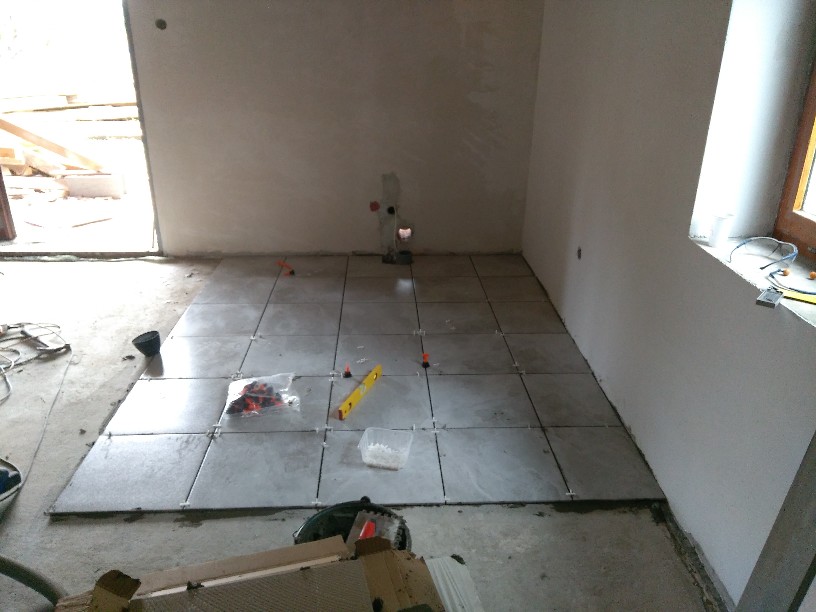
I didn't regret the glue. I also glued the floor as well as the tile. That's for sure.
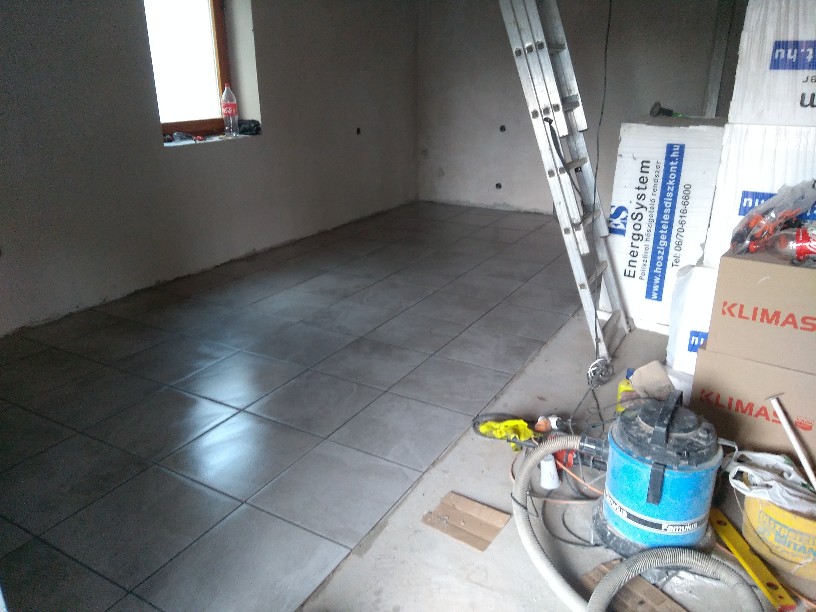
The sheet should be in contact with as much surface as possible, otherwise it may break if it remains hollow. I aim to fill over 80%.
Since it will be a workshop, it can be quite large loads if e.g. I get in the car some days.
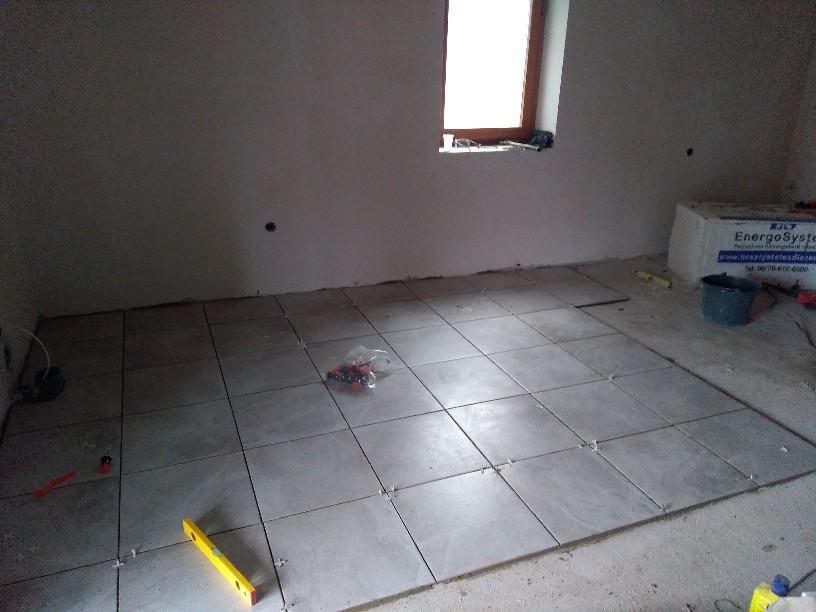
The line was stacked all the way. Pipe 110mm is the cellar vent that will go out on the wall. Unfortunately, I couldn't lead him elsewhere.
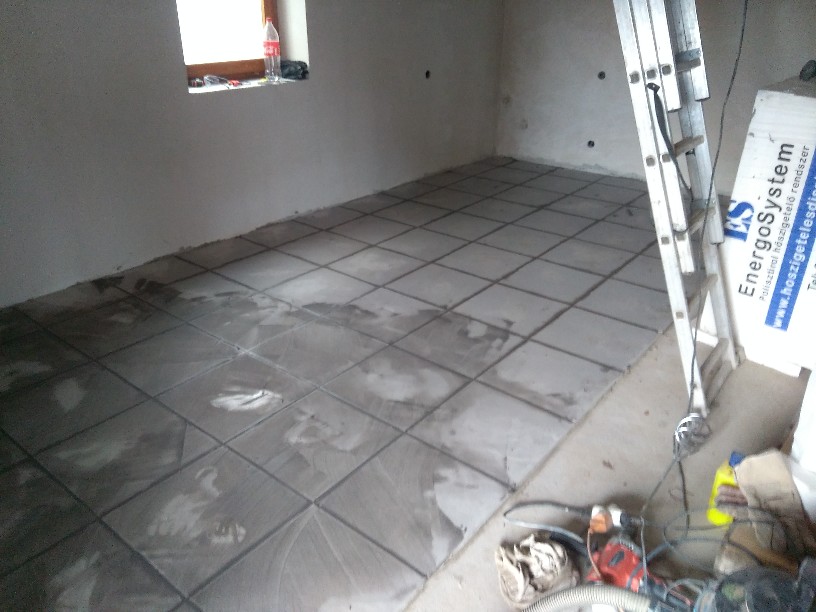
Disgusting grouting can come ...
I'll wash it many times ...
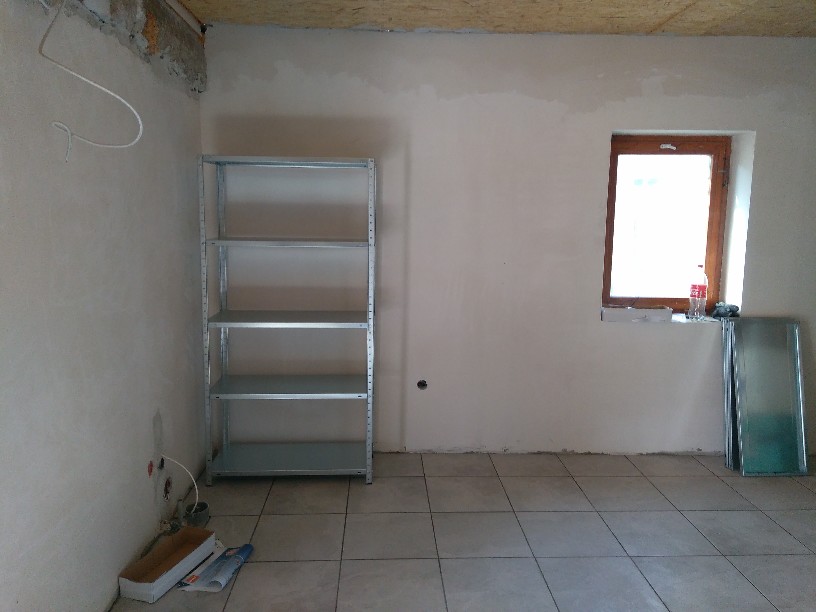
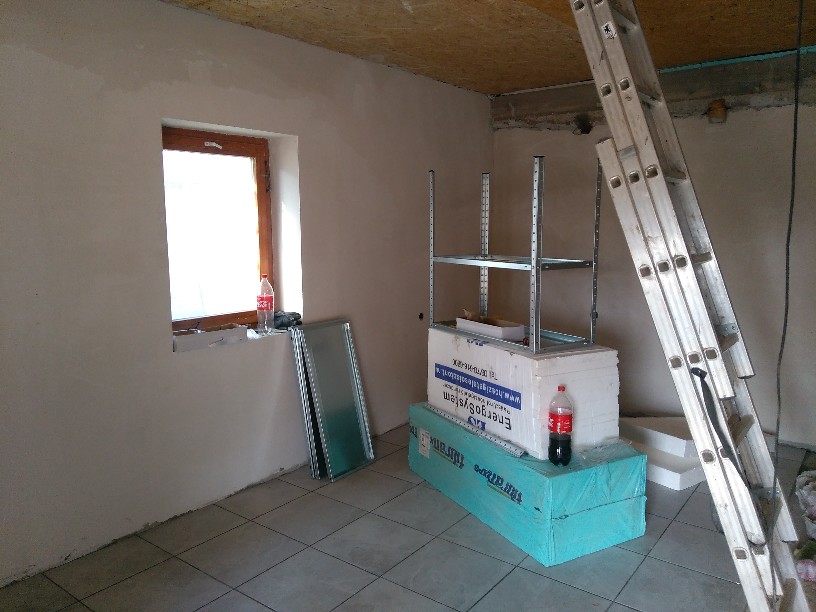
I bought 3 metal shelves in OBI, which can be screwed. It's a nightmare to assemble, but once it's done ...
Approx. It takes 2-3 hours to assemble because a lot of screws need to be crafted into less accessible places.
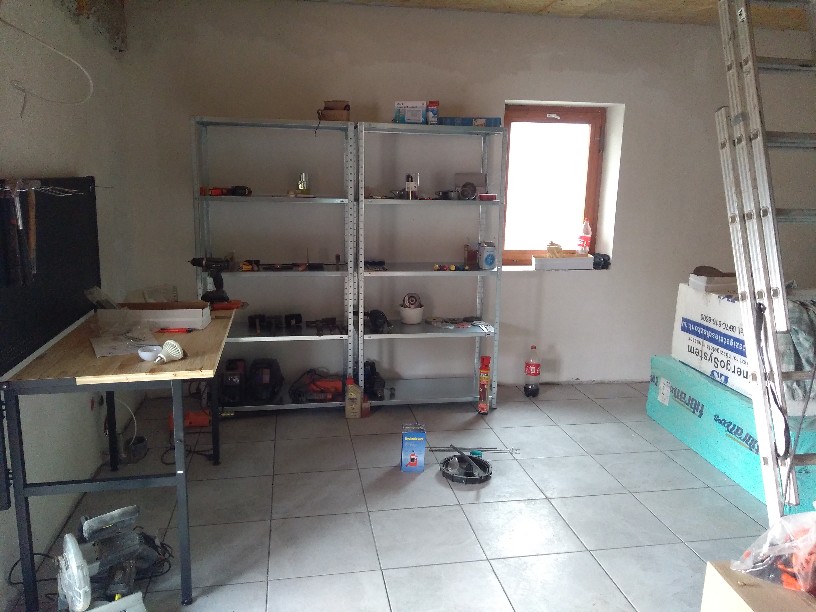
The workshop table was also assembled. The tools will finally have a place.
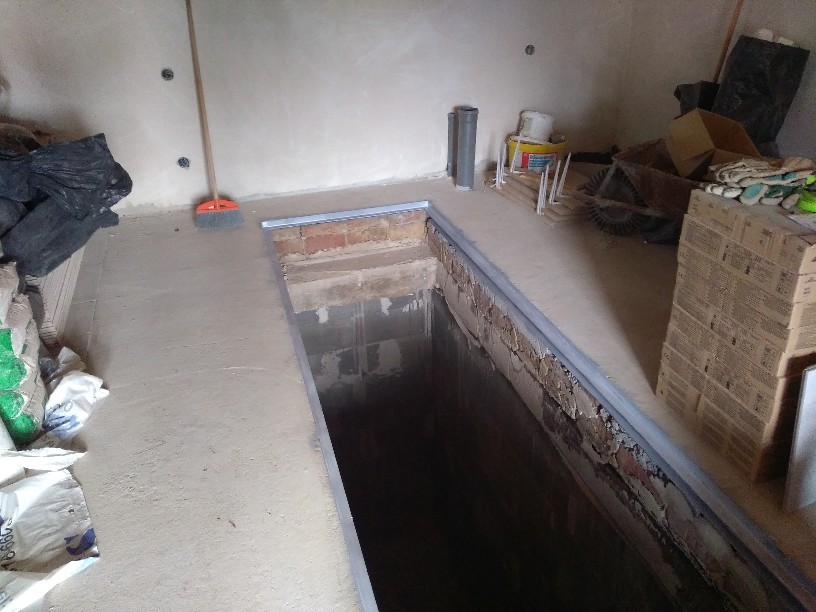
I painted the frame of the shaft (cellar expiring) to prevent it from rusting.
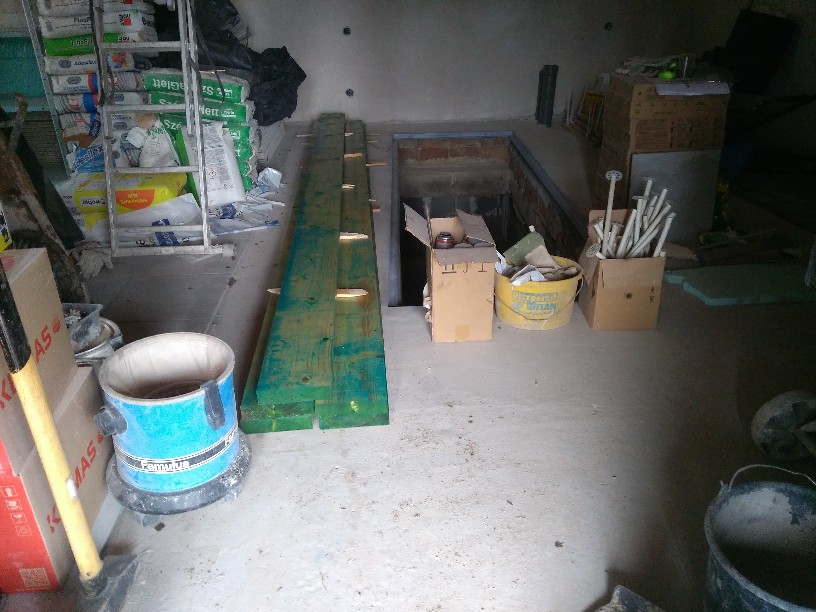
In the meantime, the planks have arrived, which will be the decking so that no one falls ...
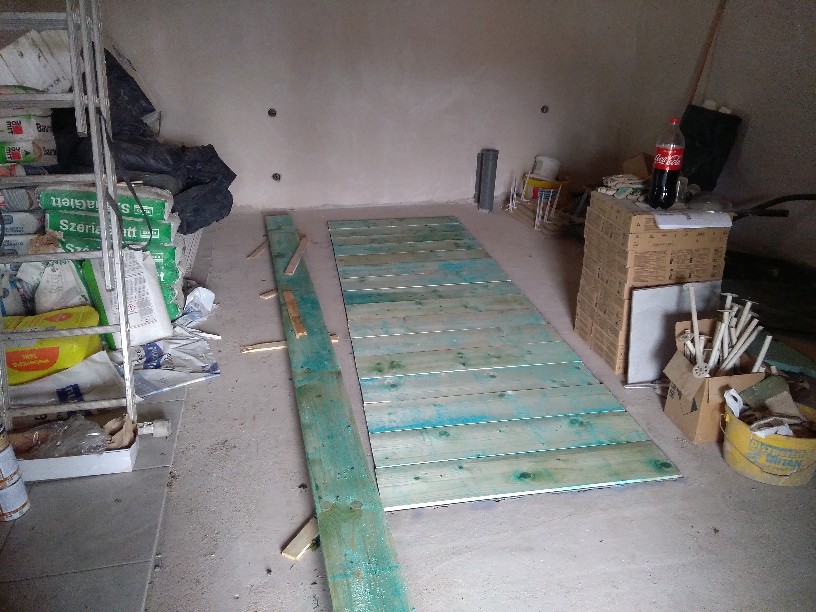
I cut the plank to size with a circular saw and then smoothed the ends with a planer to set the final size.
They definitely have to fit exactly, so I took off the excess every millimeter.