I have recently purchased a FPV AIO micro camera from Gearbest to hook it to my Furibee F36.
I have tried various mounting options and the mount camera above the mainboard seemed to be the best option. However this gave the some degree of uncertainty to the left-right movements due to the lifted center of gravity. I have decided to modify the frame to be able to place the camera as low as is possible.
After some investigation moving the main PCB right above the battery seemed to be a viable modification. I have estimated to lower the camera mounting position with 5 mm with this mod.
There is a saying in Hungary: if you have a hammer you will threat everything as a nail. This saying also applies to me, but my hammer is my CNC mill. So I have hooked my frame to the mill and removed the necessary parts with it:
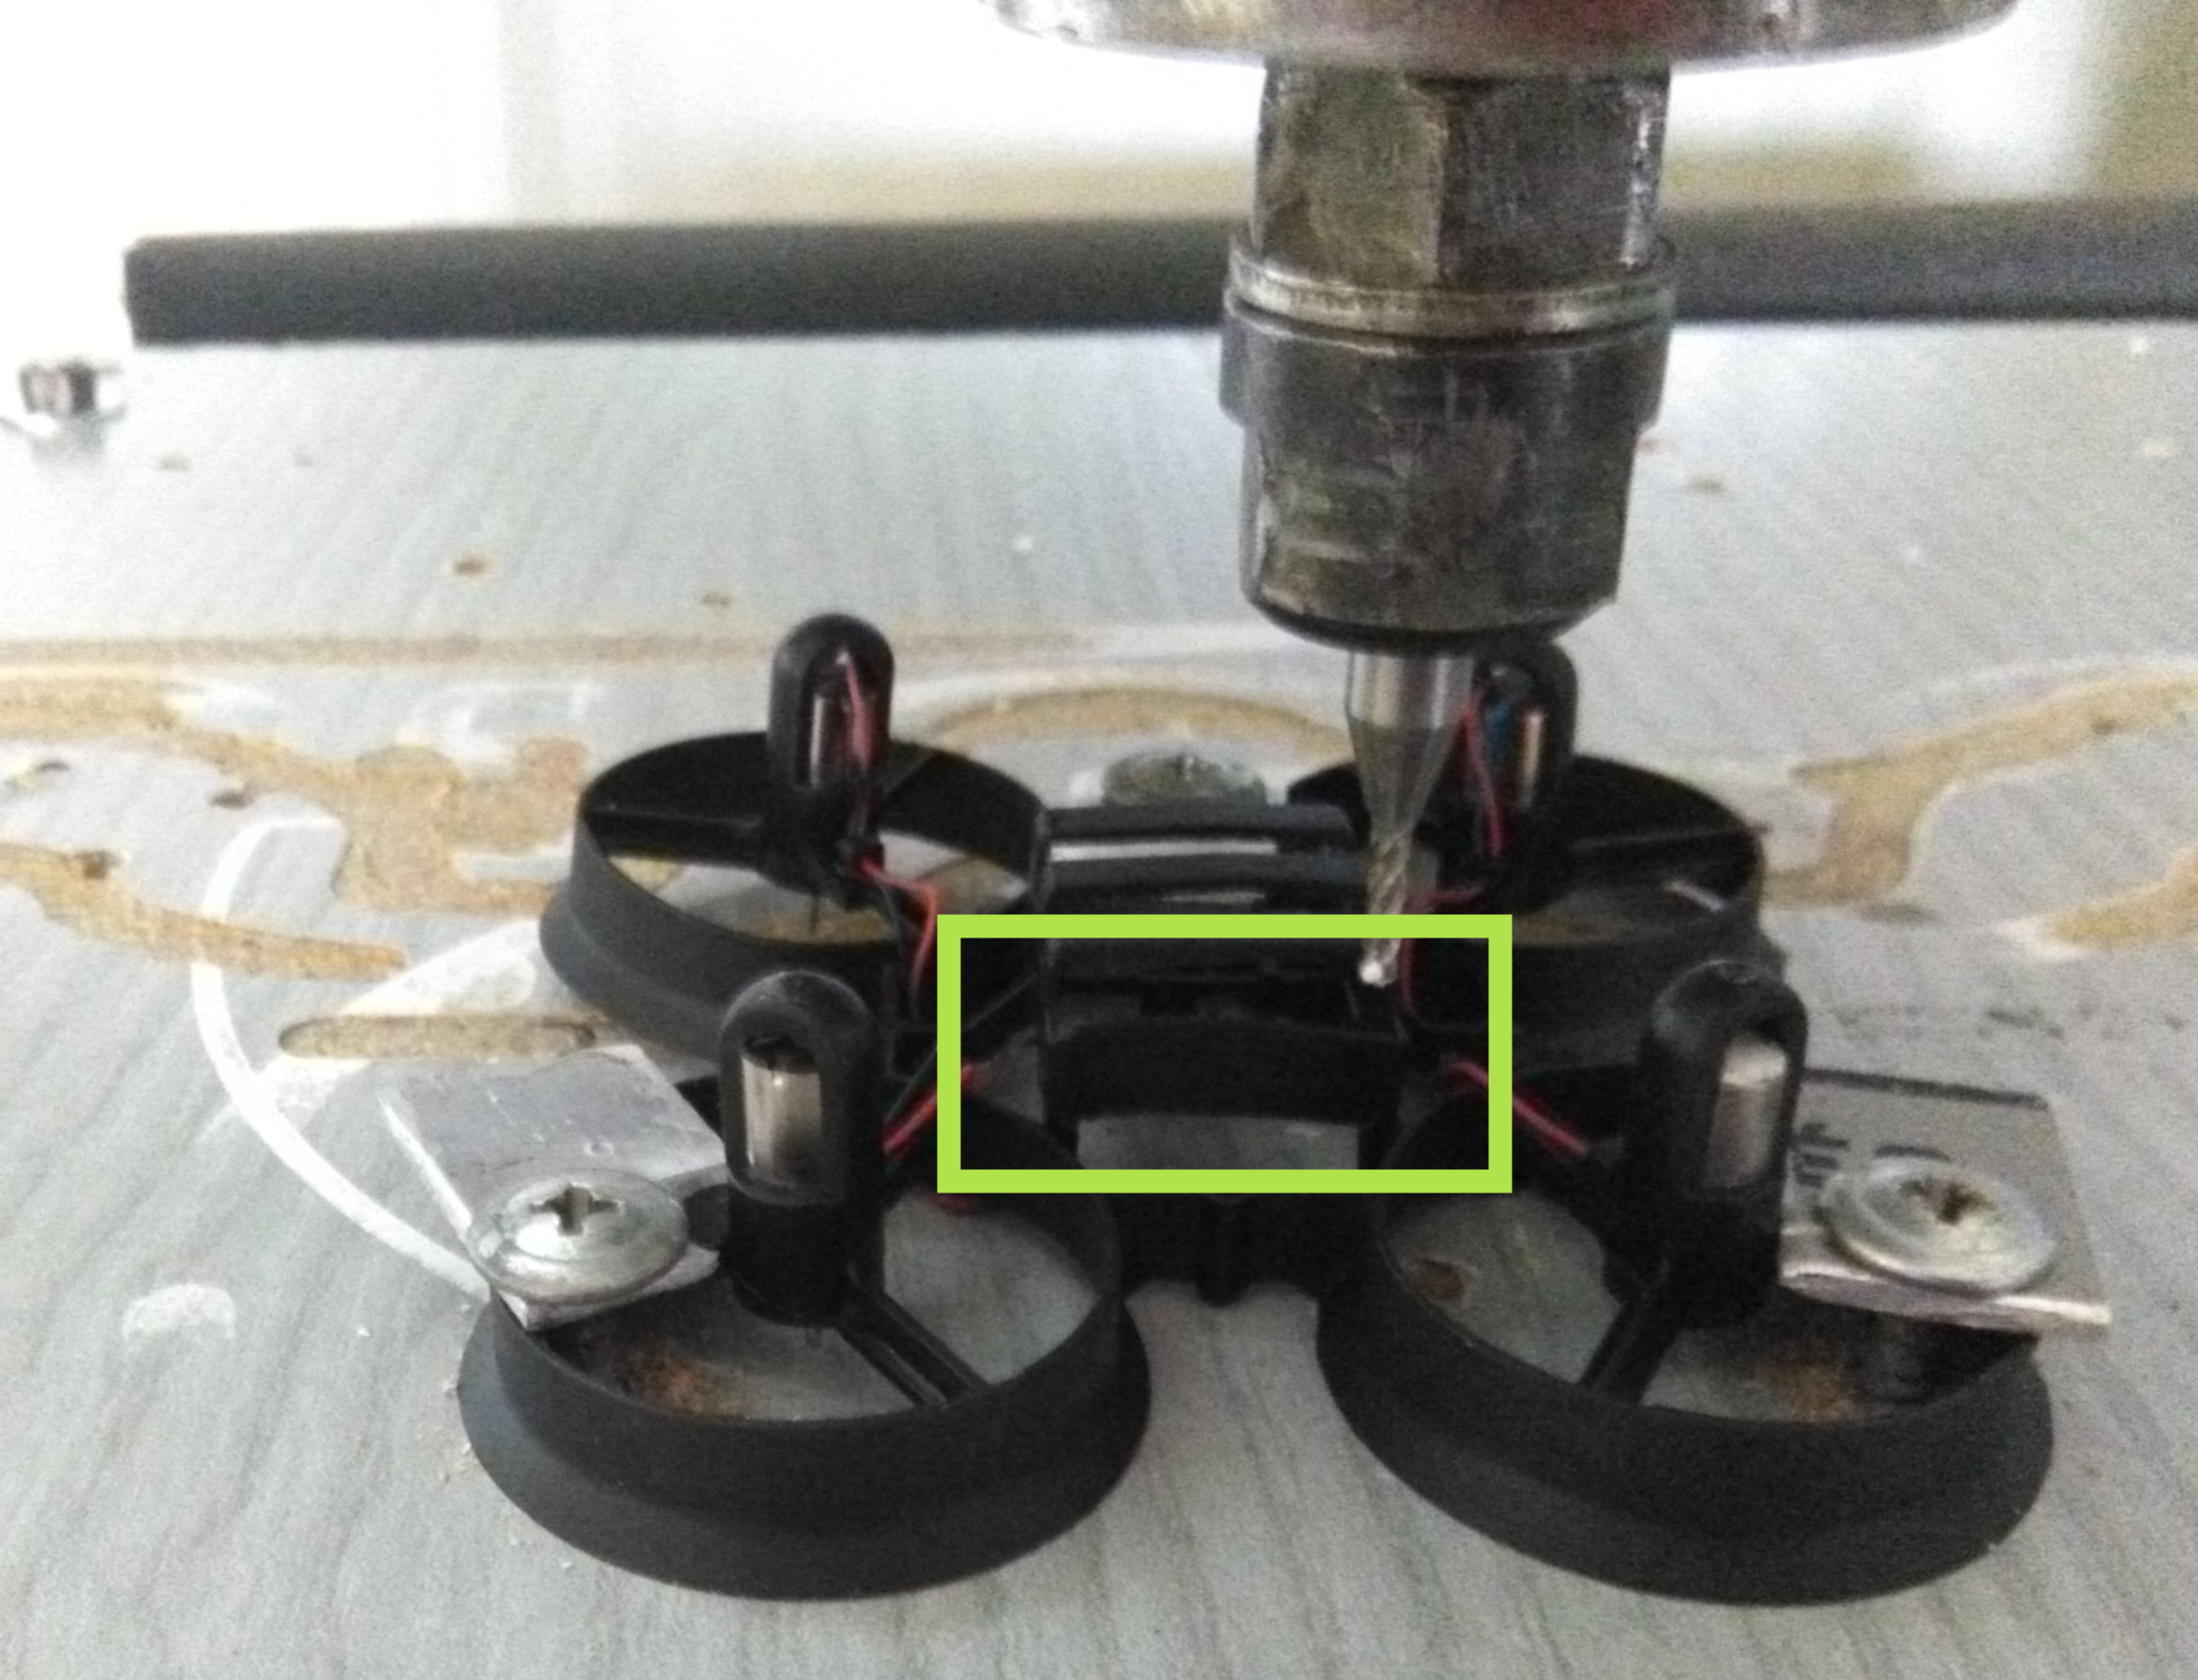
I. Remove the battery closing end.
(We are going to install the battery from this end and the battery connector will secure it in the forward-backward direction.)
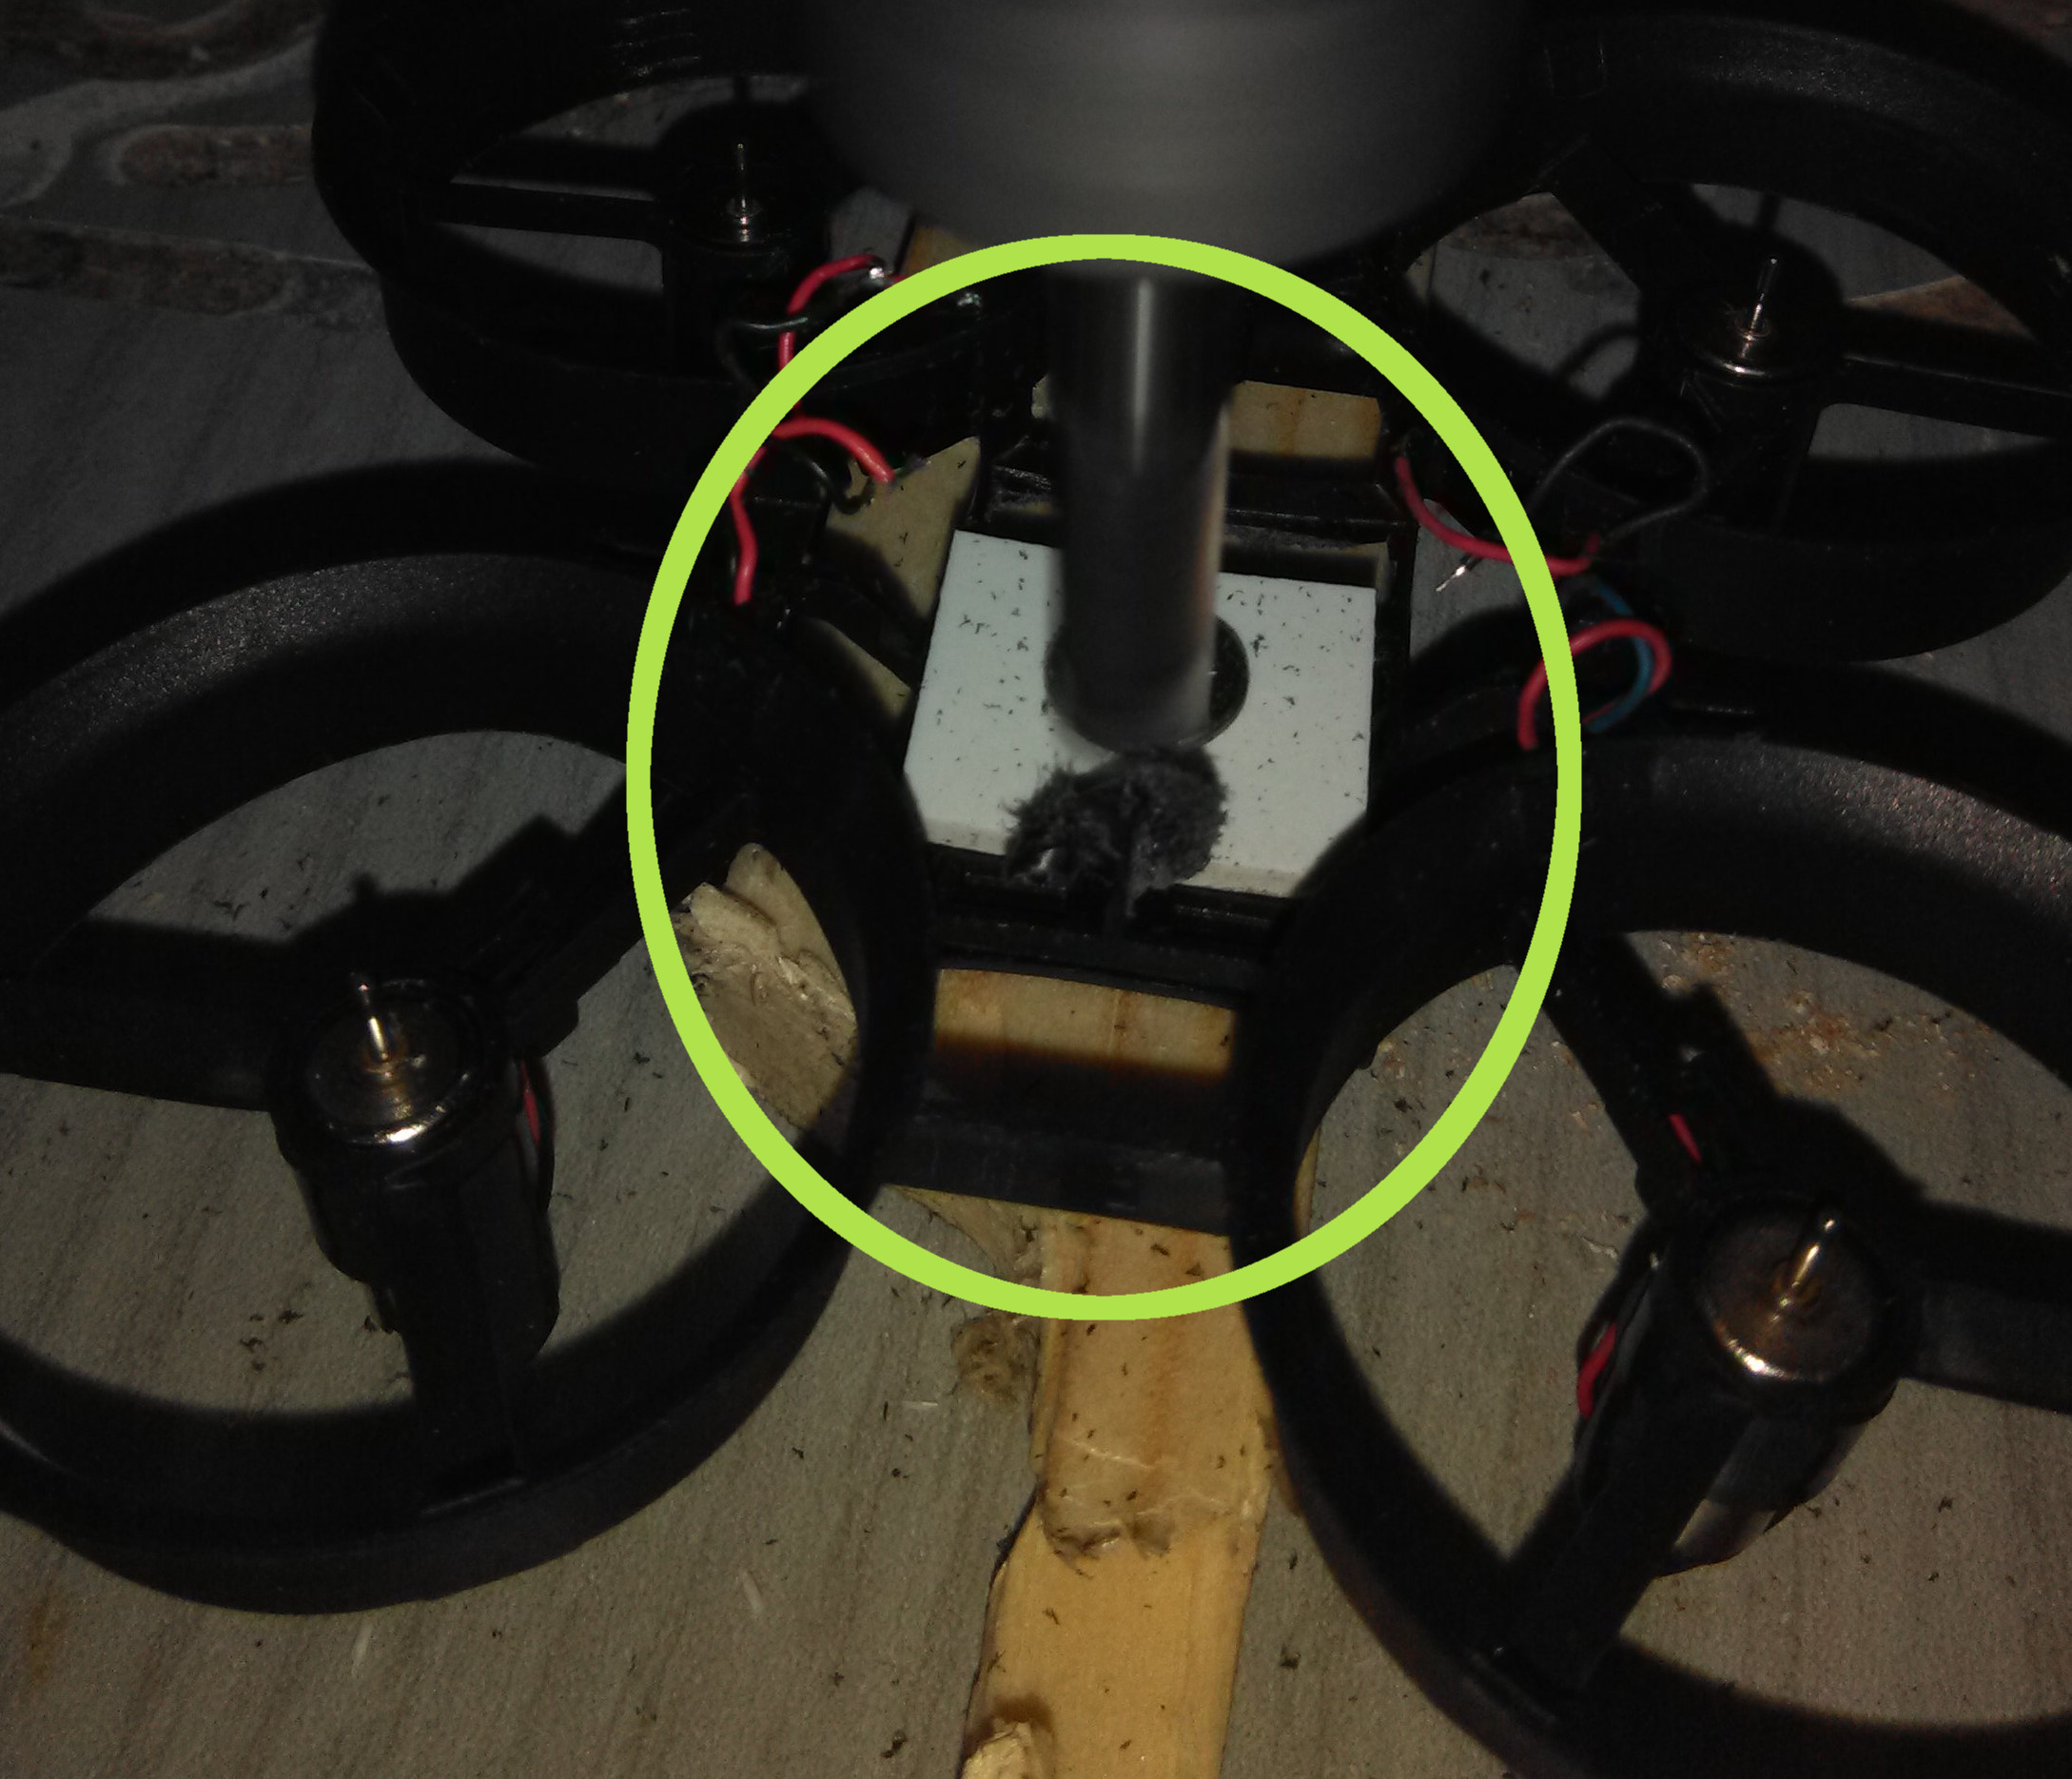
II. Remove the PCB securing standoff
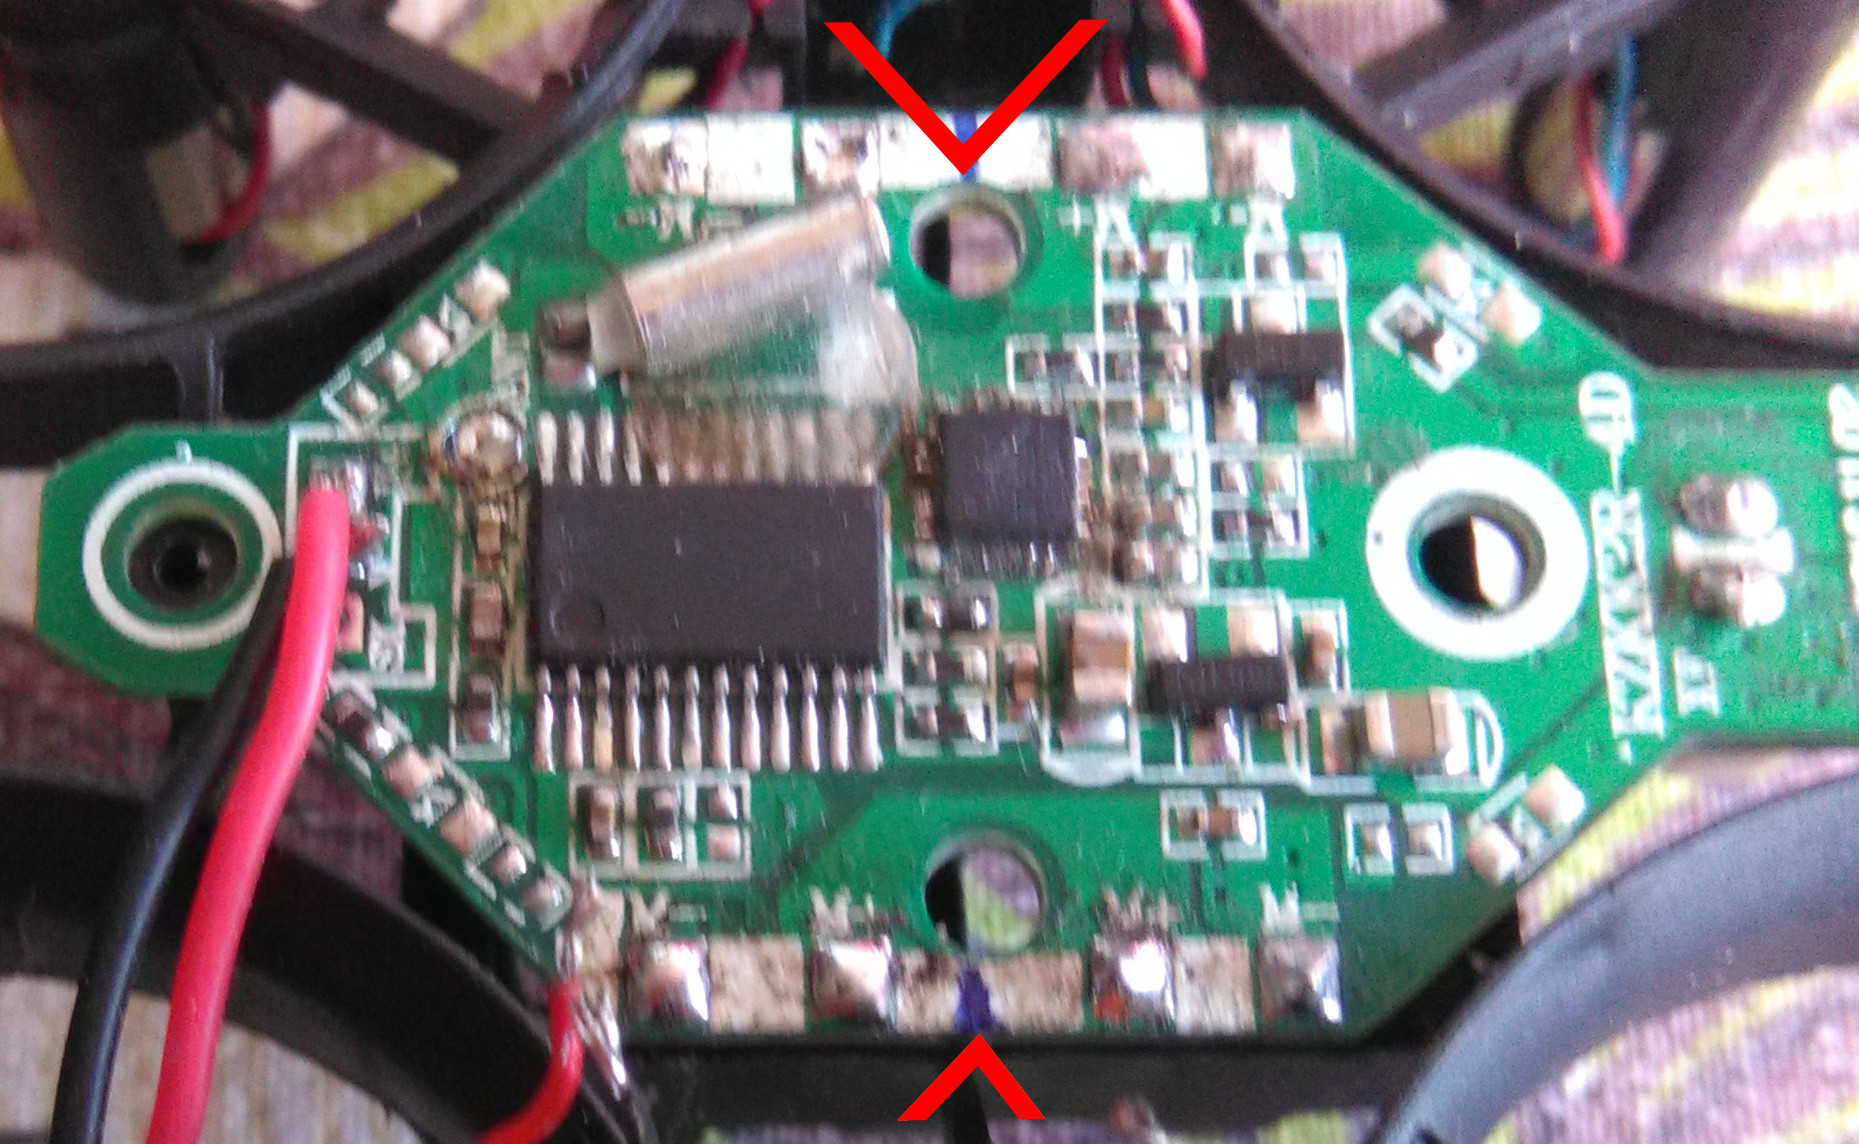
III. Rasp two V shapes to the PCB to be able to fit properly from the frame's side holders.
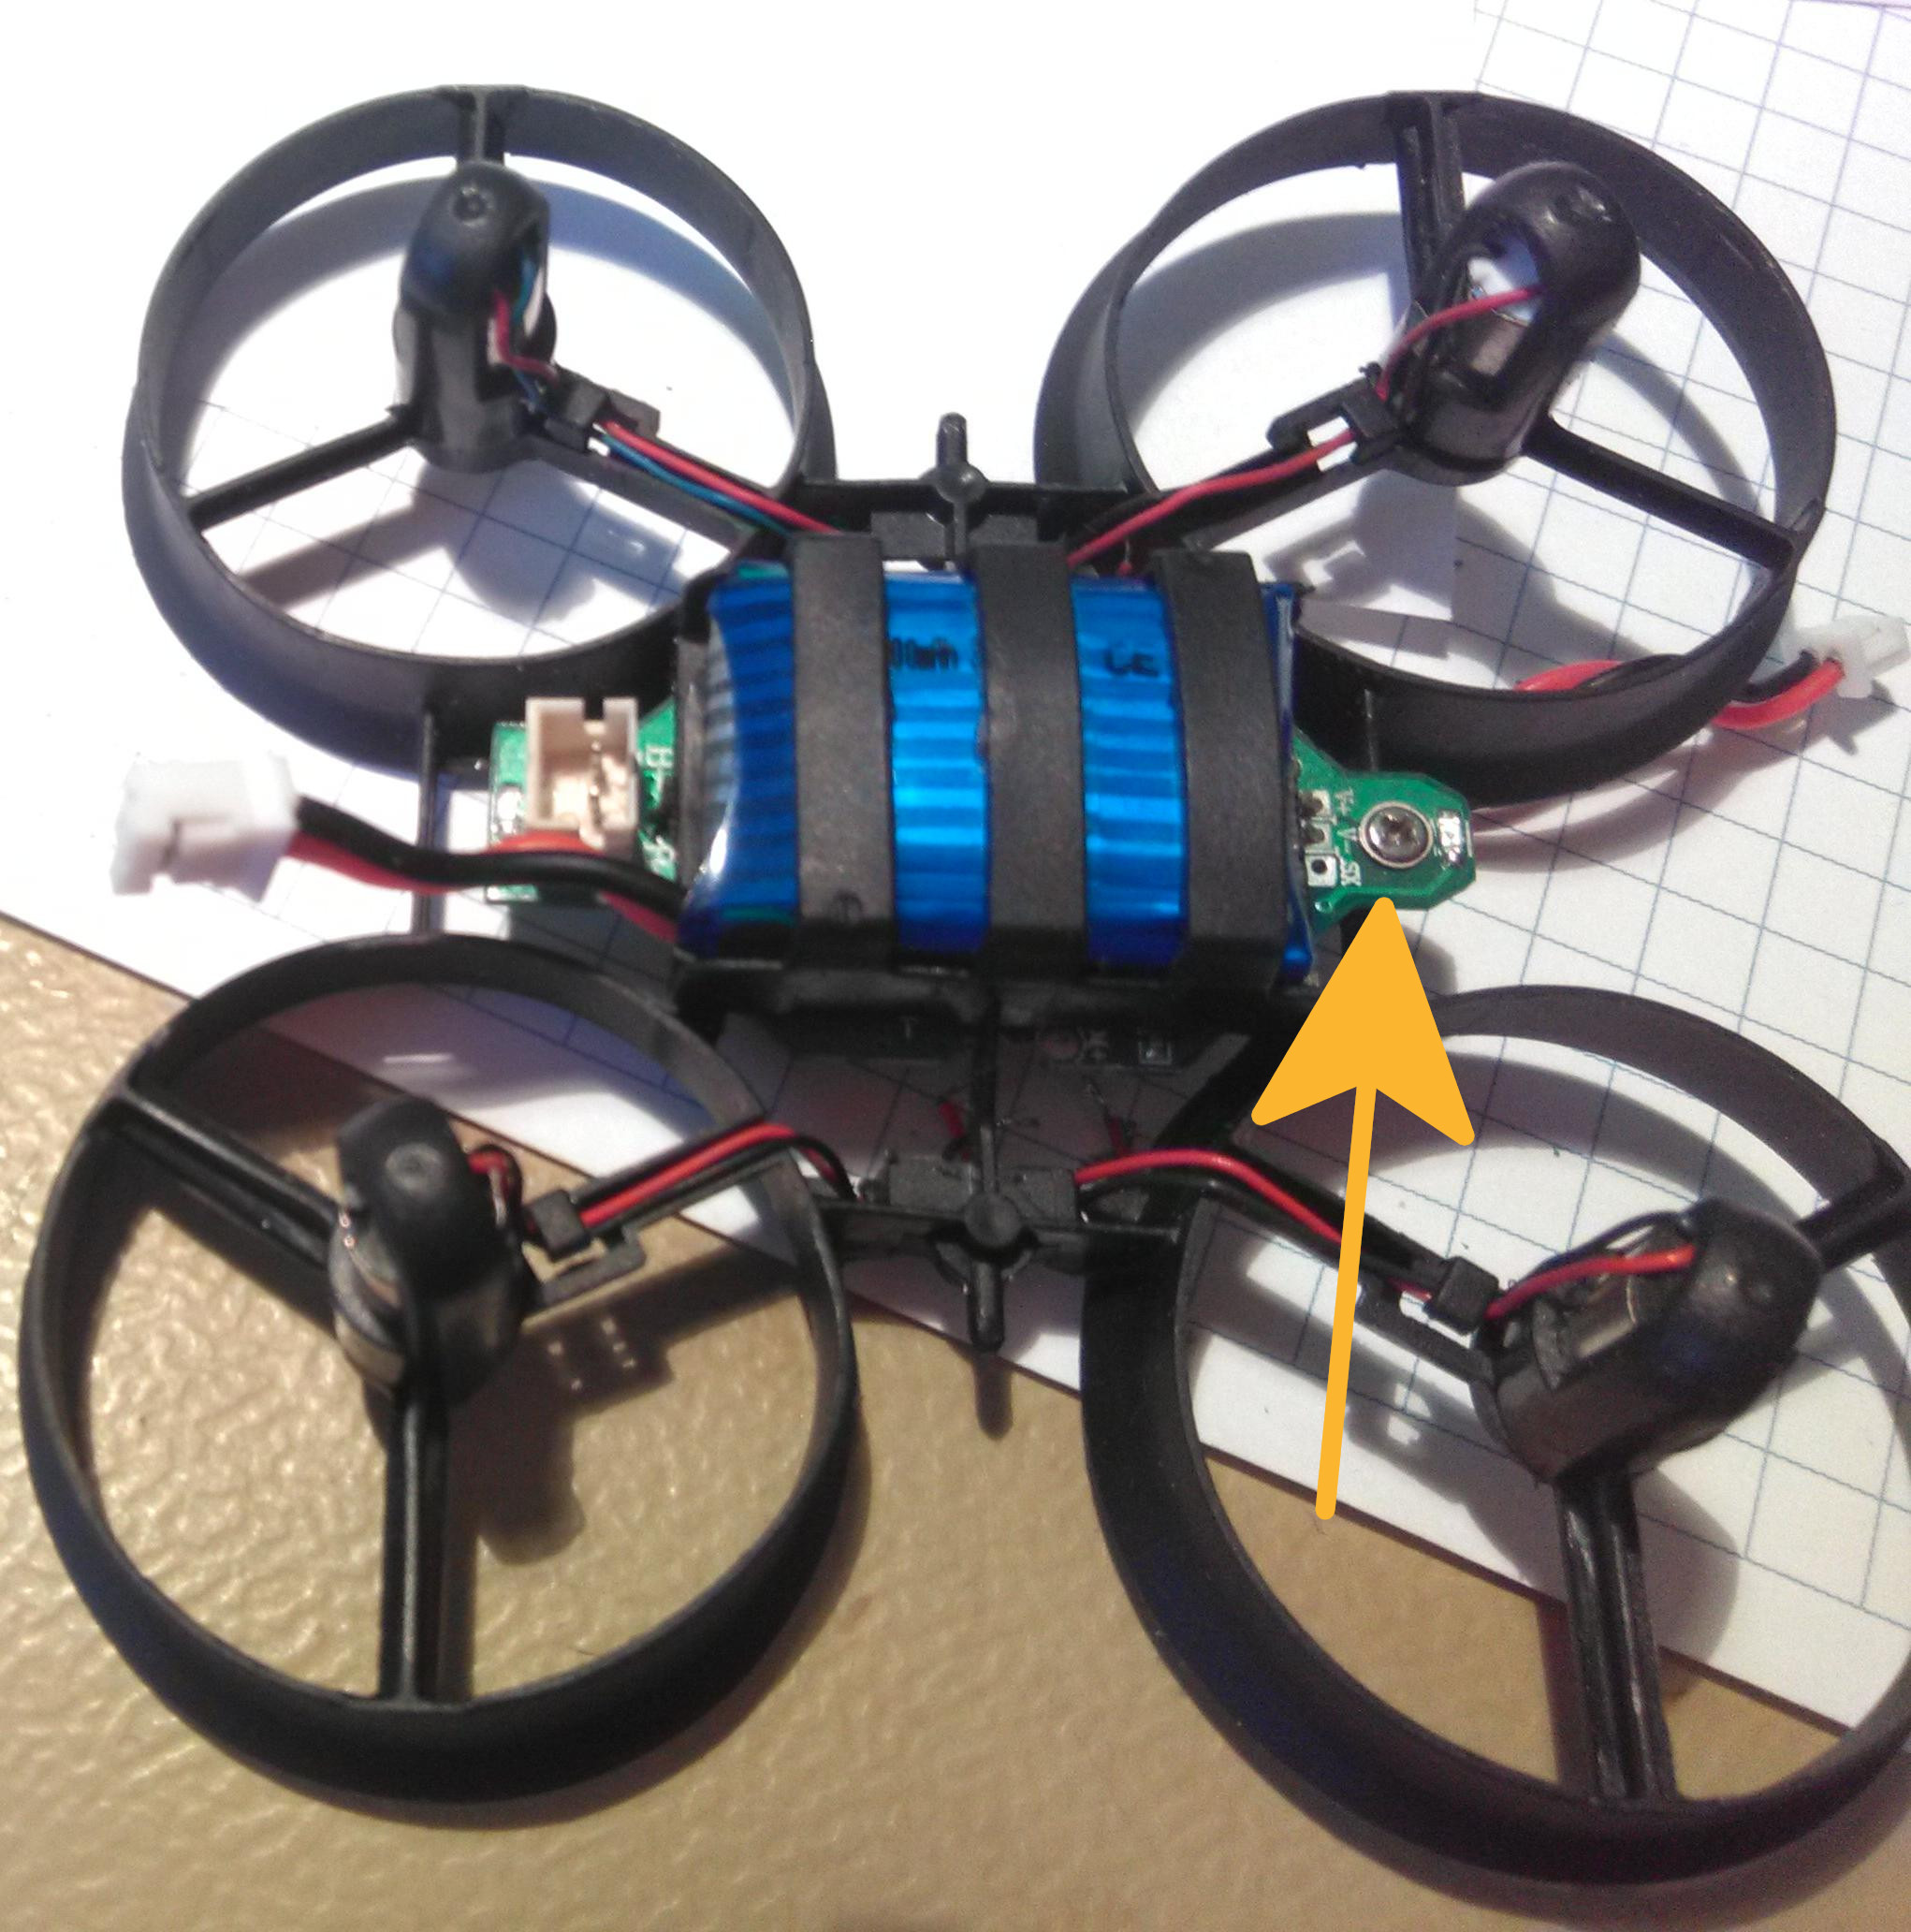
IV. After installing the mainboard in the new place drill a 1mm diameter hole to the screws new location, and then install the screws.
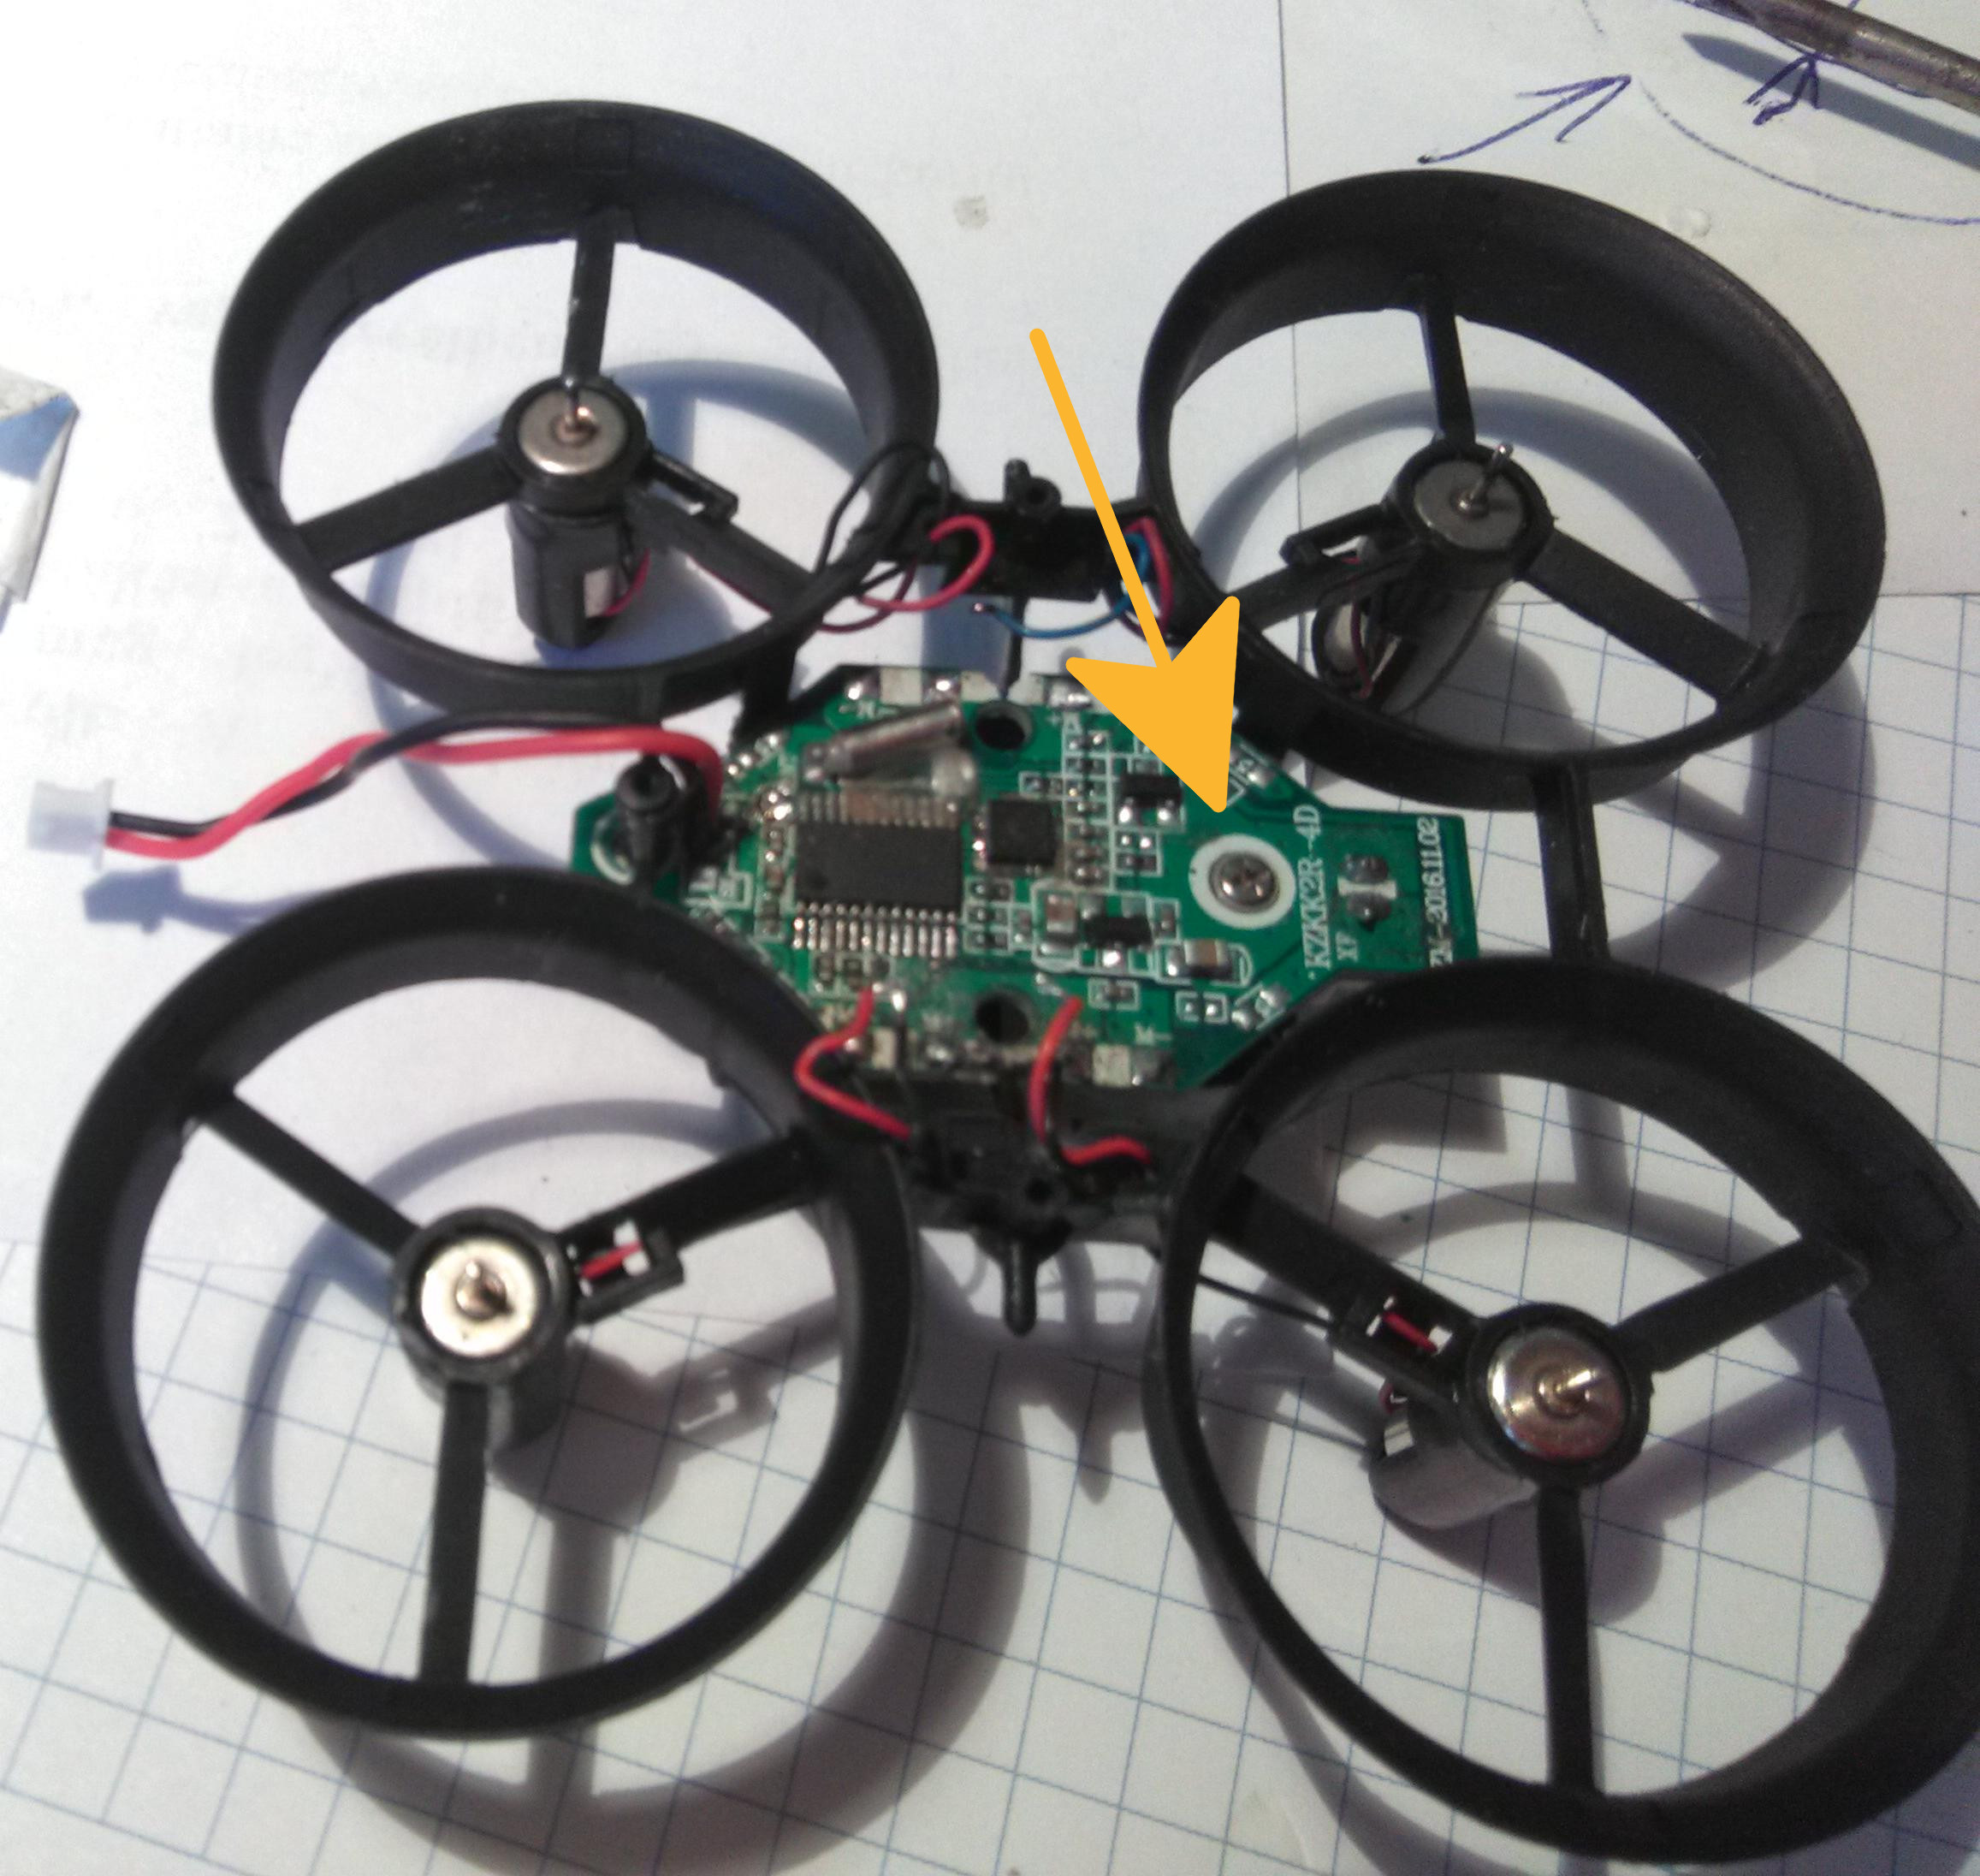
V. Cut a bit from the rear screw length because it will cut through the frames plastic and it could hurt the battery.
I have tried various mounting options and the mount camera above the mainboard seemed to be the best option. However this gave the some degree of uncertainty to the left-right movements due to the lifted center of gravity. I have decided to modify the frame to be able to place the camera as low as is possible.
After some investigation moving the main PCB right above the battery seemed to be a viable modification. I have estimated to lower the camera mounting position with 5 mm with this mod.
There is a saying in Hungary: if you have a hammer you will threat everything as a nail. This saying also applies to me, but my hammer is my CNC mill. So I have hooked my frame to the mill and removed the necessary parts with it:

(We are going to install the battery from this end and the battery connector will secure it in the forward-backward direction.)


