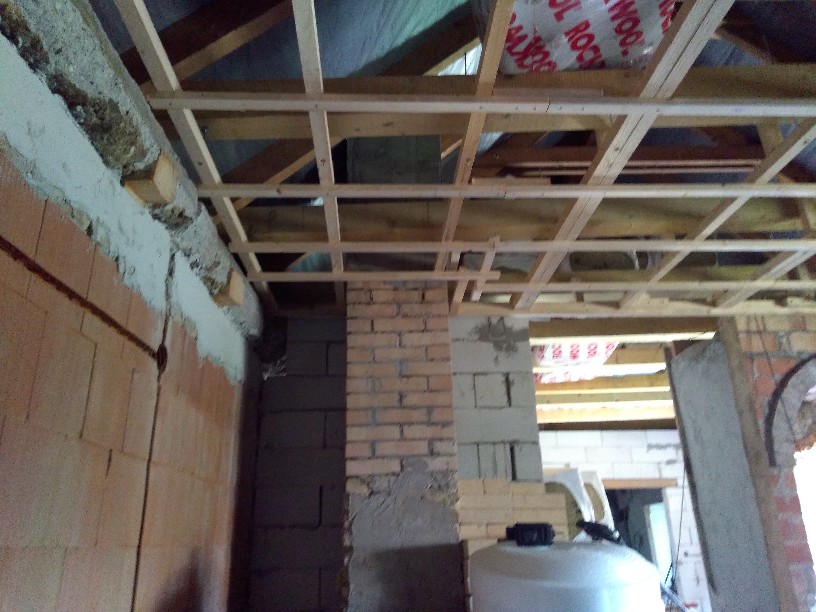
There was a semi-finished grid on the ceiling that I didn’t do. It was a shame to leave…
It was in the room where there was a 3cm drop on 1m ...
Main page – Adobe house - 2020
2nd room plasterboard ceiling
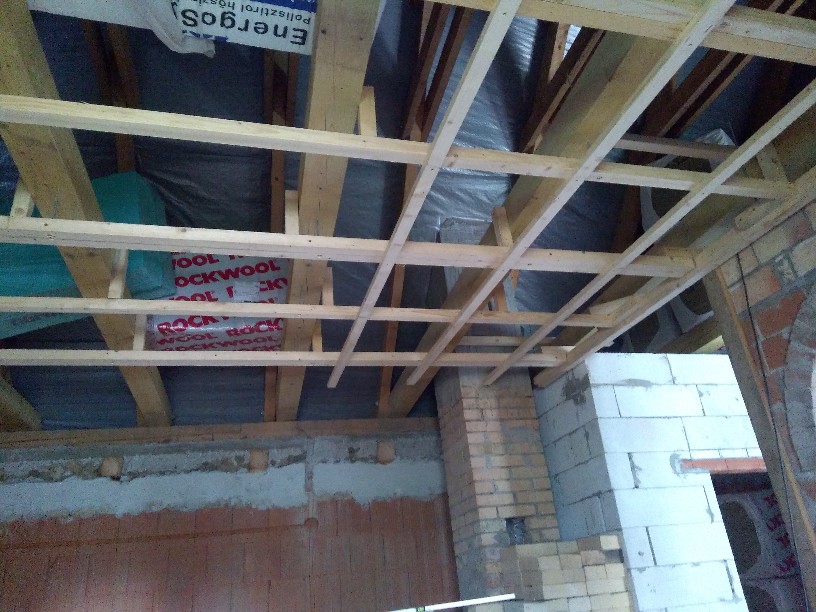
It’s time to also deal with the ceiling a bit while the concrete is setting in the workshop.
There
was a semi-finished grid on the ceiling that I didn’t do. It
was a shame to leave…
It was in the room where there was a
3cm drop on 1m ...
It took almost a day to disassemble the sh*t and adjust the level ...

Measuring
the position of the slats, I threaded it through the middle frame of
a large moment clamp in the middle to move it.
for precise adjustment and to be able to put it in place on its own.
It is worth noting that the snap clamp does not grip the bottom bar, but is clamped to the one above it, so the bottom bar stays movable!
The suspensions were made with threads.
So they keep the level adjustable for the final fine-tuning.
The upper beams and the slats underneath were also gripped with nuts at the bottom and top to
the possibly curved and therefore strained slats can be leveled.
The slat has a 22mm diameter countersink from below so that the nut does not hang out of the plane.
For this I made an illustrative drawing (the 150x150mm beam at the top, the 48x48mm tile slat at the bottom):
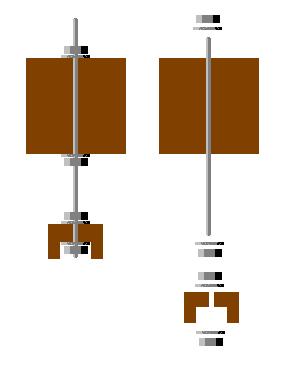
The
upper slats are 48x48mm, the lower half are so thick. I adjusted the
level with a laser level.
The final accuracy is approx. It became +/- 2mm.
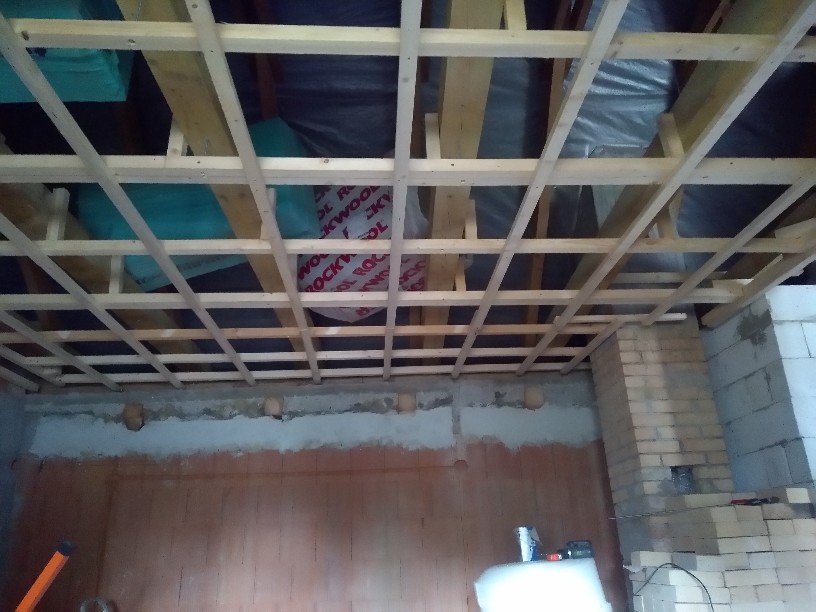
The
spacing can be of several types. As the insulation material (rock
wool boards) on top is 60cm wide,
thus the upper slats are approx. They are 60 cm apart. This allows you to adjust them between suspensions.
It is advisable to place the lower slats at a distance of 40 or possibly 50 cm from each other. As the drywall board size is 1200x2000mm, so
Considering the long side, 5 slats run through it in 50cm increments, including the edge, and 6 slats in 40cm increments.
It is recommended to place the boards offset by at least one slat distance from each other to avoid longitudinal cracks along the line.
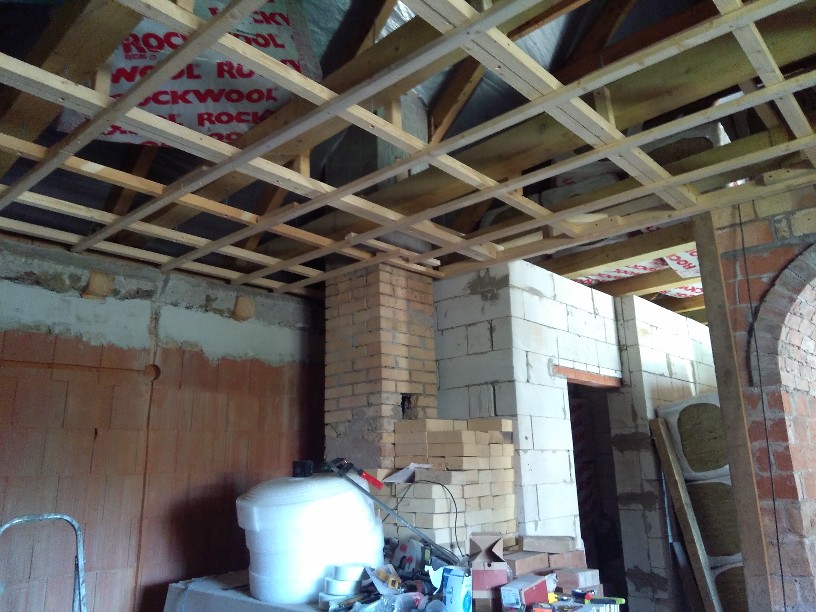
Where
the slats were short, they were filled from above.
The splices were fixed with 2-2 screws from both directions.
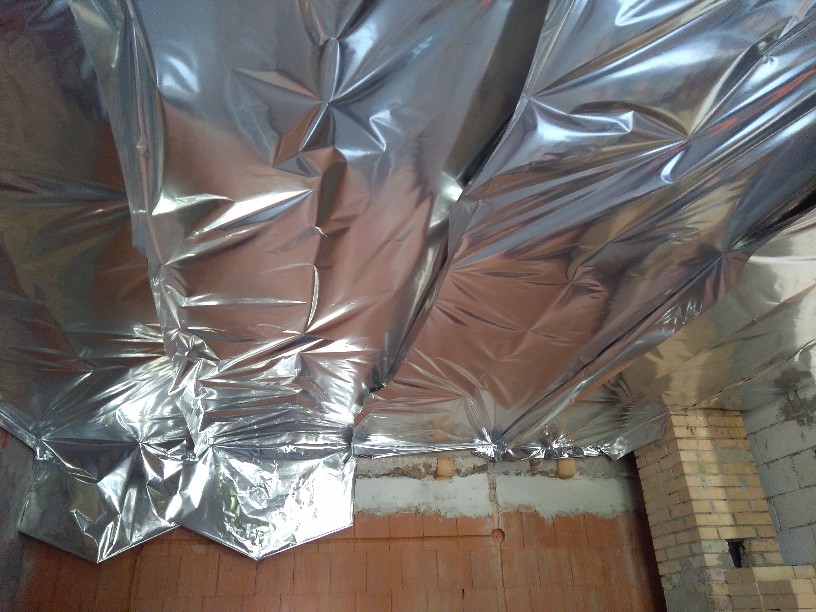
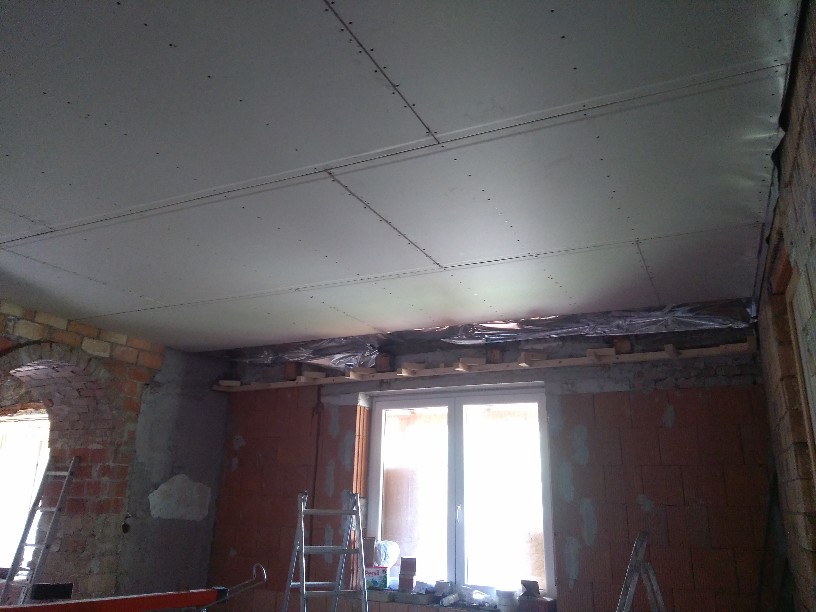
This
was followed by a vapor barrier film. It was attached to the slats
with a stapler.
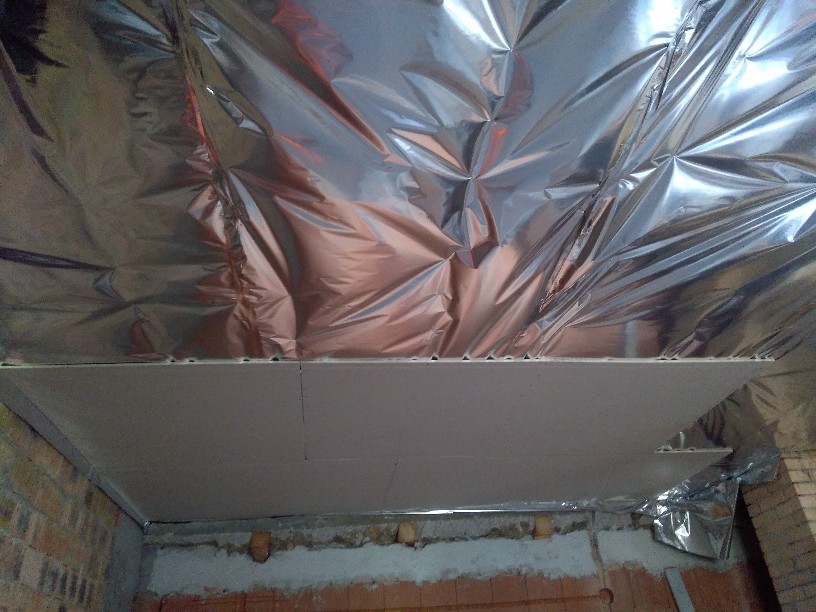
The
joints were joined with metal-based adhesive tape. Continuity is
important so that the steam cannot pass towards the ceiling,
because it can soak the thermal insulation in winter. It is advisable to use a 35mm drywall screw to screw up the boards,
but note that there is a screw made for steel profile and wood!
The screw for the wood has a higher pitch, but it is written on its box for what it is for.

Drying
of drywall. A plasterboard elevator was a big help to me.
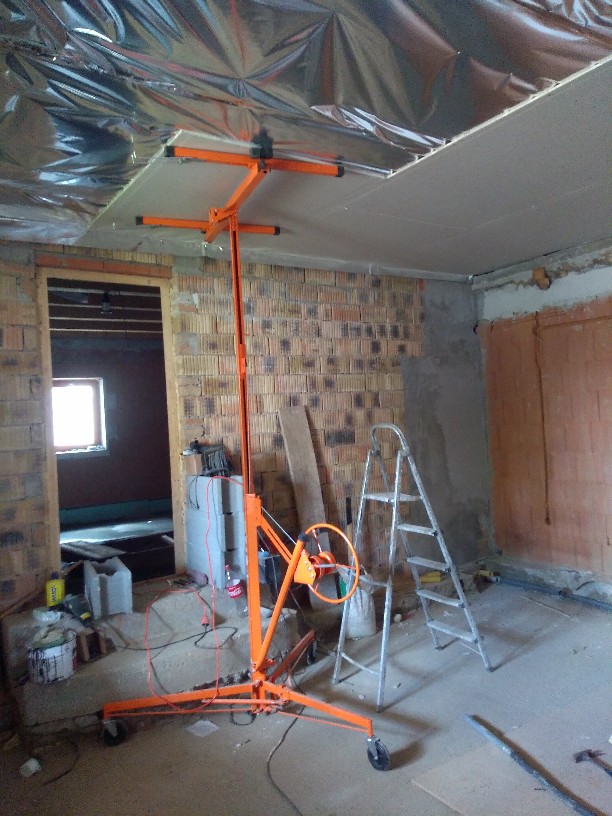
I
could barely fit at the stairs, so I had to slide the drywall board
off the lift.
When
screwing, make sure that approx. The bolts should be spaced 15cm
apart. If you are caught too infrequently,
it will not work well in the long run. Here you can observe the offset between the rows.
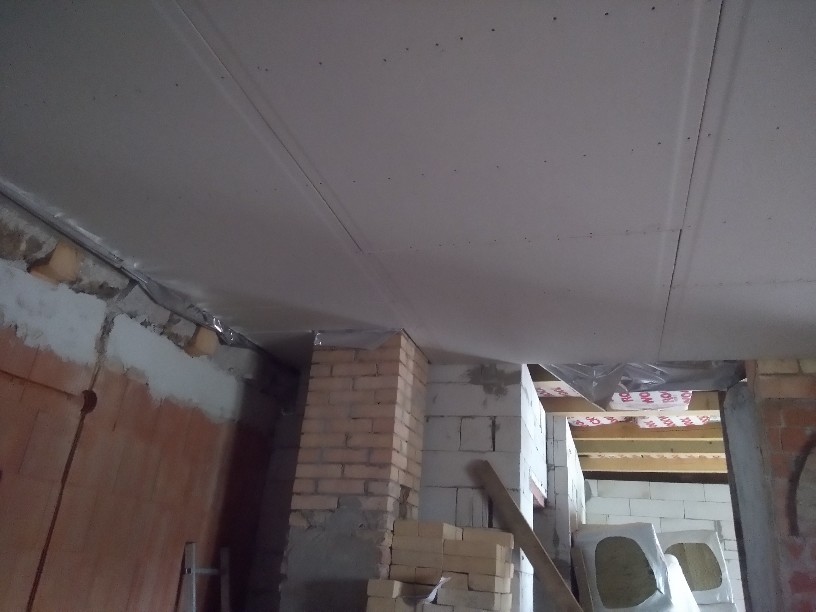
There
was quite a bit of space at the chimney, but in the end it was put up
there as well. Of course, the ladder barely fit there... That's why I
shouldn't get fat.

The
protruding foils should then be glued to the wall so that the
moisture cannot rise to the roof next to it.