The plaster season starts...
Main page – Adobe house - 2020
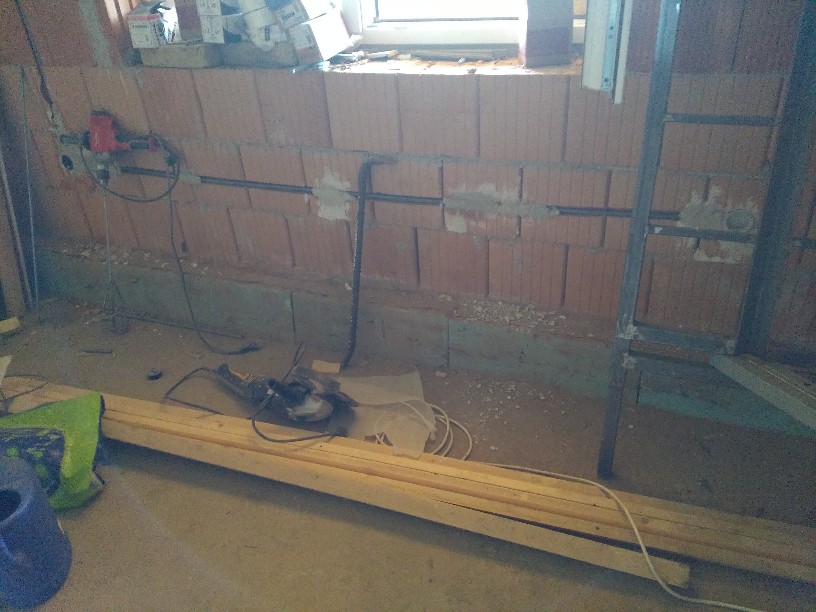
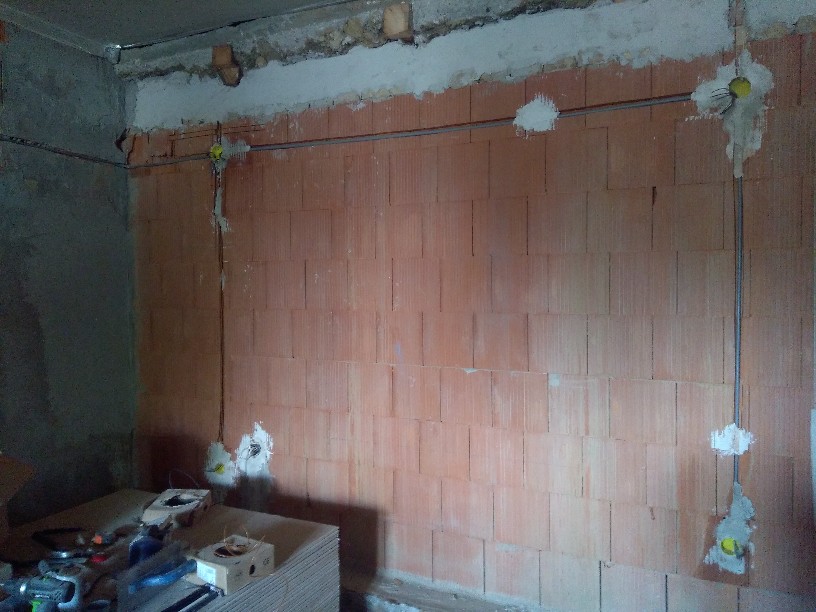
2nd room electrical installation
If the ceiling is already being made, the electrical installation
also had to be done, because if everything is insulated,
in
retrospect, it will be quite difficult to force incoming cables
through the roof.
The
plaster season starts...

Since
it was 28-32 degrees, there was only 1 minute left to process the
gypsum after each mixing ...
I
could barely wash the tools to keep them usable later.
Slowing down the curing process a bit, I sifted some sand out of the finer gravel and mixed it in half with the gypsum.
Thus, the plaster set was barely half a minute slower. - And for the tools.
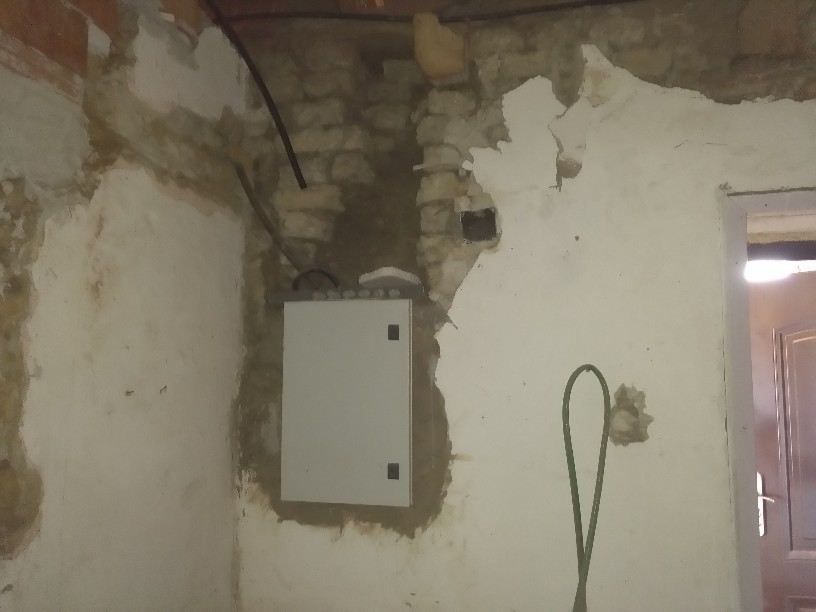
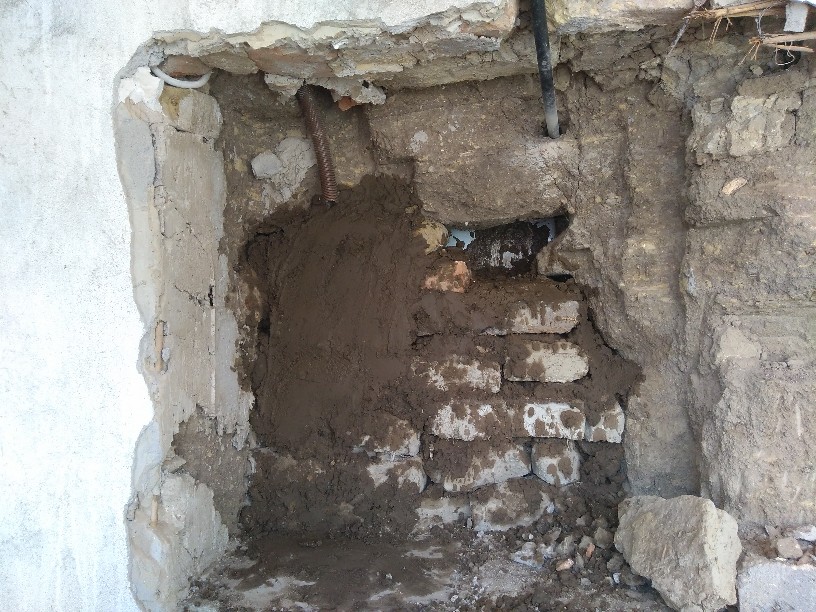
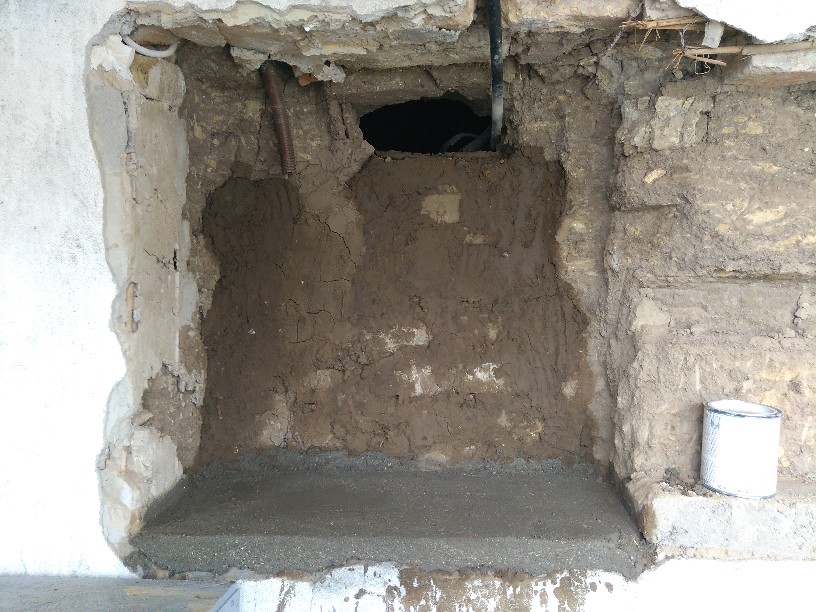
The
part above the electric clock cabinet also had to be dismantled for
the sake of future cables ...
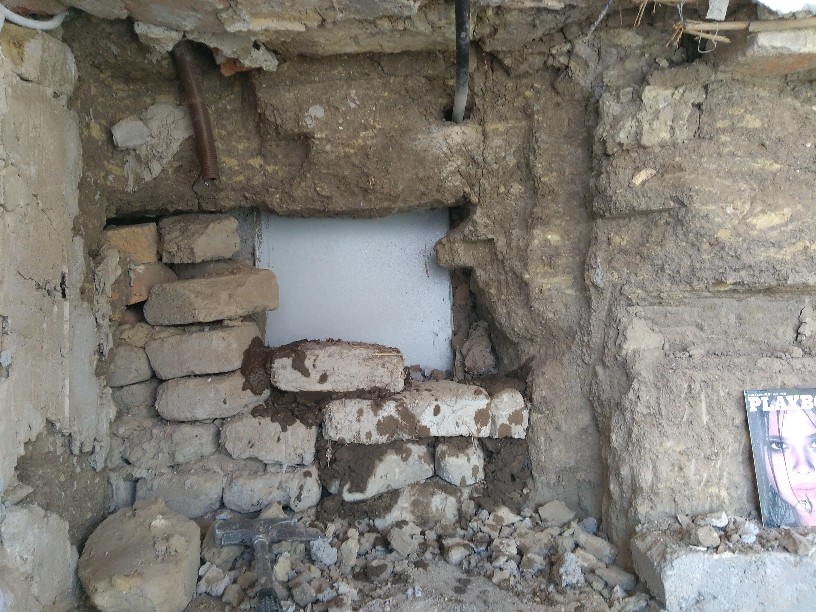
I
also cut the adobe wall with a diamond disc as no one else will take
it anyway.
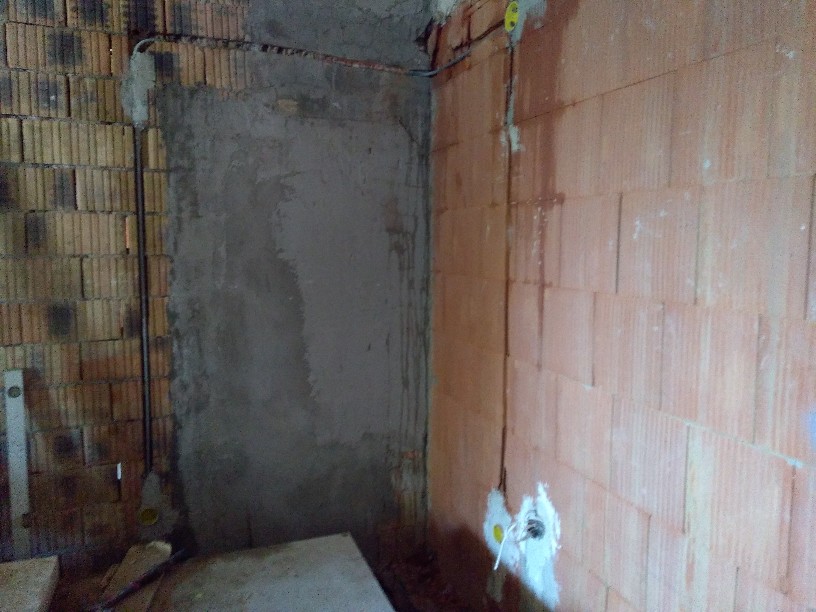
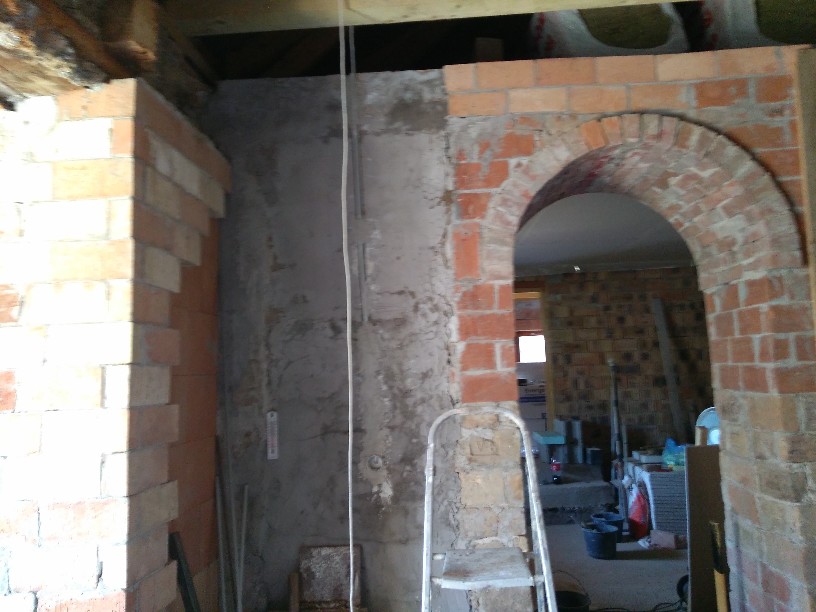
The
next day I pulled the cables into place.
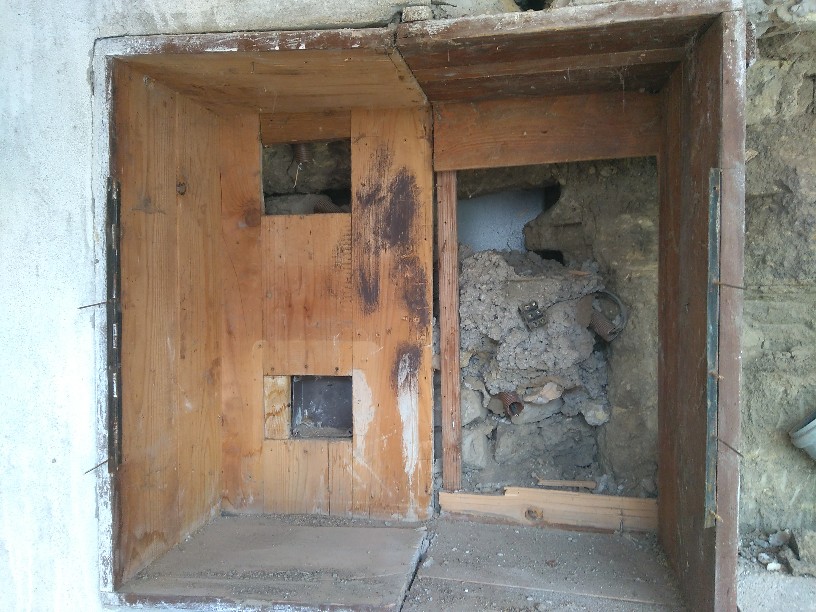
I
gutted the box on the old electric meter. Unfortunately, it was made
of 2 pieces, its door hung, etc ... and that would hold the wall
above it.
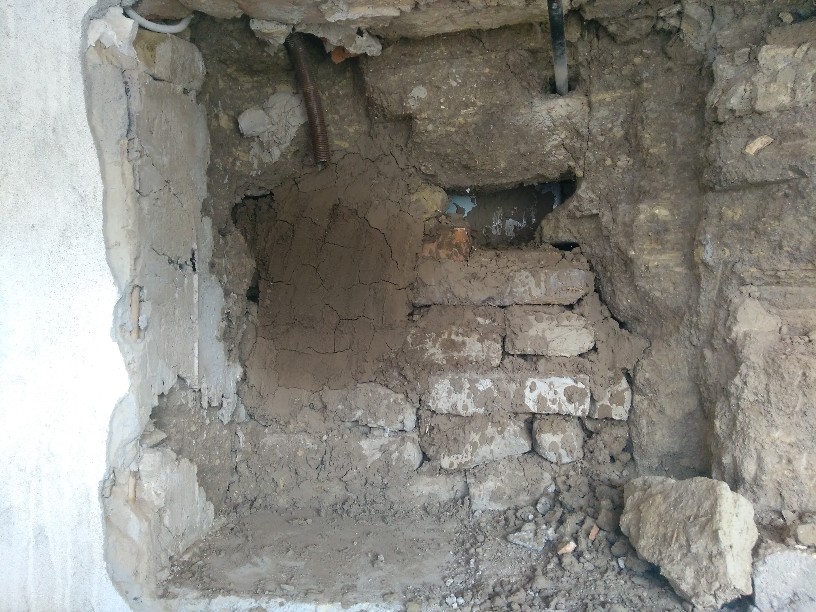
So
I’d rather remove and build another one instead. It's a miracle
that the wall didn't falled down ...
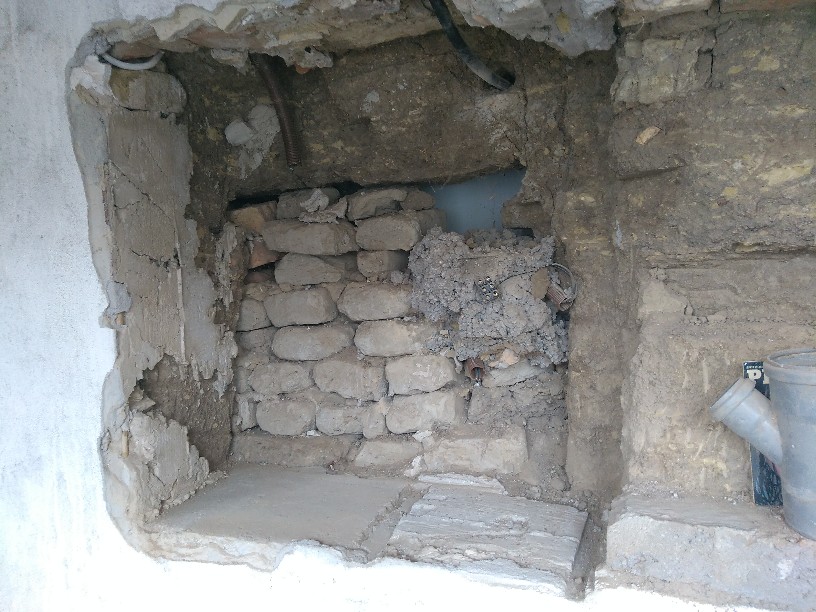
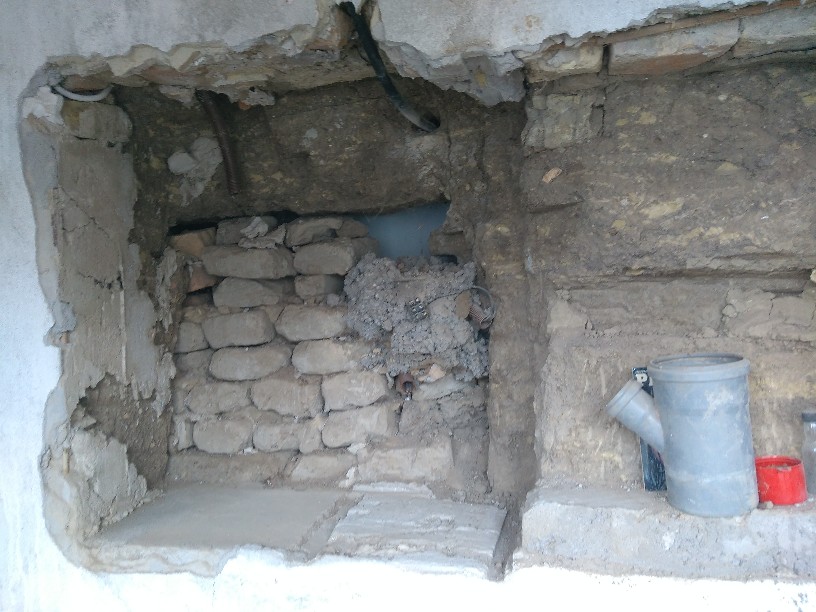
I
had to dismantle the adobe bricks and concrete ugliness because it
wasn’t very stable and stuck out of the plane.
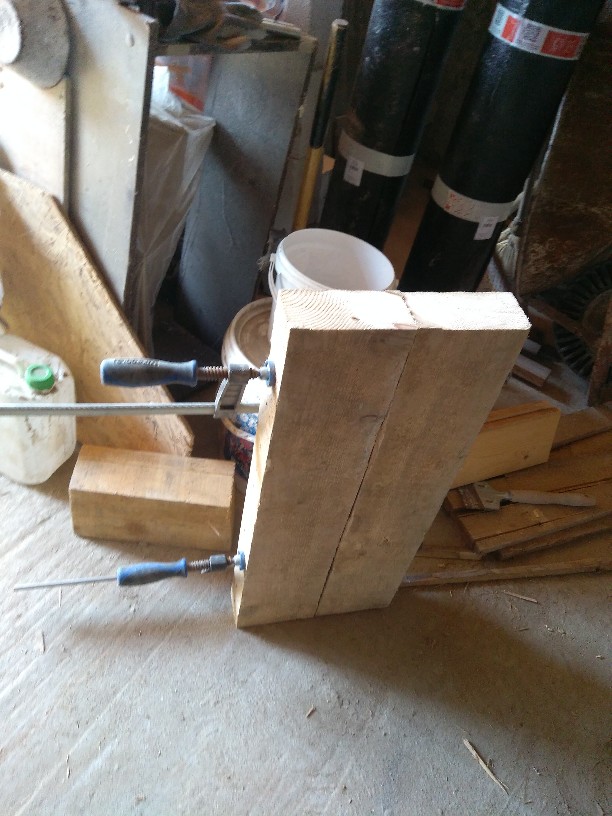
I
will make the top of the new box from 7.5 cm beams to hold something
from the weight of the wall.
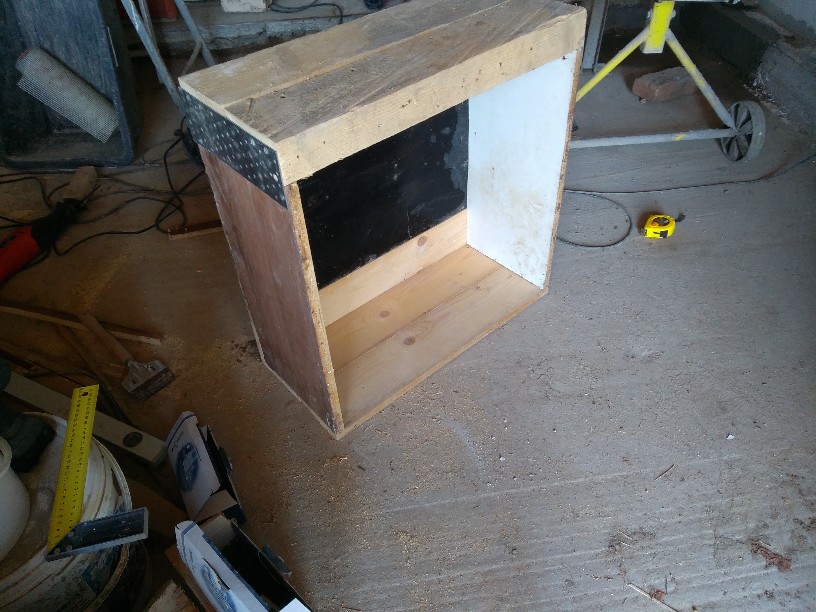
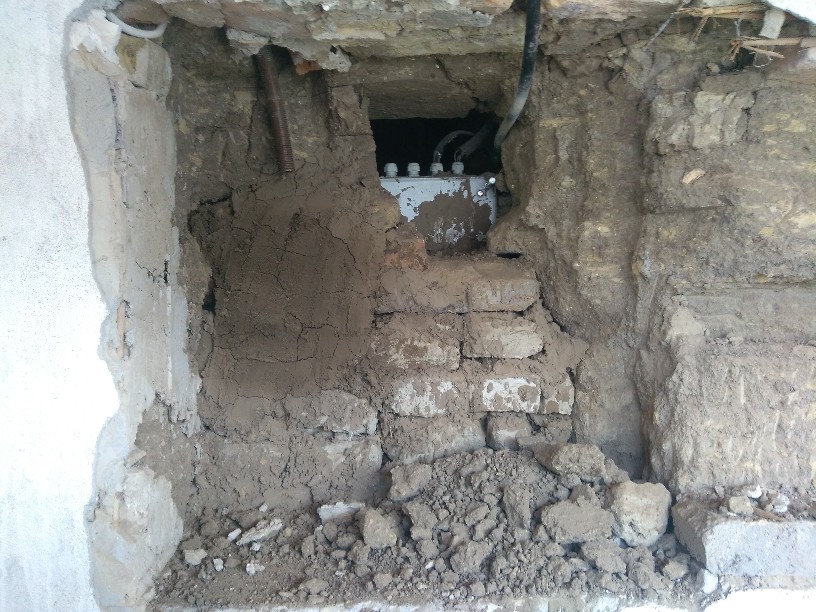
I
screwed the sides together with steel plates, the other places made
the box with plain wood screws.
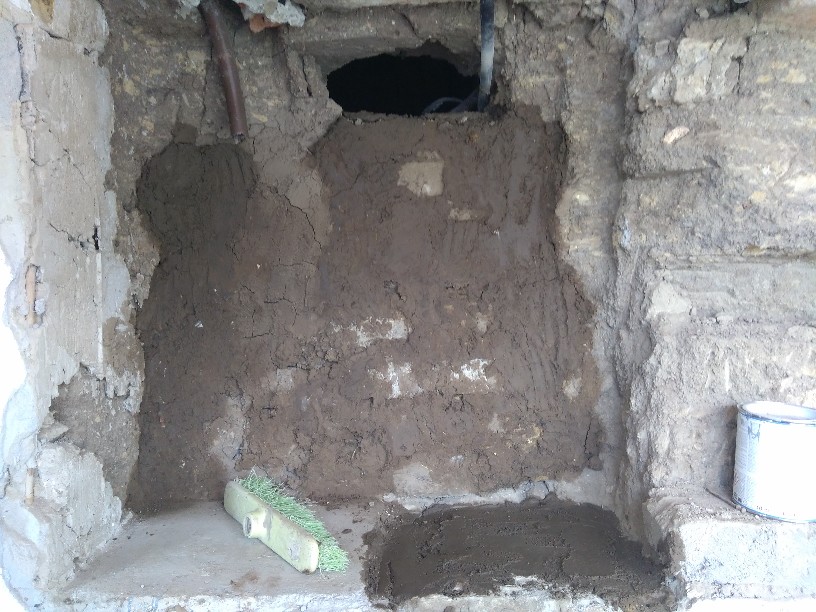
I
reclaimed some land from the excavated debris mountains as a binder.
That's
why clay is a good material, because any number of times it can be
recycled ... You only need a little water to add it.
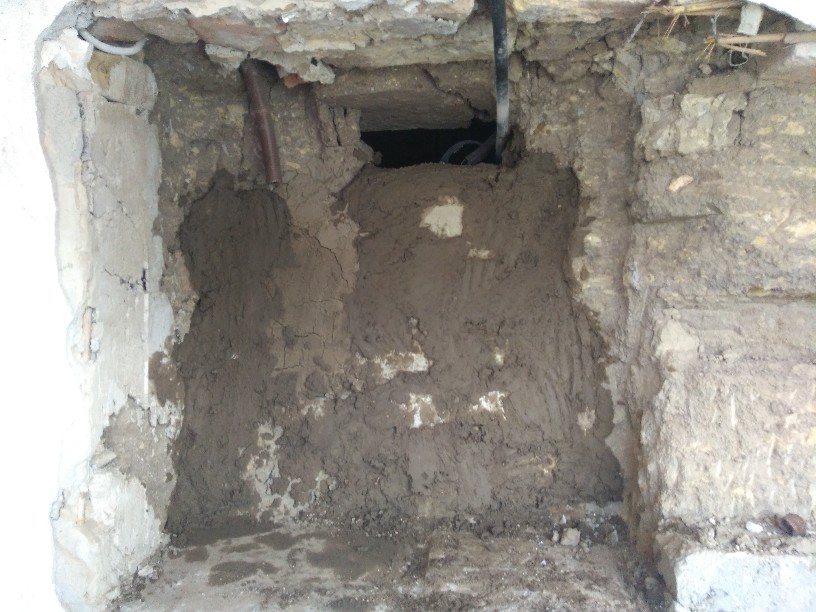
Today's
smeared with mud action ended successfully :). The small hole was
omitted due to future cables.
The
next day the mud dried.
It
was further broken down
Then
the bottom will be walled up because the cables will go up there.
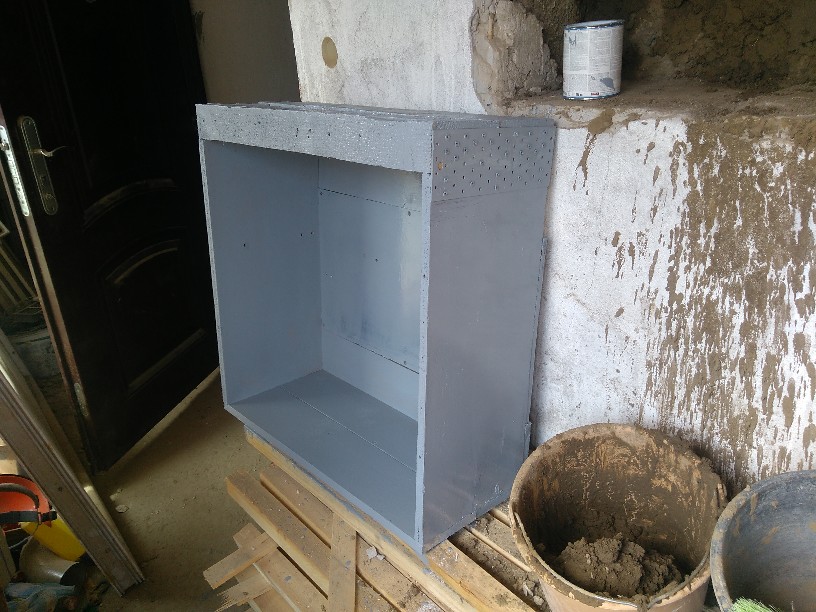
I
painted the new box in the distribution cabinet gray.
It could be the title of a movie that is “under the gray 50 cable” or “under the gray power again”.
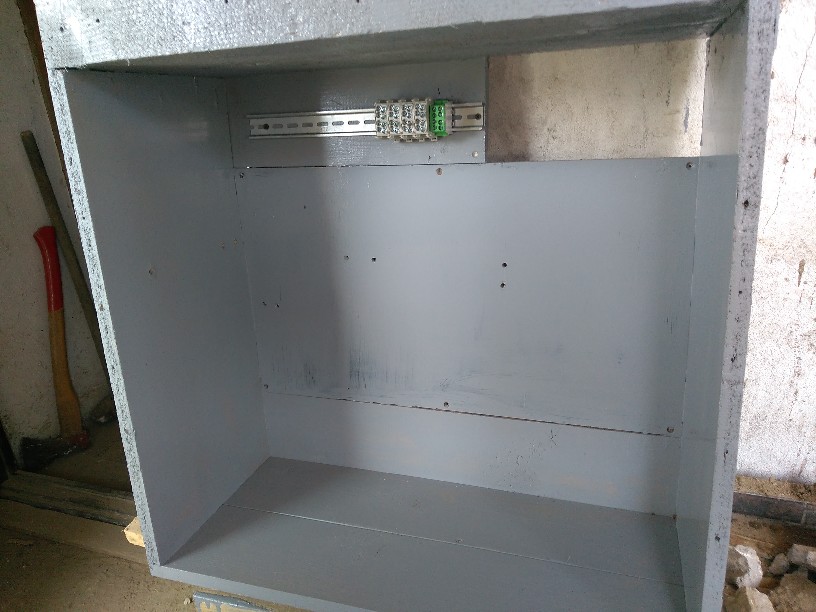
I
screwed on a top hat rail and some main cable terminals. From here,
the incoming cable will branch to the different parts.
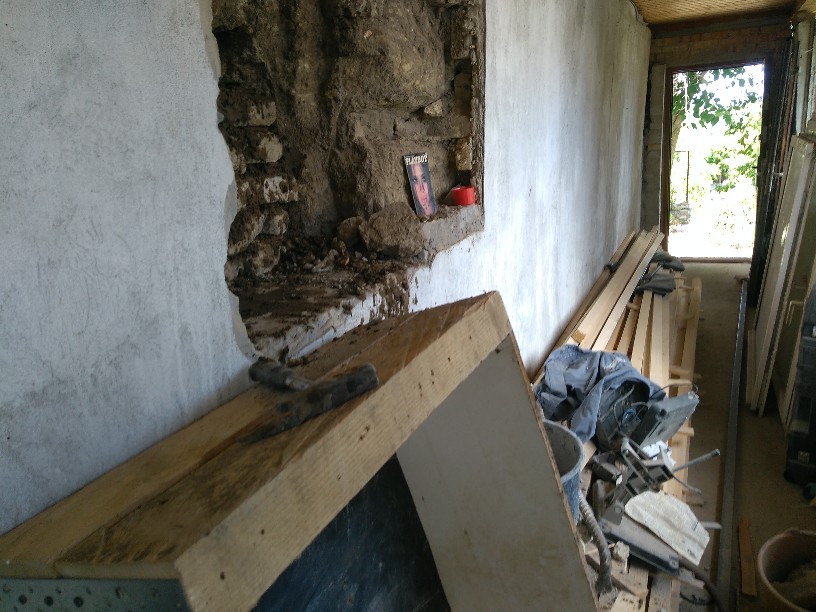
The
part under the box has also been smoothed,
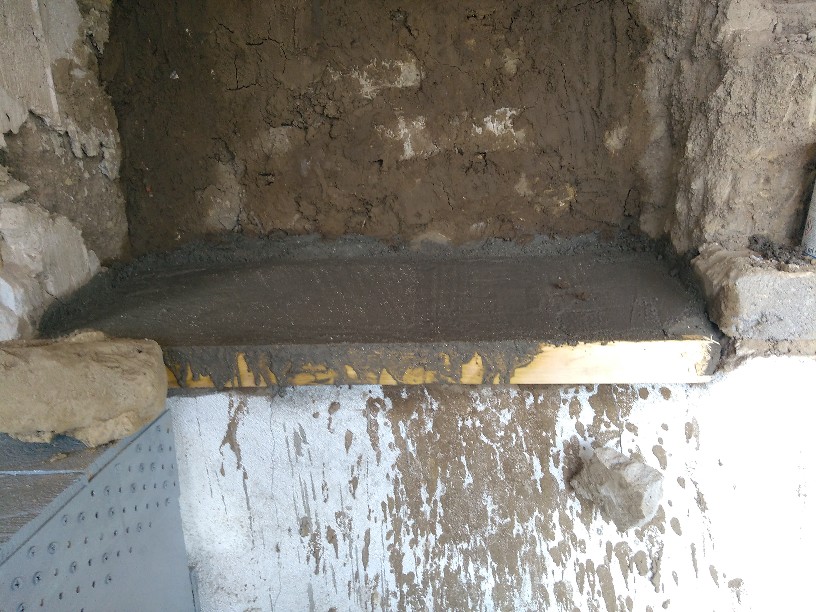
then
in a bucket I mixed some concrete from small-grained pebbles.
After
half an hour of drying, I also removed the wooden formwork because
the clay had sucked enough water out of the concrete.
I think this will need to be watered a little more often than usual.
The point is that you will already have where to put the distribution cabinet, as the original socket dropped either 2-3cm outwards and was not too horizontal.