As a first step, the mounting boxes need to be glued to the wall somehow. I used sand and plaster for this.
Main page – Adobe house - 2020
Kitchen, room electrical installation, distribution re-installation
Electrical installation continued in the kitchen.
As
a first step, the mounting boxes need to be glued to the wall
somehow. I used sand and plaster for this.
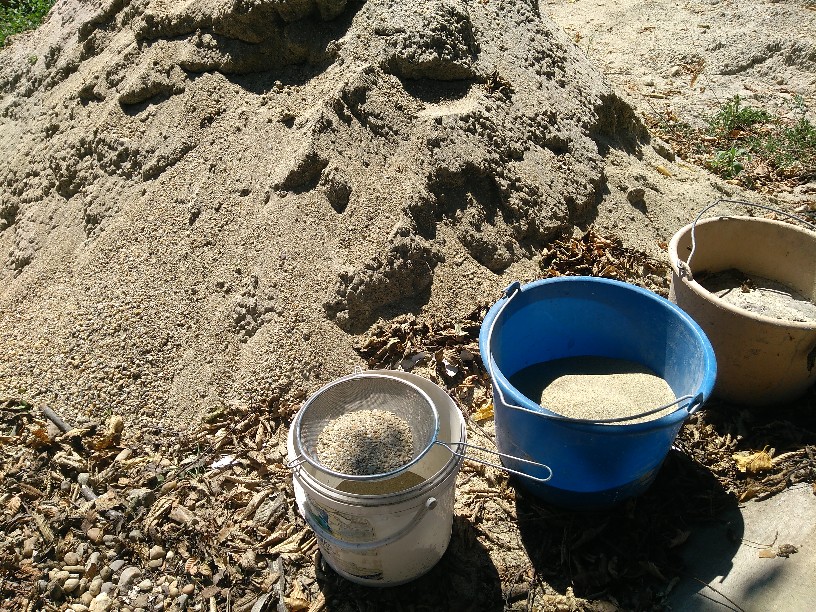
Since there was no sand at home, just gravel, I had to sift out a bucket of sand from it.
First I sifted the sand with it into a small bucket, then after 2-3 sifts I poured it into the blue bucket.
This was necessary because sometimes larger pebbles can get into it with a single bad move while sifting,
so only the contents of the small bucket need to be re-sieved. With such a small filter (which I used as a sieve) this happens.
The finer the grid, the smaller the grain of sand we can get, which results in a nicer surface when smoothing.
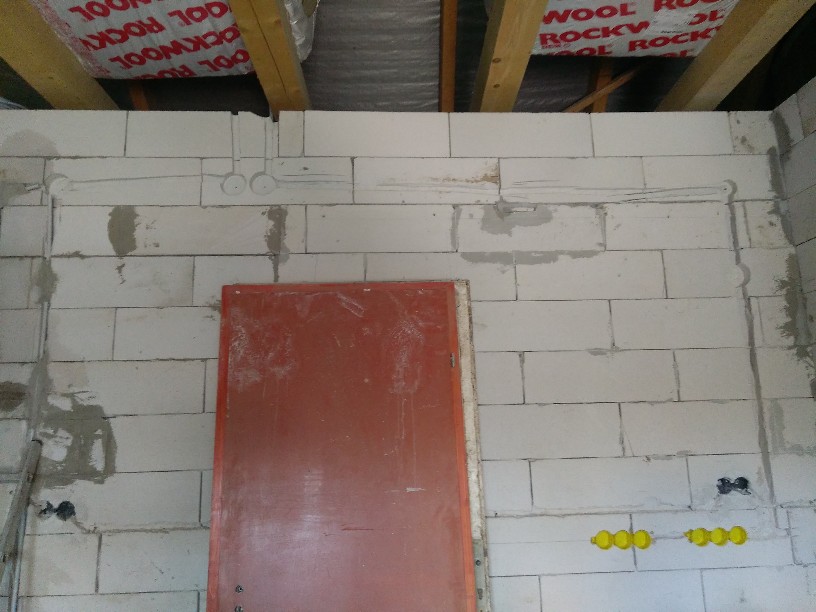
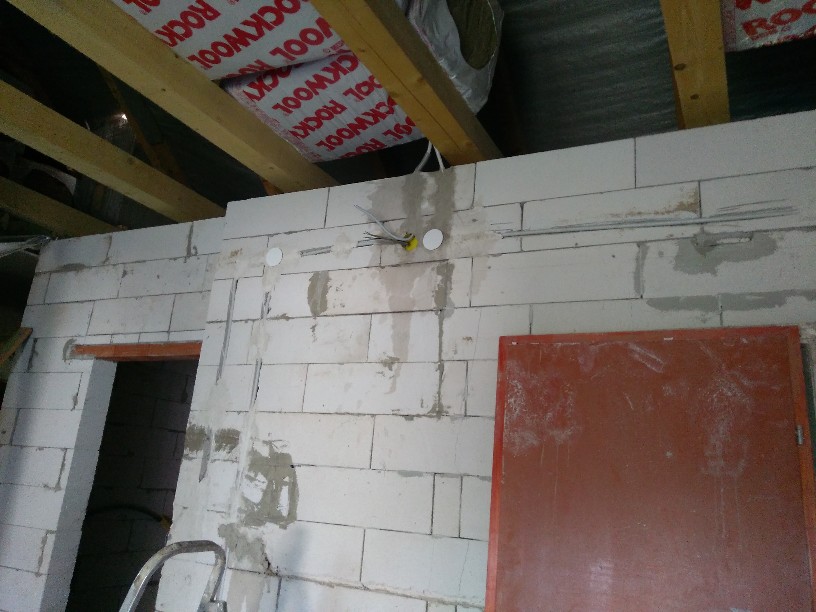
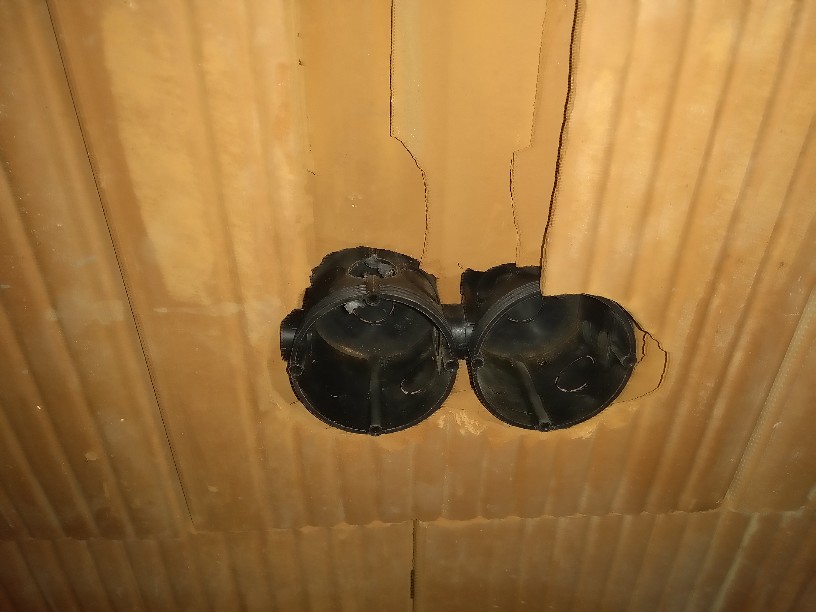
The
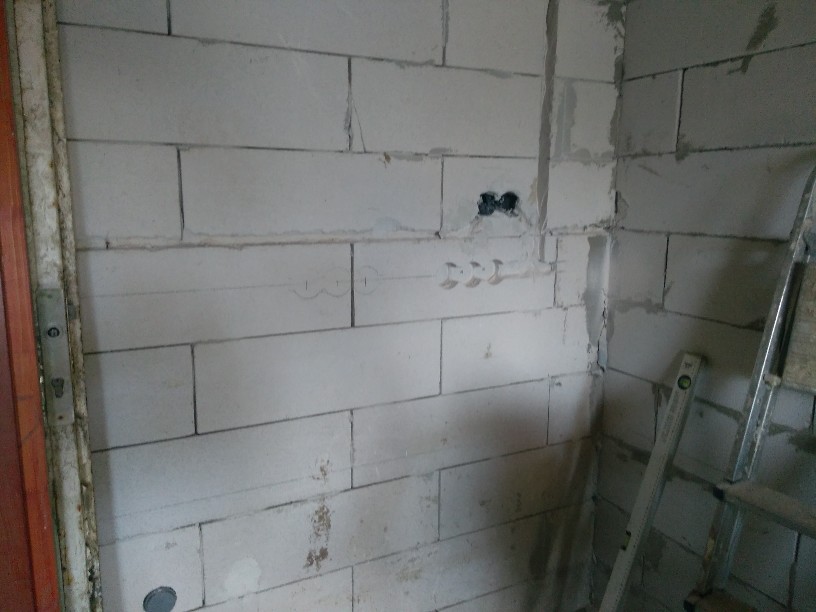
kitchen used to have a built-in 2-2 distribution box space, which
doesn’t suit me as there will be 2x3 outlets.
This is because the network will have 3 phases and so the adjacent sockets can each operate from a different phase.
In this case, it is not a problem to start the coffee maker, the toaster and the microwave at the same time, because this way the load per phase does not exceed 16 Amperes ...
In the picture, the location of the sockets on the left is still marked.
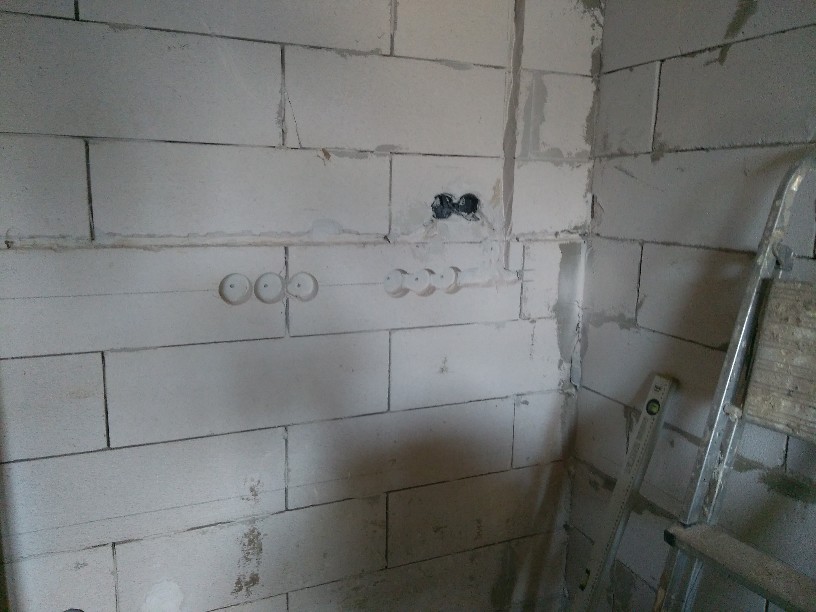
The
place is already drilled here. For this I used a 67mm carbide insert
core drill.
Stackable
boxes should fit together exactly. There was a little more to engrave
around them.
The
other parts were also engraved.

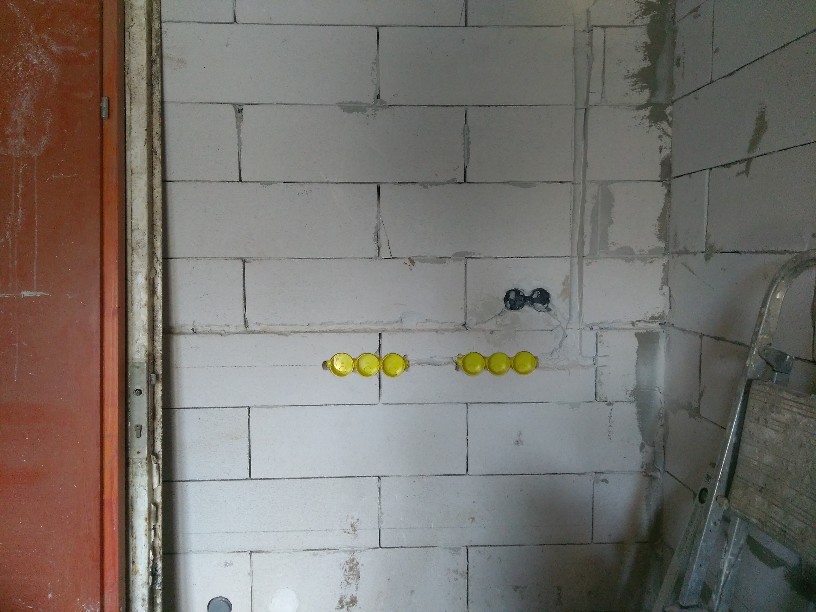
After
gluing the boxes and the protective piping, the 2.5mm2 copper cables
were also laid.
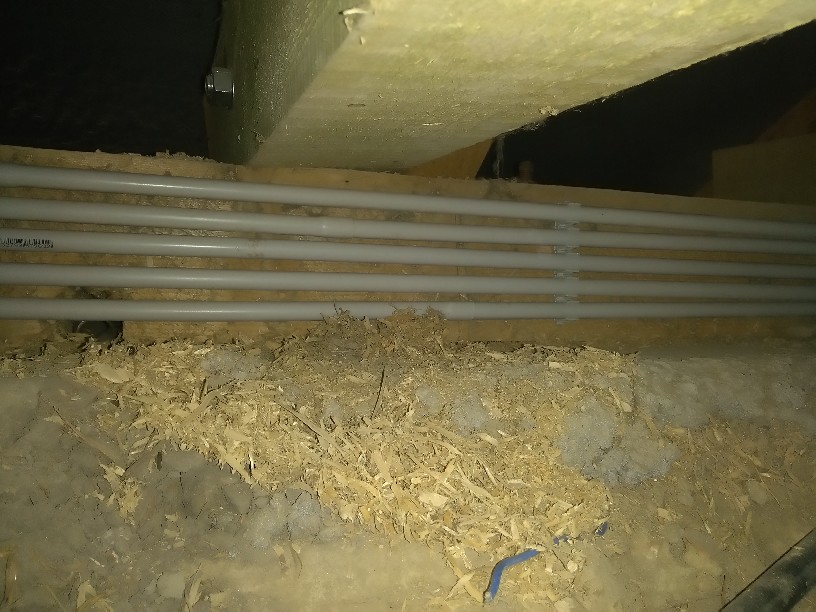
Since the house will have 3 phases, 5 wires will run side by side. This still fits in protective tube 16mm.
The
power cables were also pulled into the box and then back toward the
junction box.
The
cables run on the side of the beam in conduits. The retaining tabs
have been screwed up in advance.
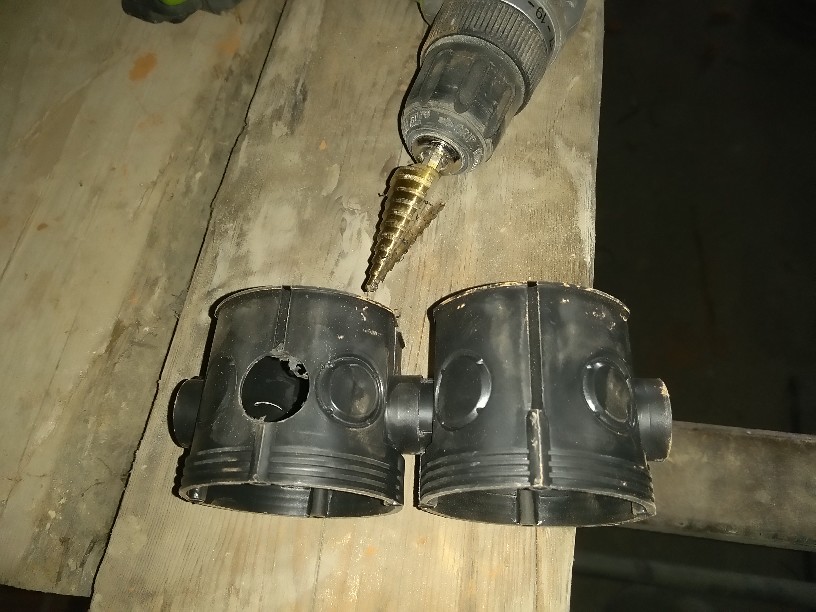
Unfortunately,
the holes in the junction box are not always where they are needed.
In this case, a stepped drill bit comes in handy.
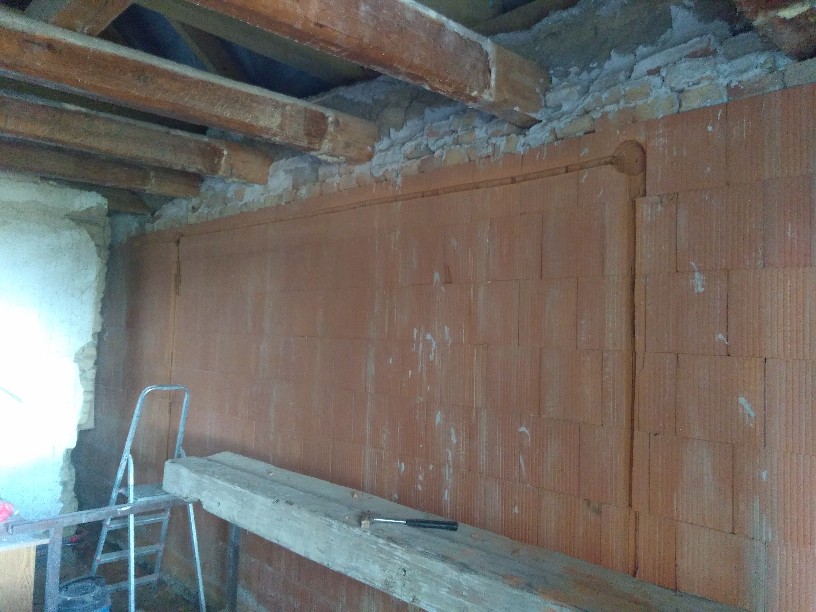
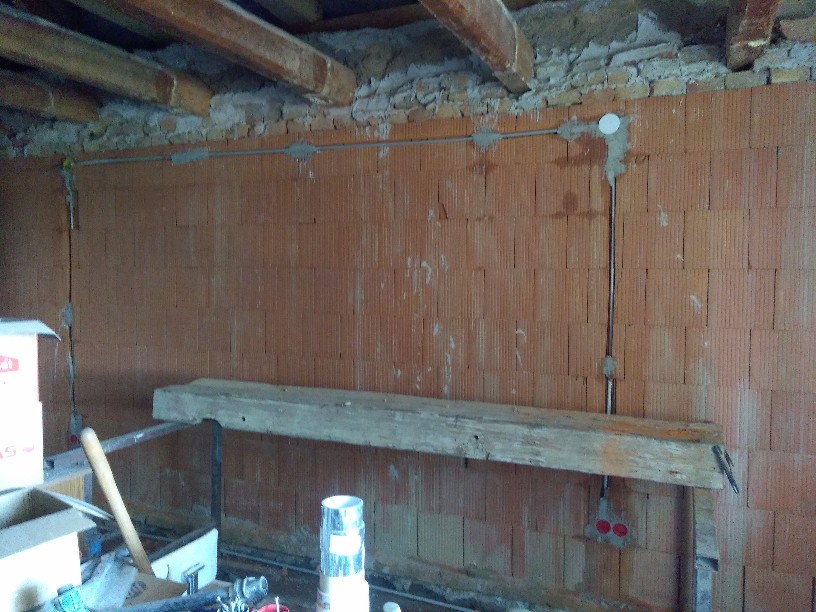
Cables
in place, protective pipes plastered.
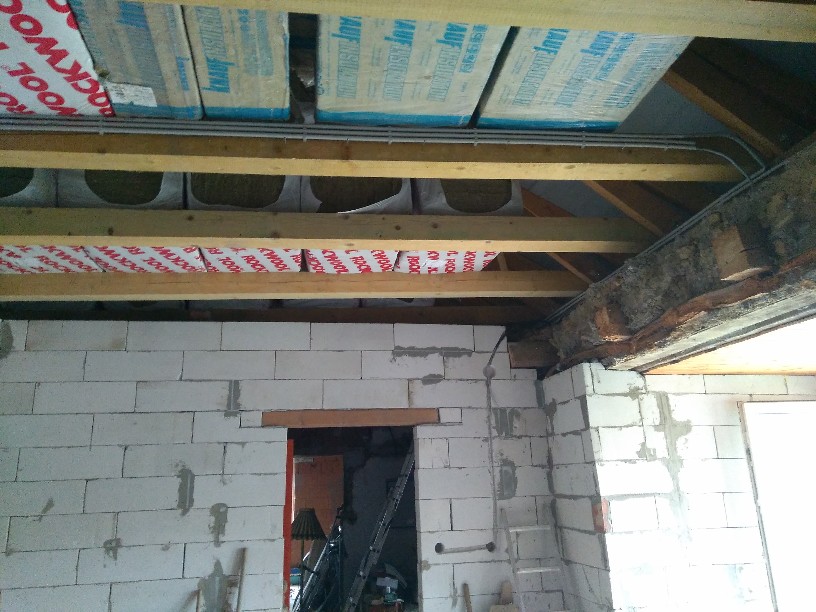
The
cables run along the roof on the side of the base threads. You can't
step on it here by accident.
It is unfortunate to carry the cables on top of a beam because it can be easily damaged there if we step on it
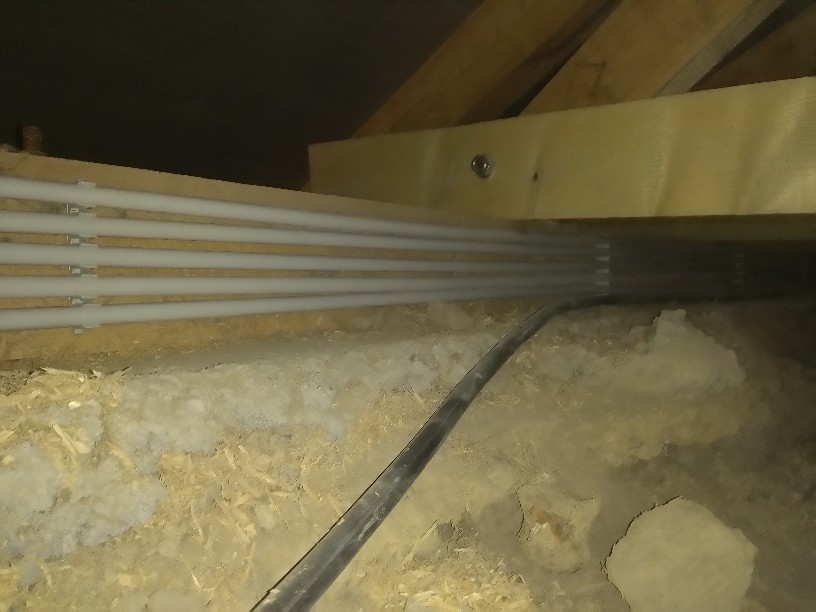
At
the edge of the roof, due to the angle of the roof, it is impossible
to tread them on the side of the beam.
The thick cable is a 5x10 ground cable (this also comes in the house).
This goes separately towards the workshop as it is the farthest point of the house and there may be larger consumers there in the future.
The
contents of the junction boxes are tied, the kitchen part can be
considered ready. The lighting in the house will be a completely
separate system.
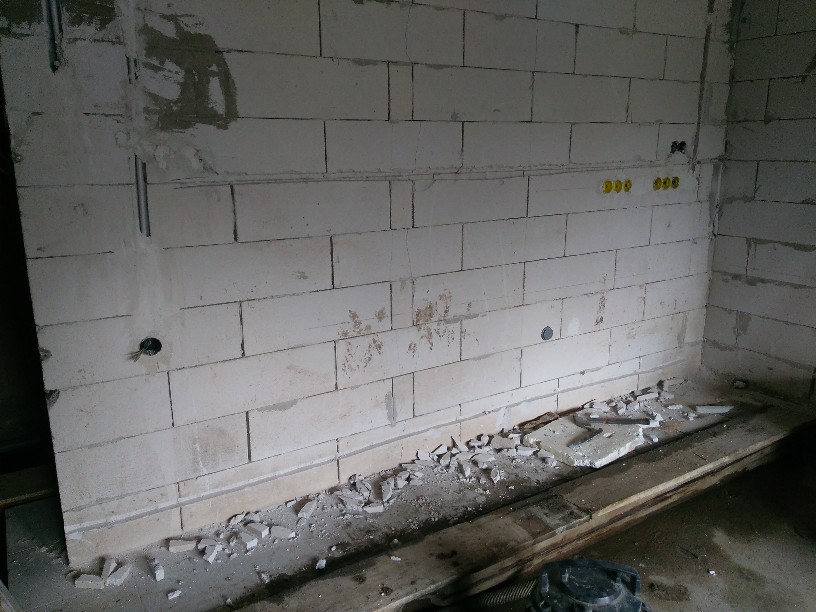
Unfortunately,
the kitchen wall cracked because some "knowledgeable"
people jumped from the roof to the top of the wall ...
I cut a groove at the bottom and in the middle of the wall.
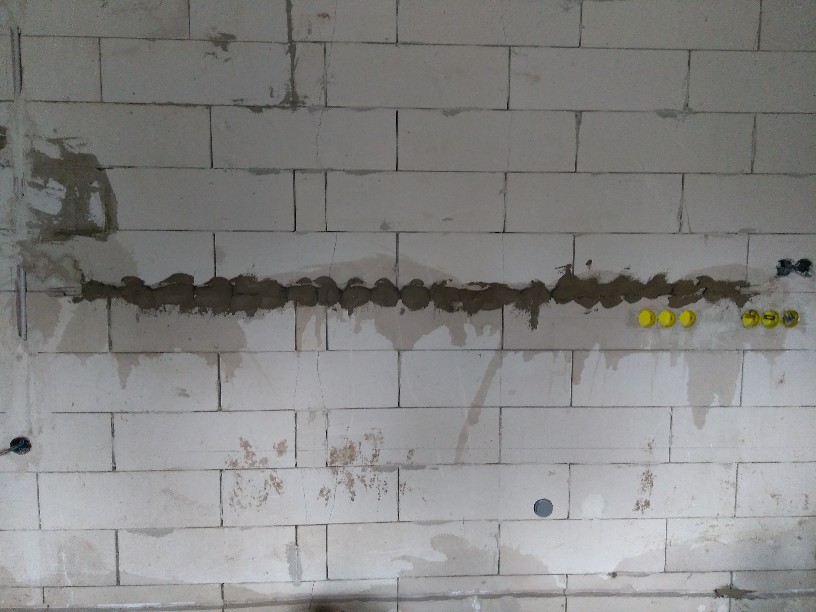
I
smeared this with tile adhesive,
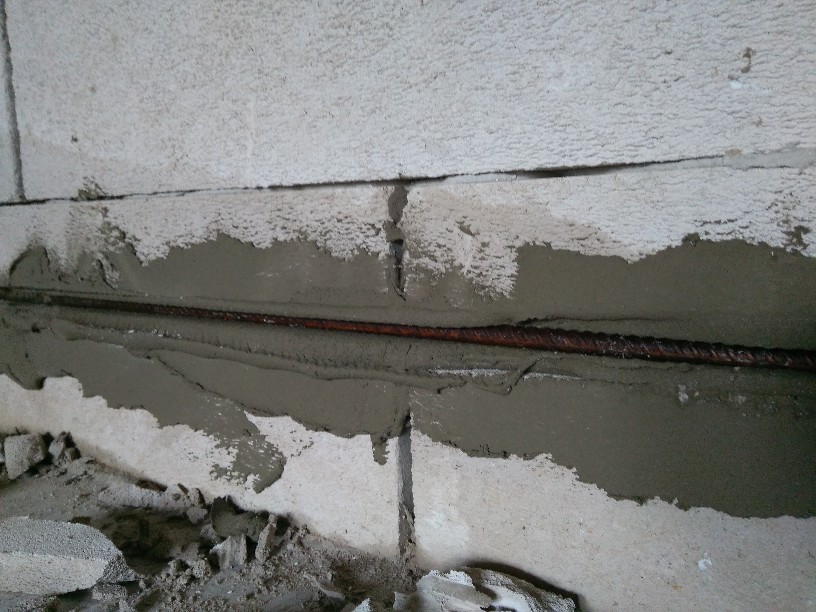
then
I pressed a rebar into the “mortar”
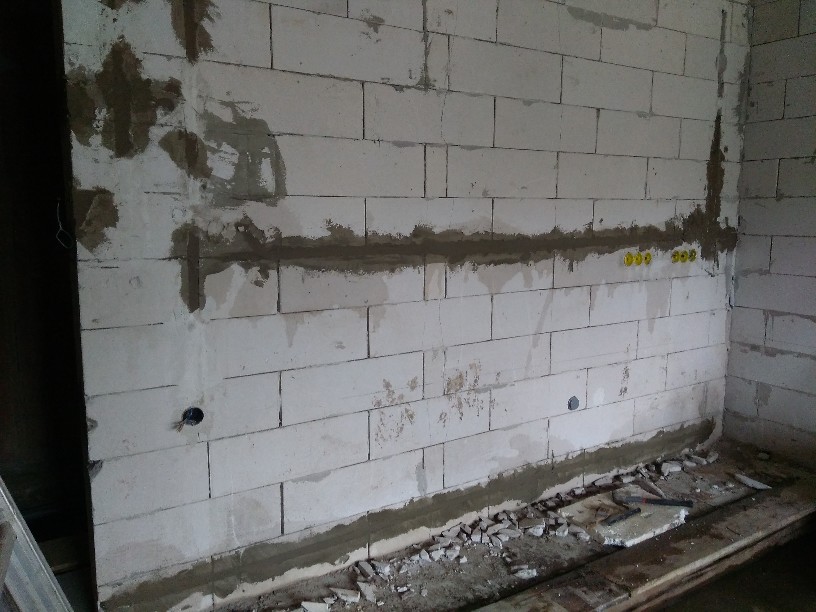
Which
was smoothed out. This way, the wall has already been reinforced
enough, but you will even get a fiberglass mesh to prevent any future
cracks.
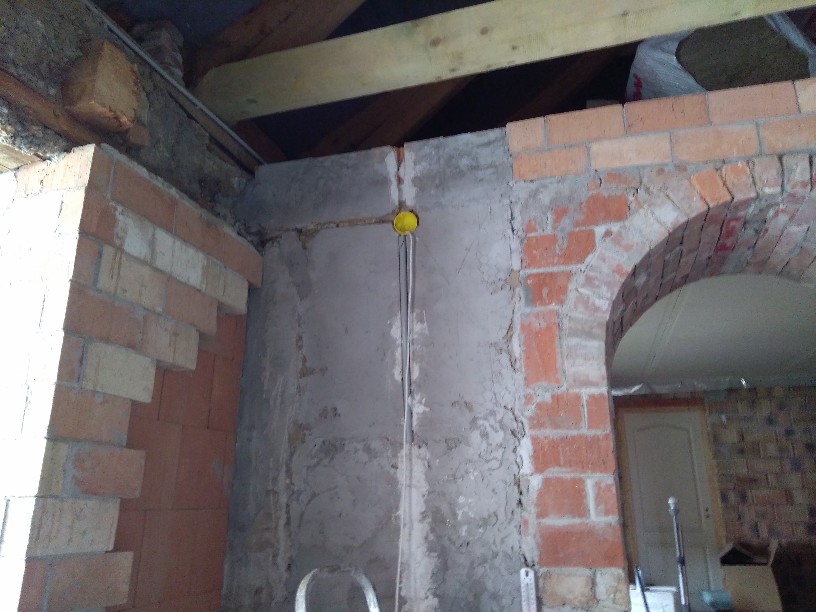
I
needed another junction box here.
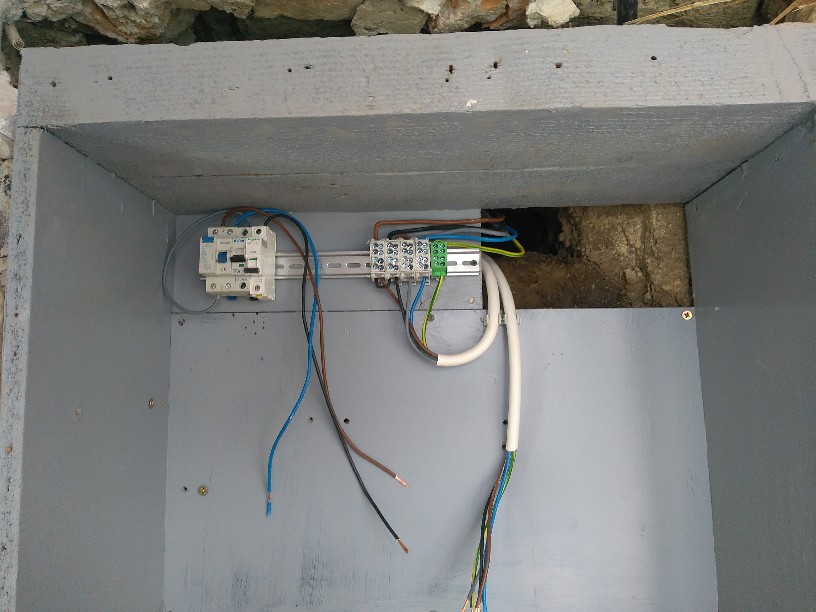
The
incoming cable will be distributed in the newly created distribution
box, and a separate fault current switch (Fi relay) will operate from
there,
about which the refrigerator will work. I don't want anything in the house to melt down, the fridge to thaw ...
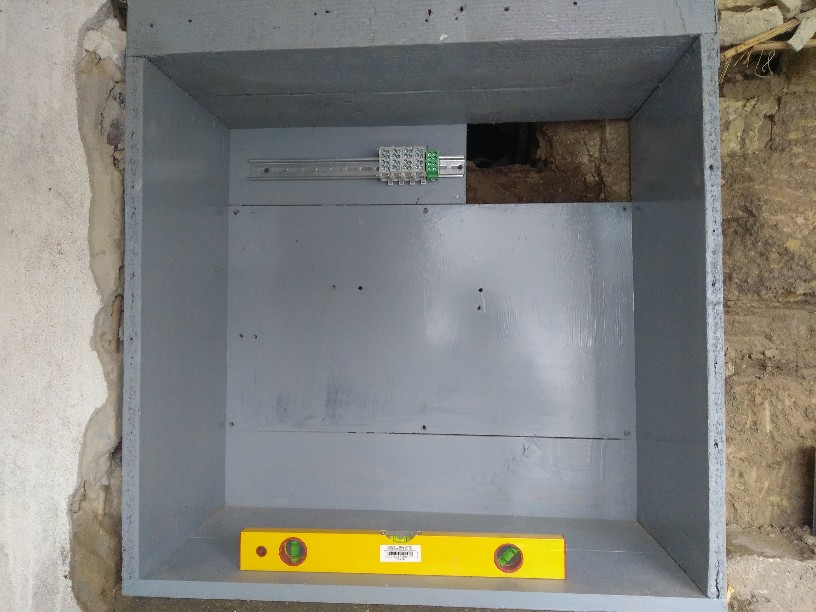
This
picture was taken while the box was installed.
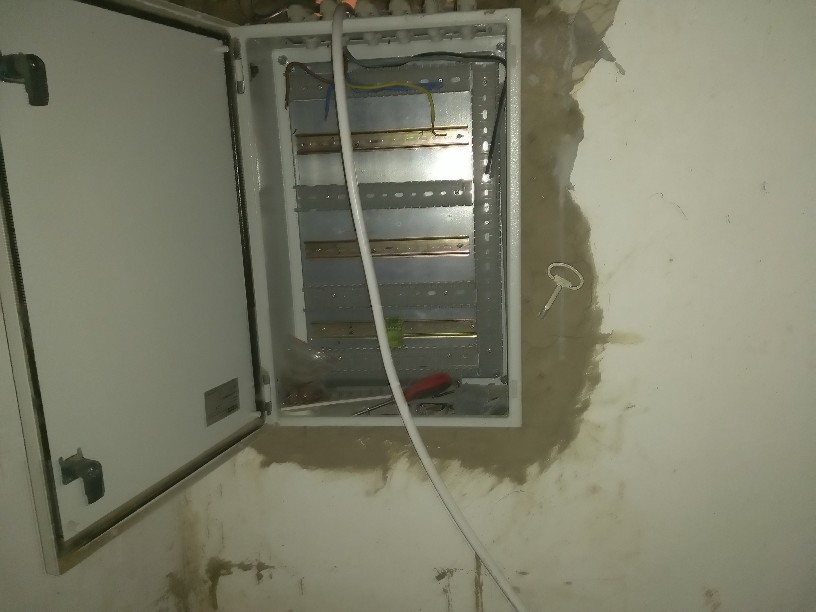
The
internal distribution cabinet has been outsourced because the whole
system has been optimized, which means equally long rows.
(Fi relay + 3x3 phase connected by comb rail).
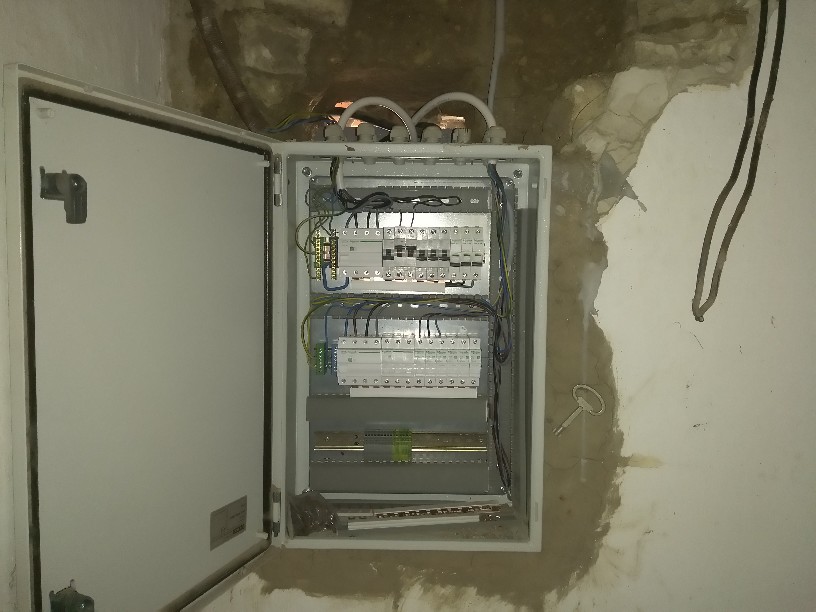
Fault
current switches and circuit breakers have already been installed
here. Each row has separate PE and Null guide rails.
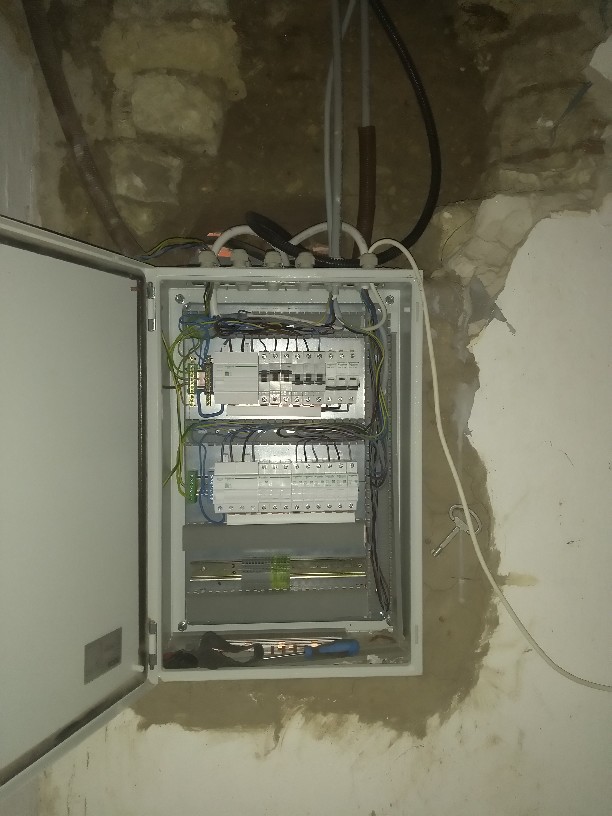
Here
most of the cables are already connected.
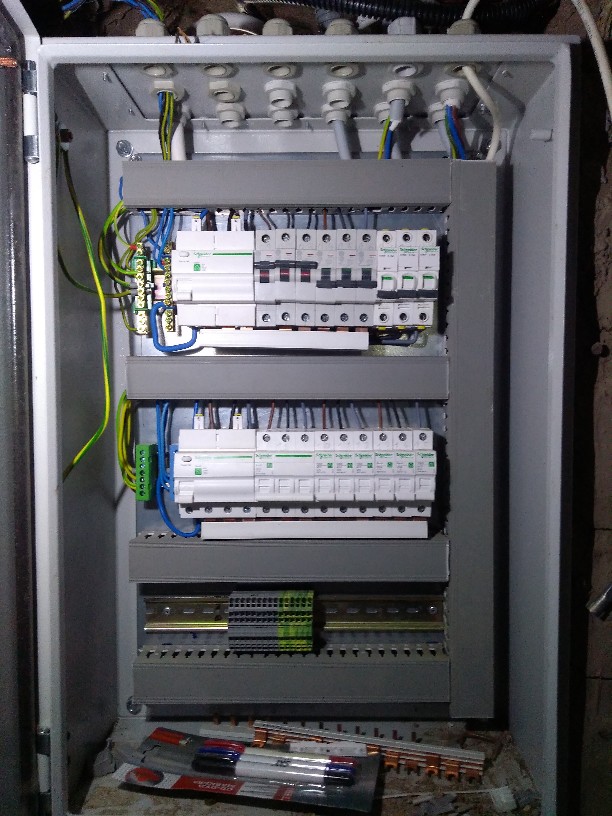
Finally,
the cable duct covers were added. The look of the distributor has
already become more beautiful.
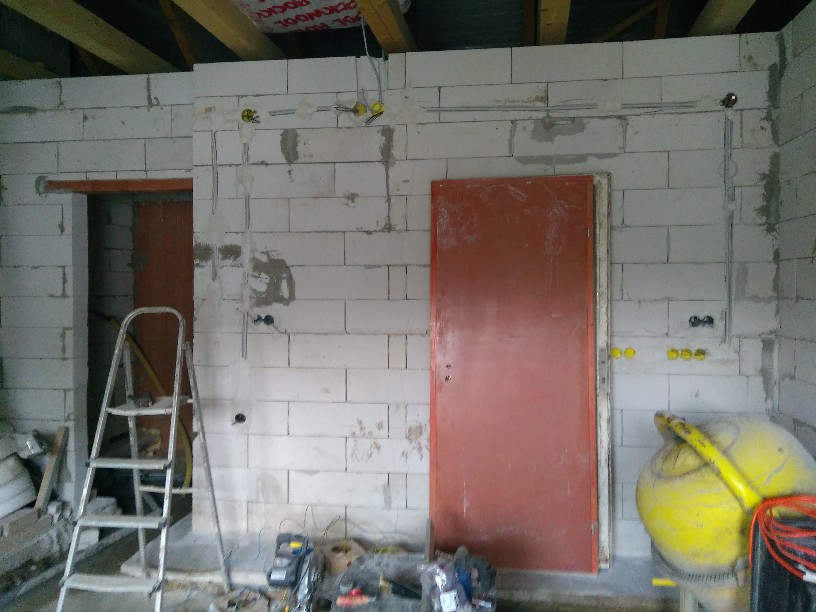
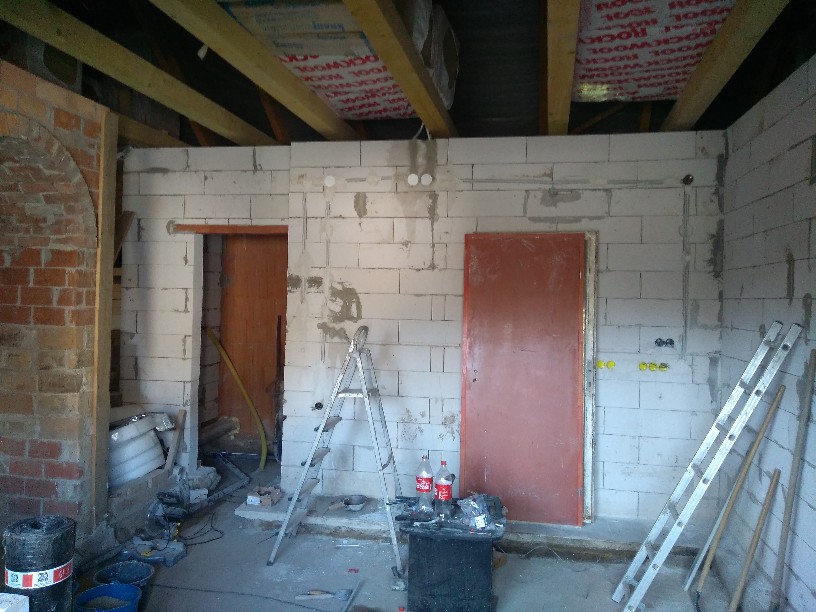
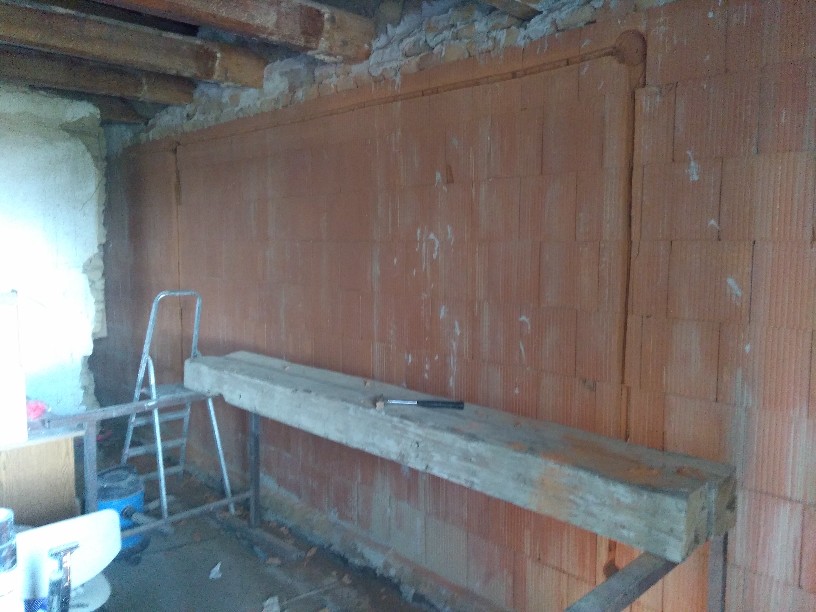
In
the meantime, I used 2 old beams in the room as a stand. This made it
easier to carve out the location of the cables.
The
wall groove cutter, which I tied to the vacuum cleaner, was a big
help in this.
The
sockets were also doubled. Unfortunately, a piece of brick broke out
here.

Plastering
starts. Fortunately, there were no fractures in the background. Only
the boxes were plastered, not to say my feet.
The rest is also glued.
The red round batteries are plaster covers in place of the sockets. It will be a great help when plastering.